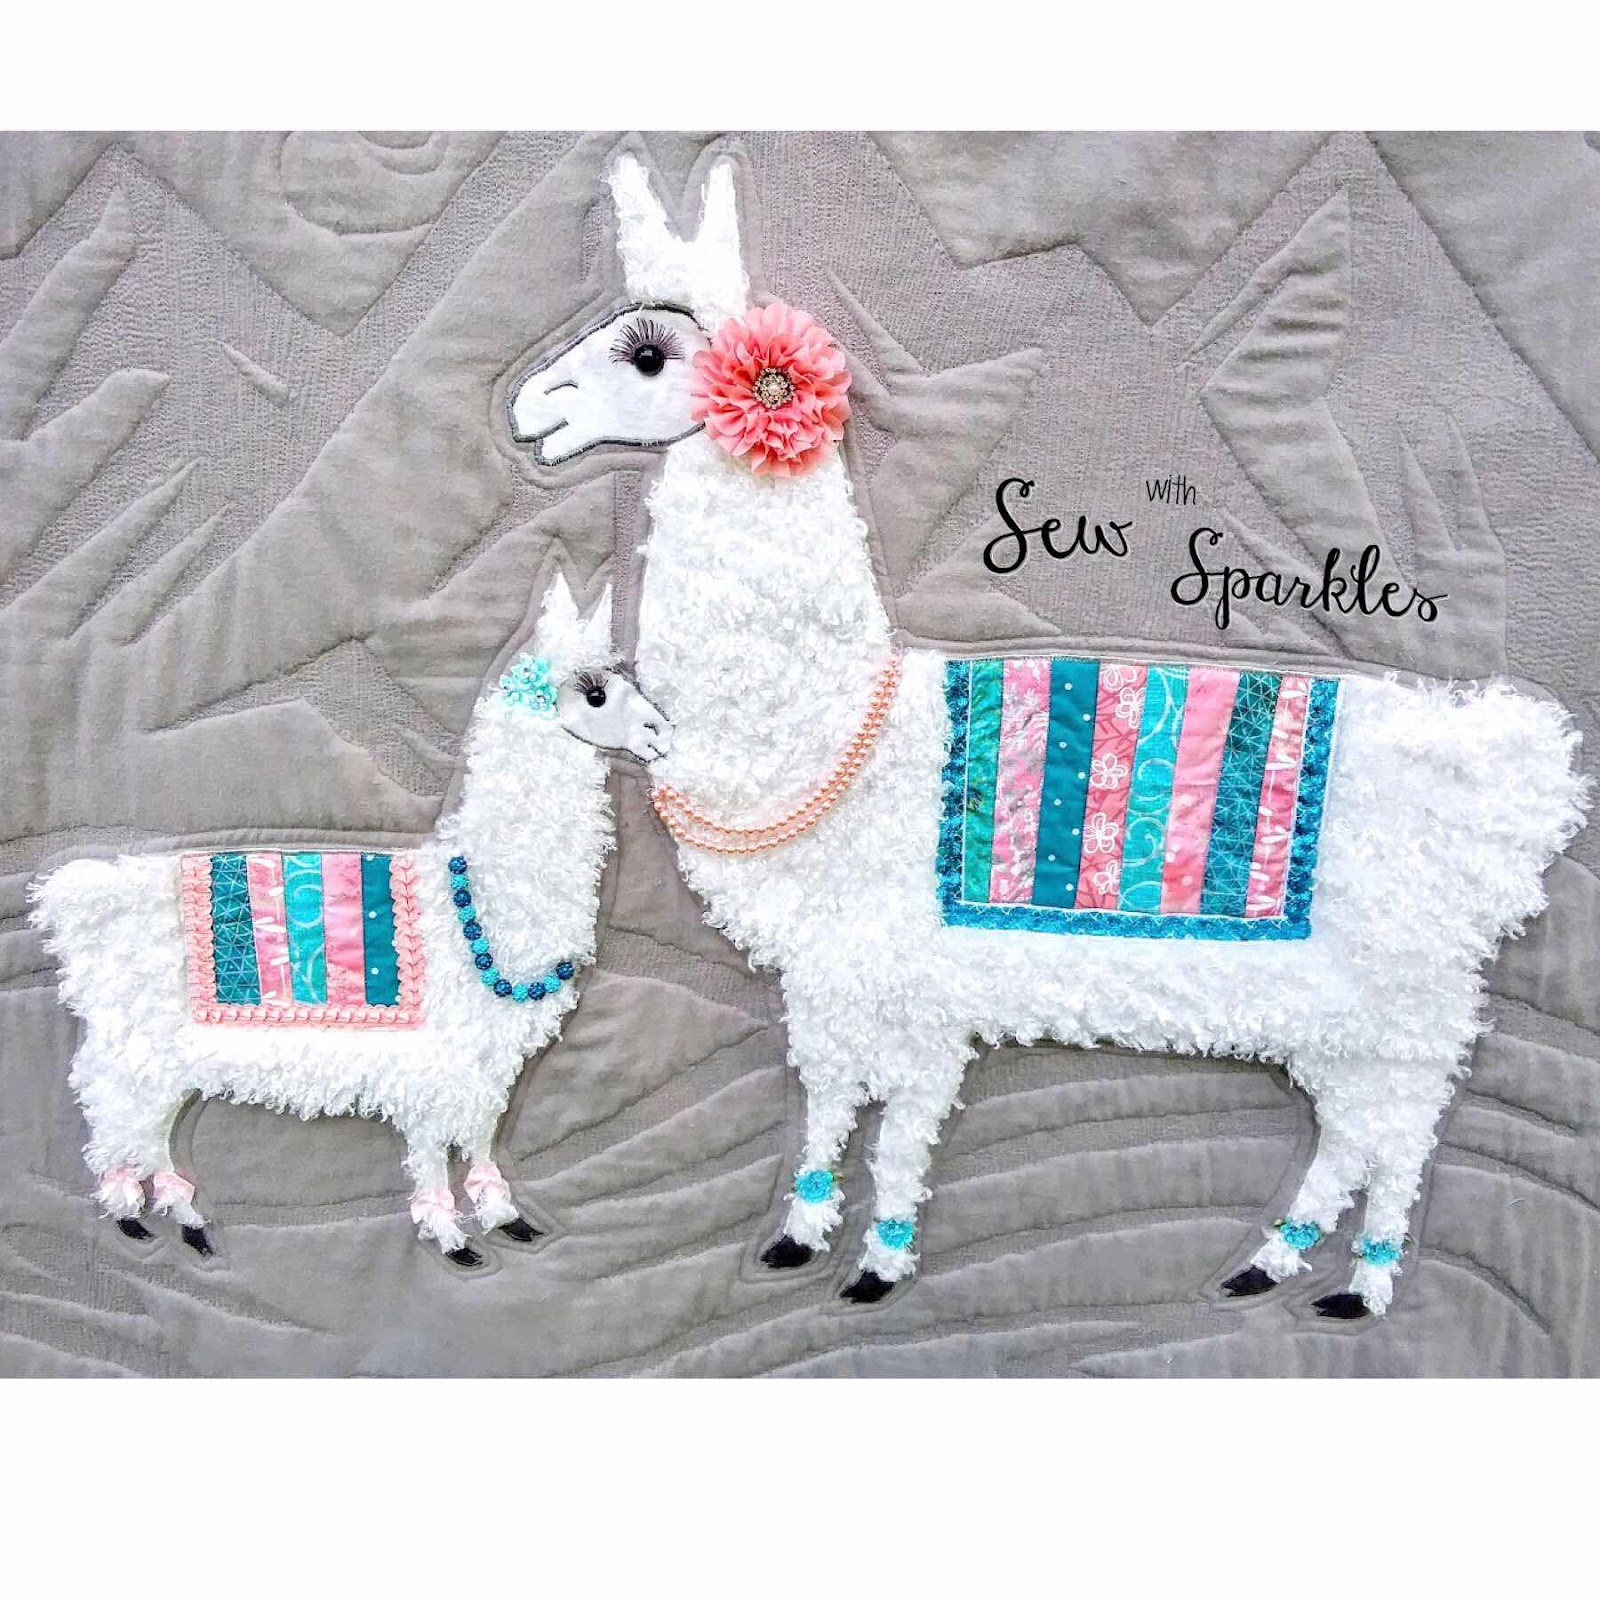
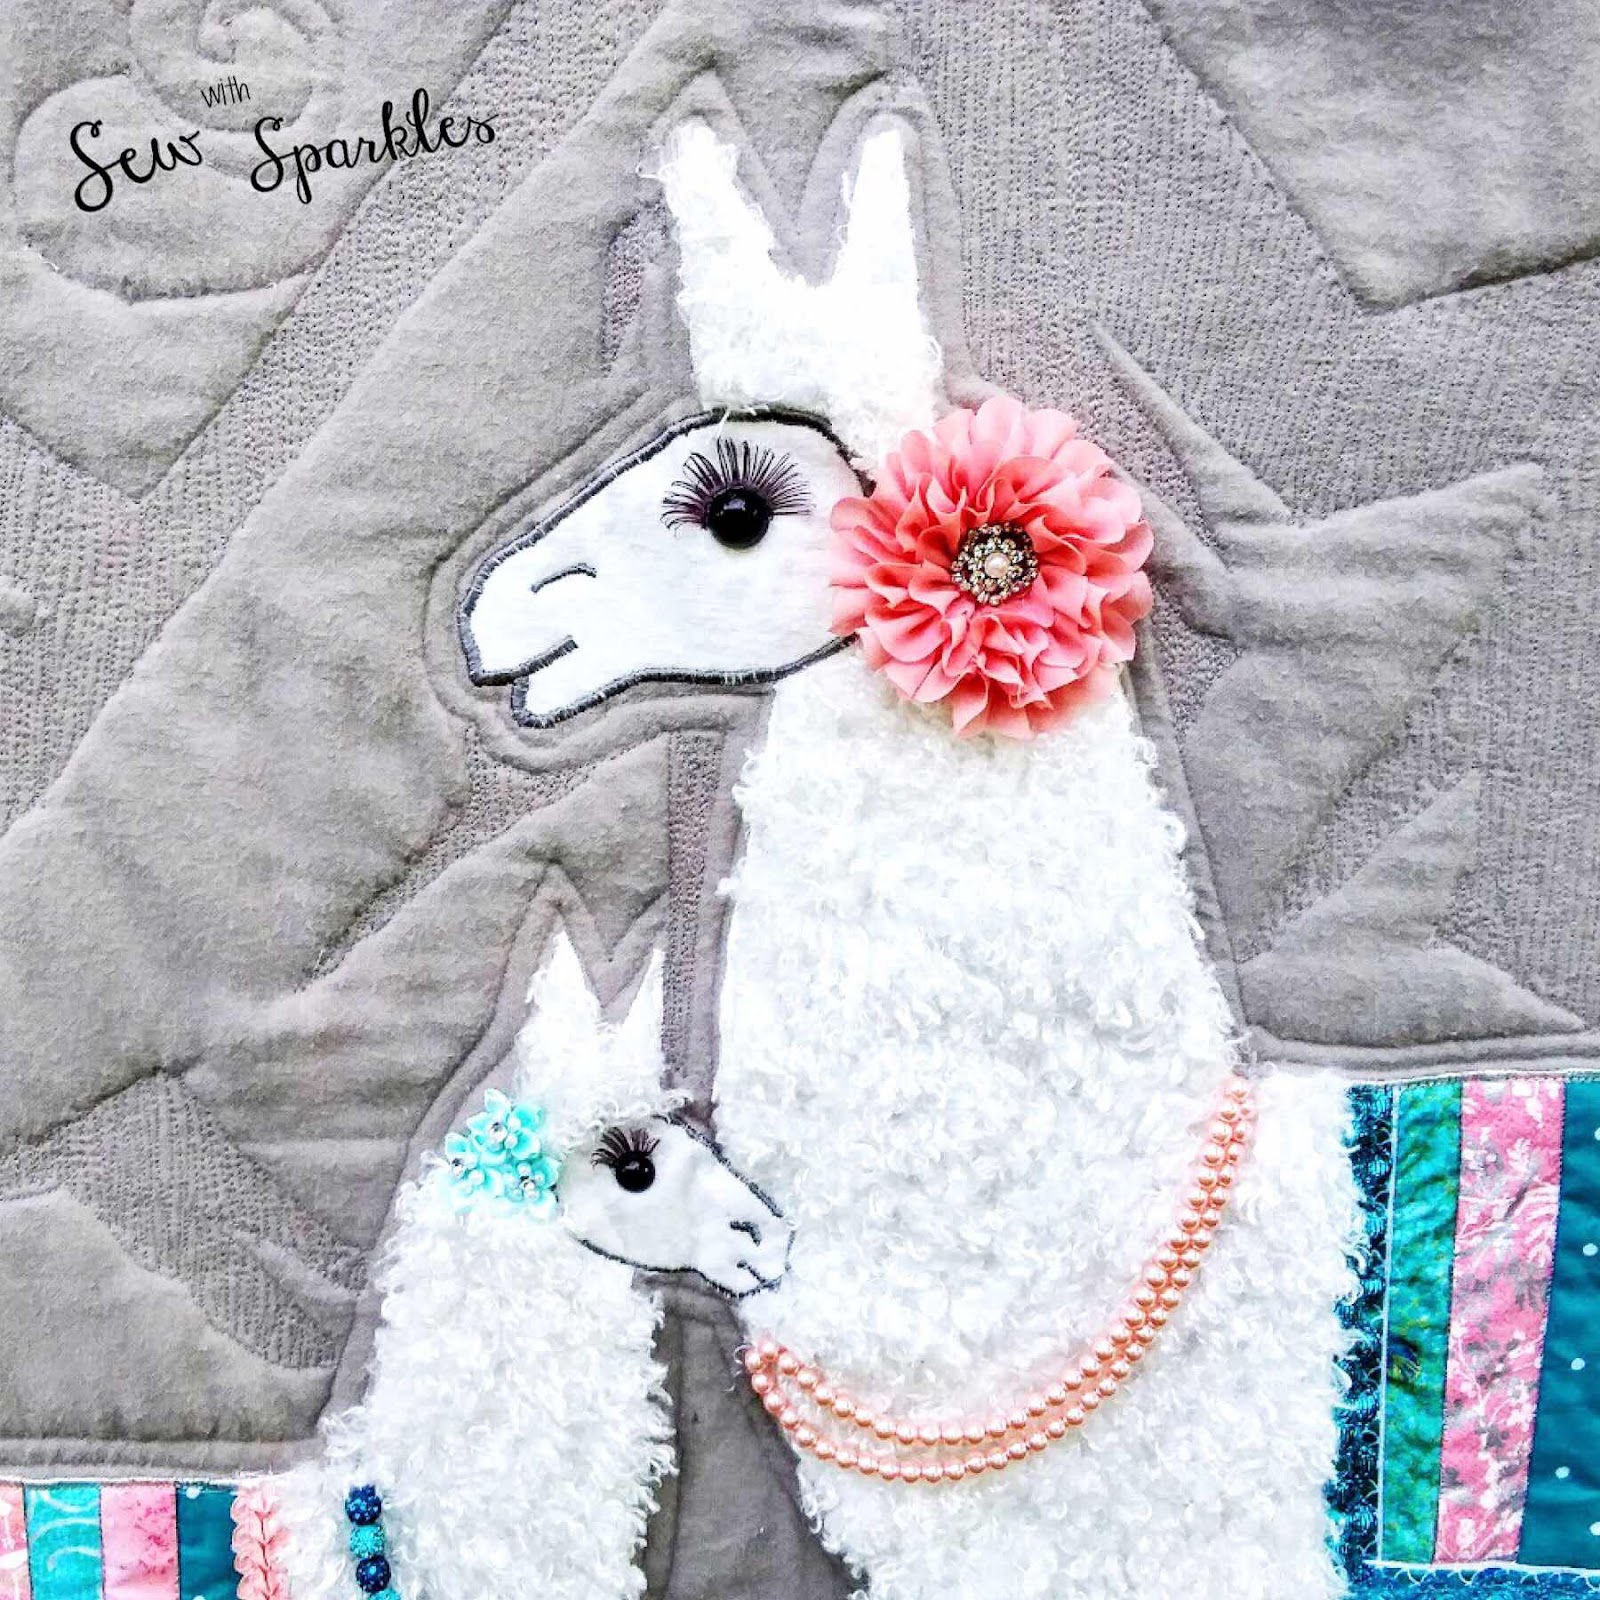
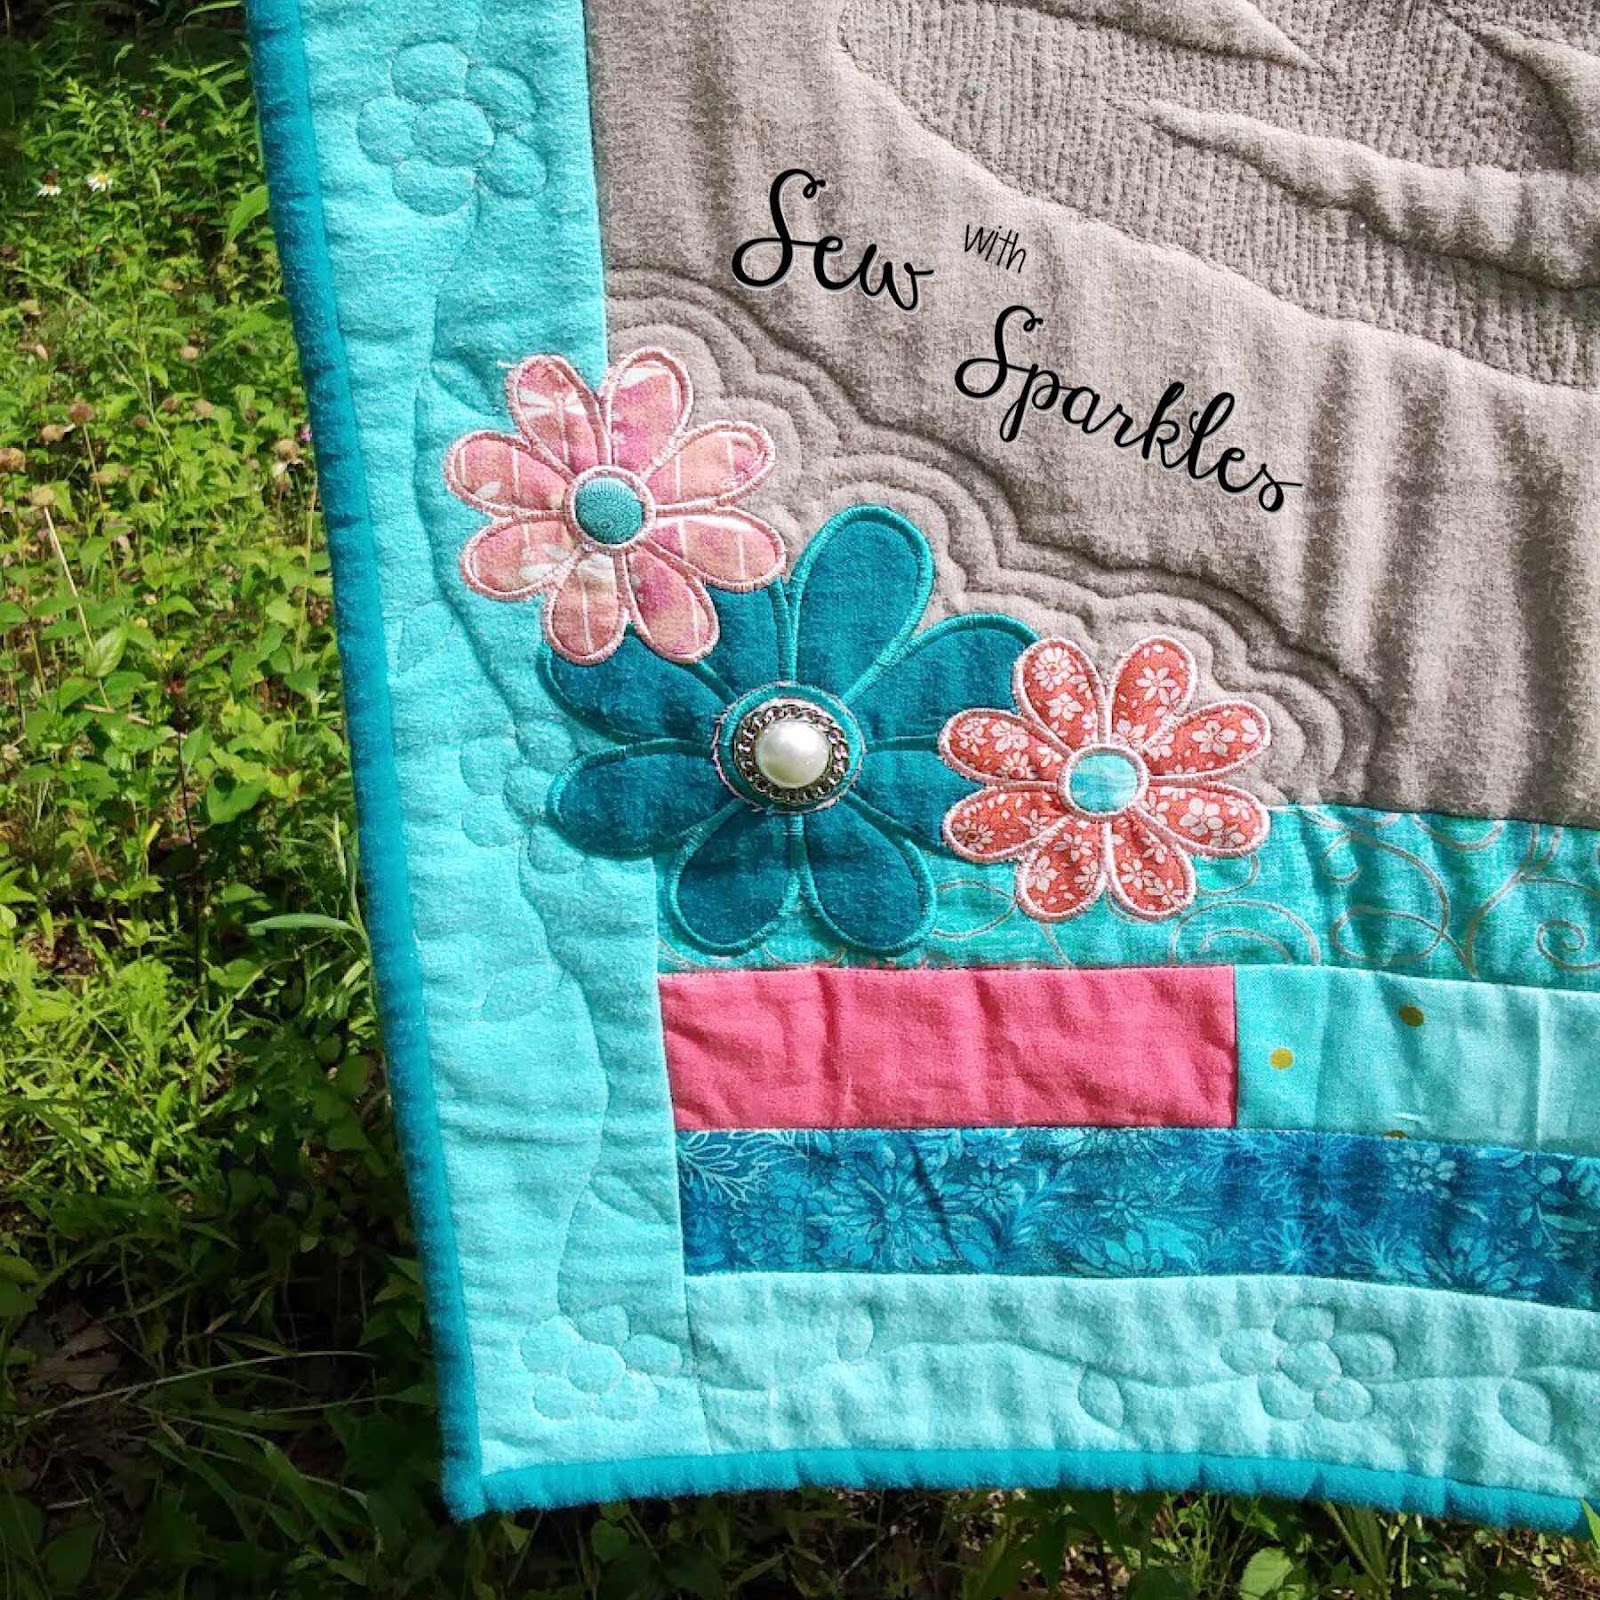
The pattern is for a baby quilt and includes a quilting template!!! It can be easily altered to make a lap quilt or any size quilt!!!
The pattern is a really easy sew with a simple applique process that any beginner/intermediate sewist can do!!! The fun part is, you can add lots of embellishments to make this quilt really come to life and let your personality shine through!!!
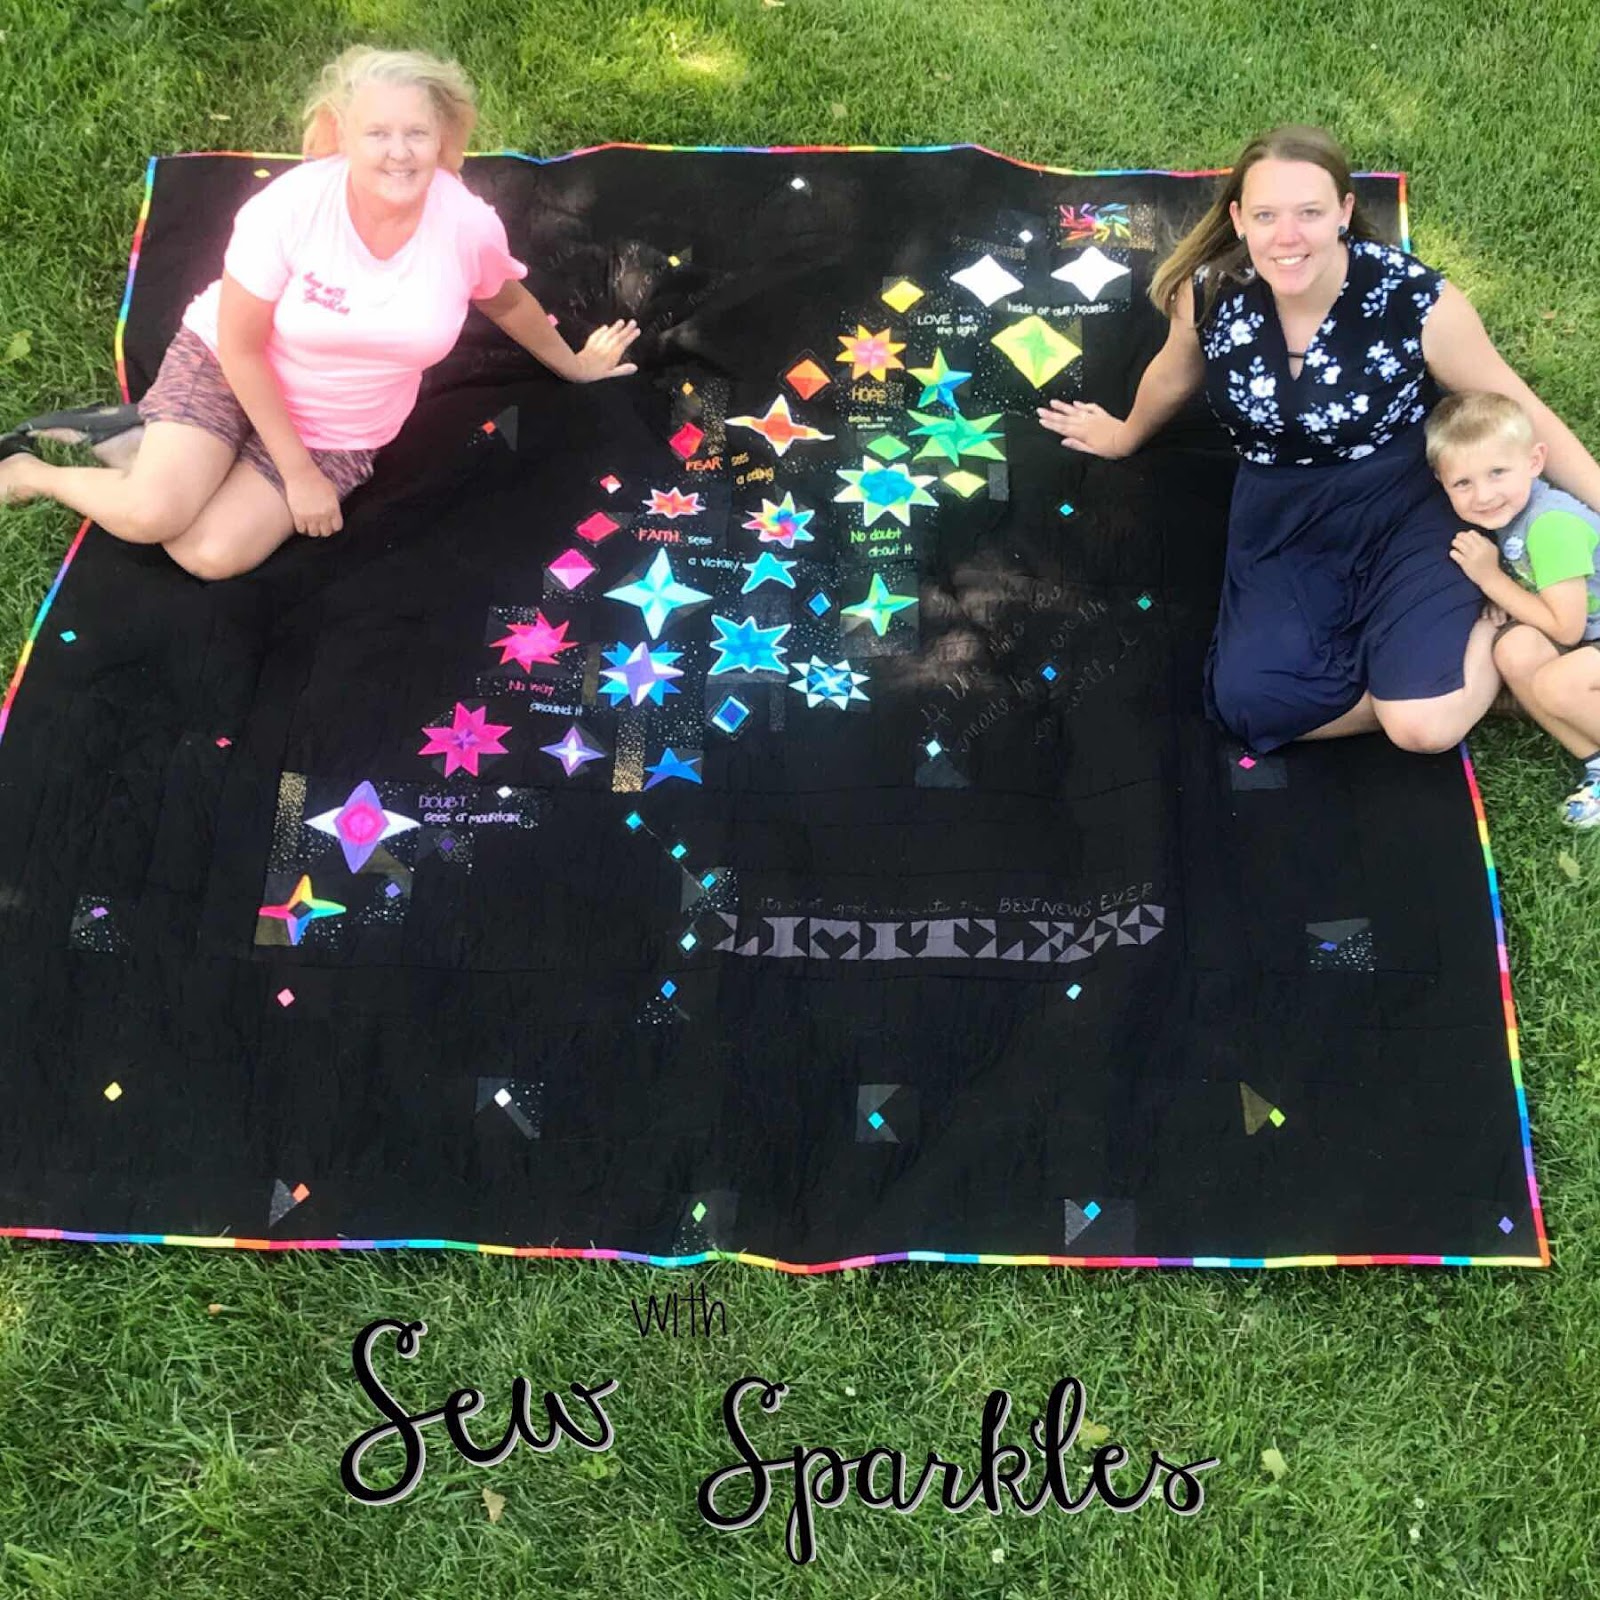
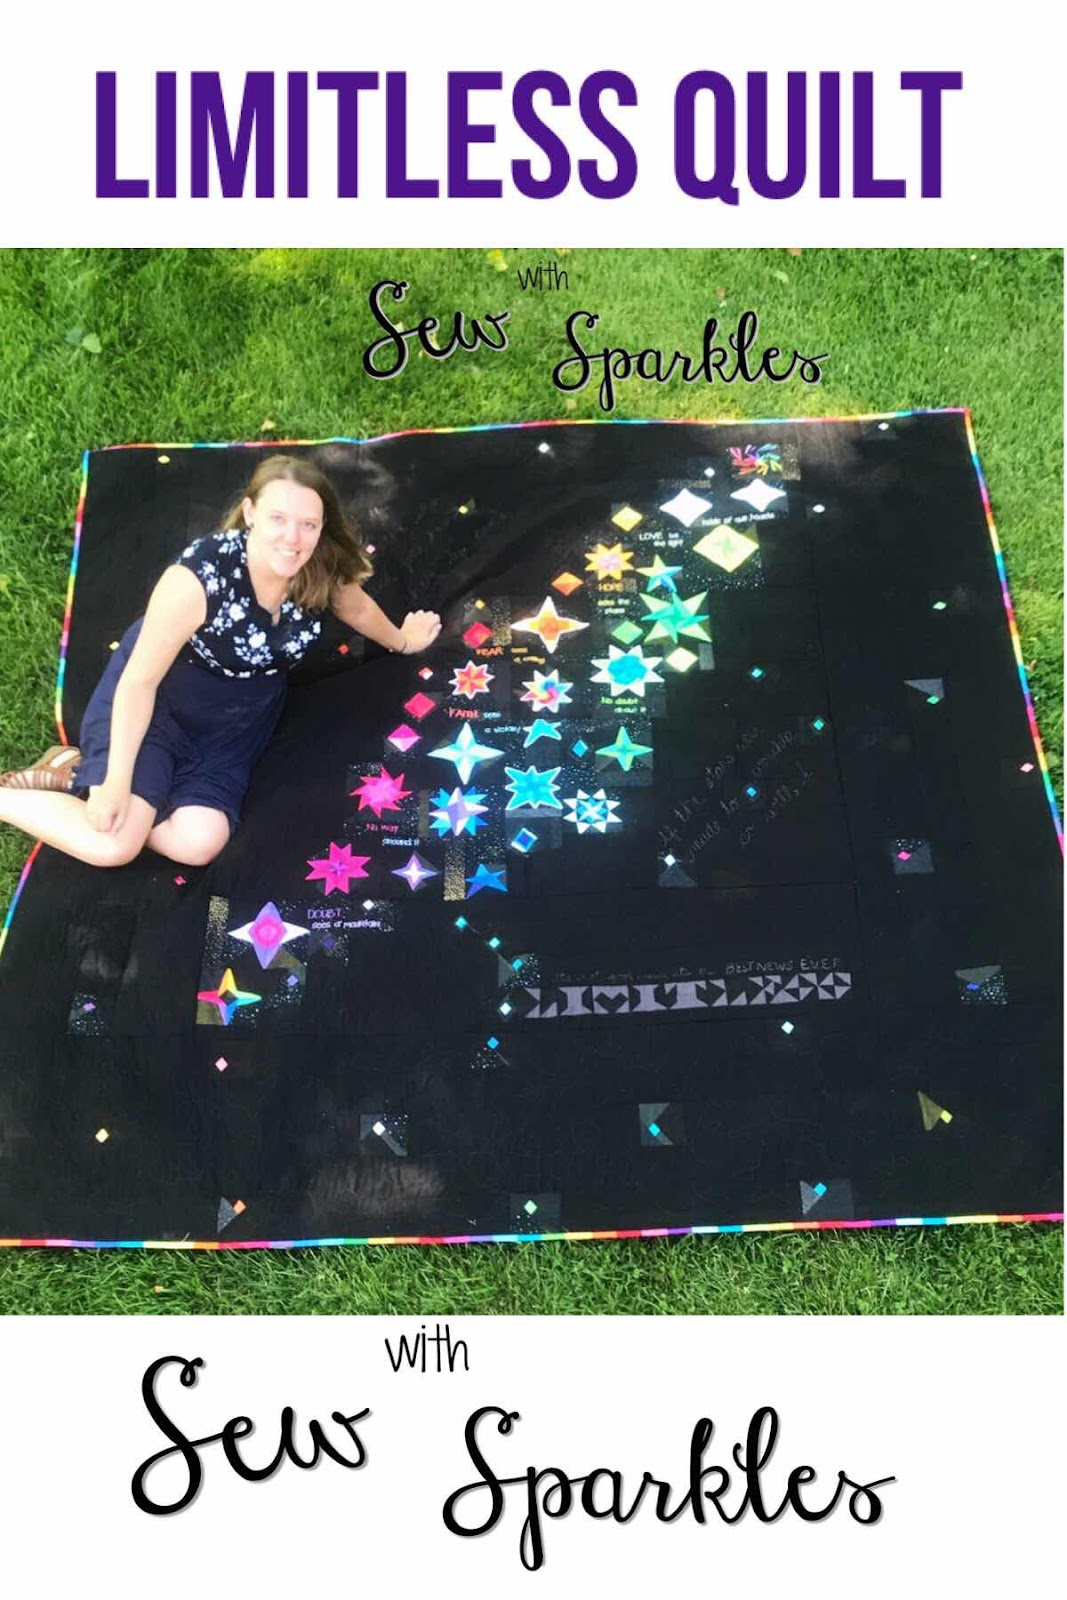
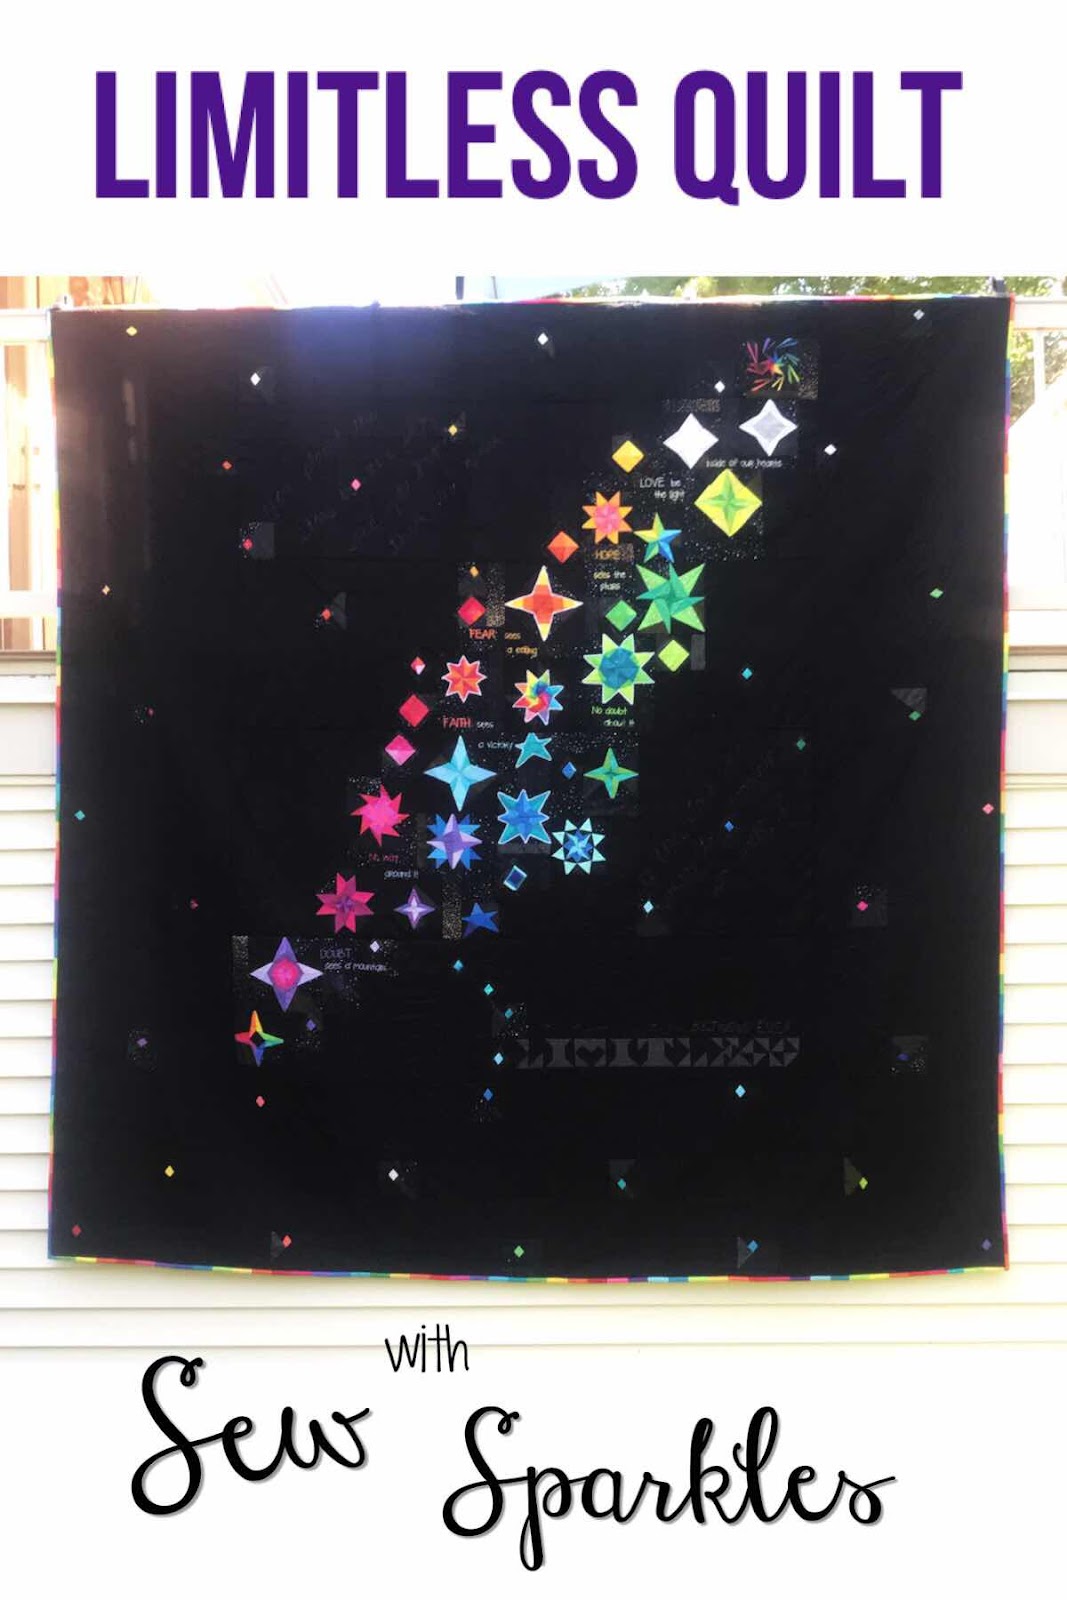
Limitless is DONE! I'm so excited to finally share the quilt that has taken up most of my year and my 3rd quilt EVER! If you remember - I sew/quilt differently than most! I'm so proud of a community that is accepting and pushes the boundaries of the textile art industry everyday!
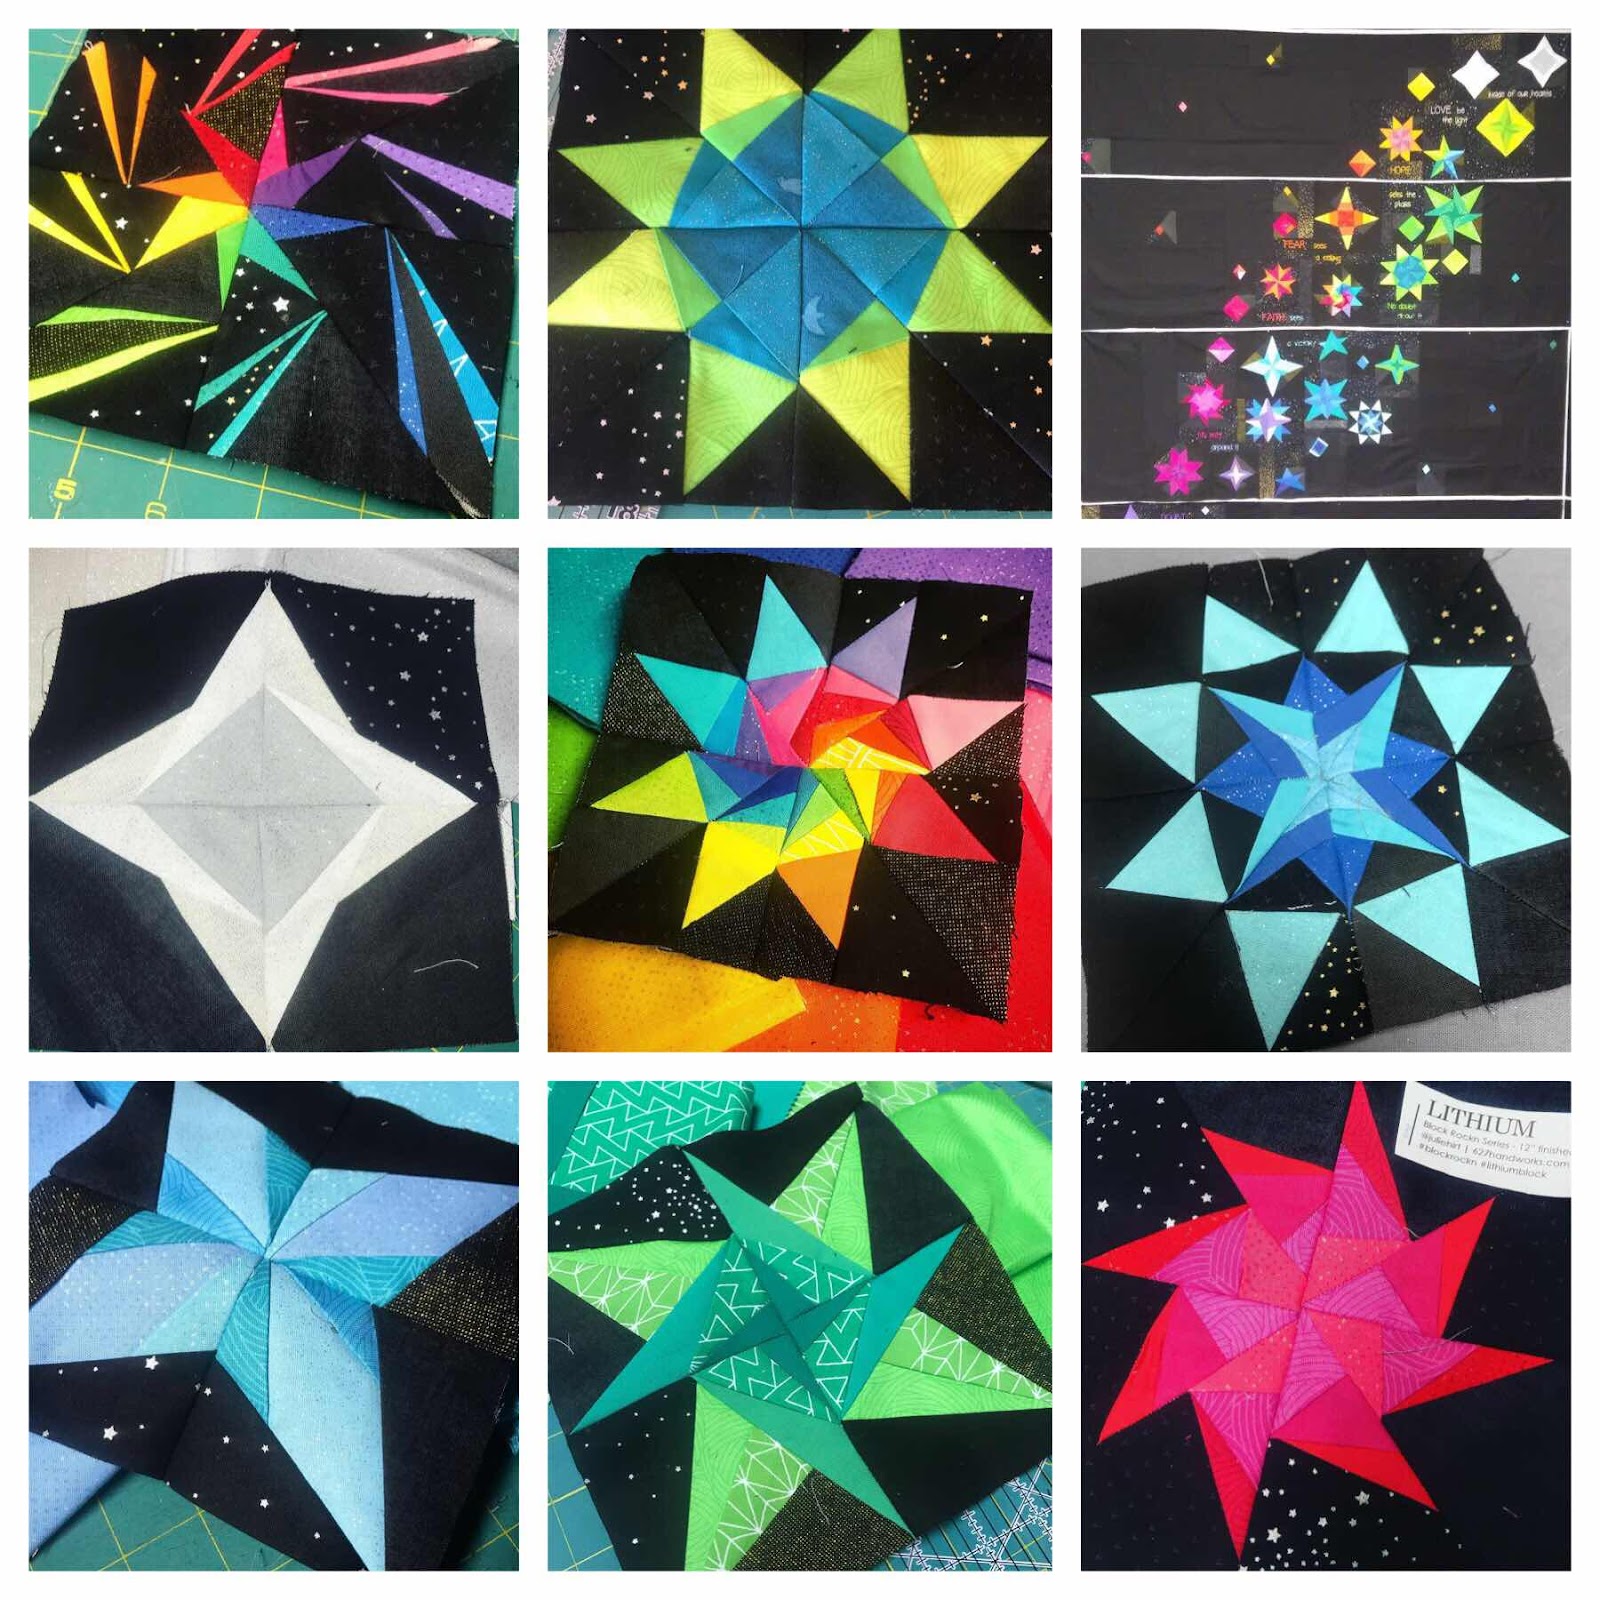
As I started paper piecing my last quilt (the first one EVER!) I knew I wanted to paper piece some more! It was fun and challenging but I combed through all of Wombat Quilts patterns and scoured Pinterest for star patterns. I just made them in all different colors - generally if it was a 4" star or smaller I used 1 color, a 6 or 8" I used 2 colors that were close on the color wheel so give some movement.
You can check it out using the link below and how to get the FREE diamond pattern as well!
Karen helped set the blocks together as I arranged them on our design wall (Black wall totally helped!) We made 5 sections and sewed pieces in between to "improv" piece it together - this is another one of those things mom totally did not think was possible. I'm a rule breaker I tell ya.
The sections made it really easy to add embroidery on top of as well!
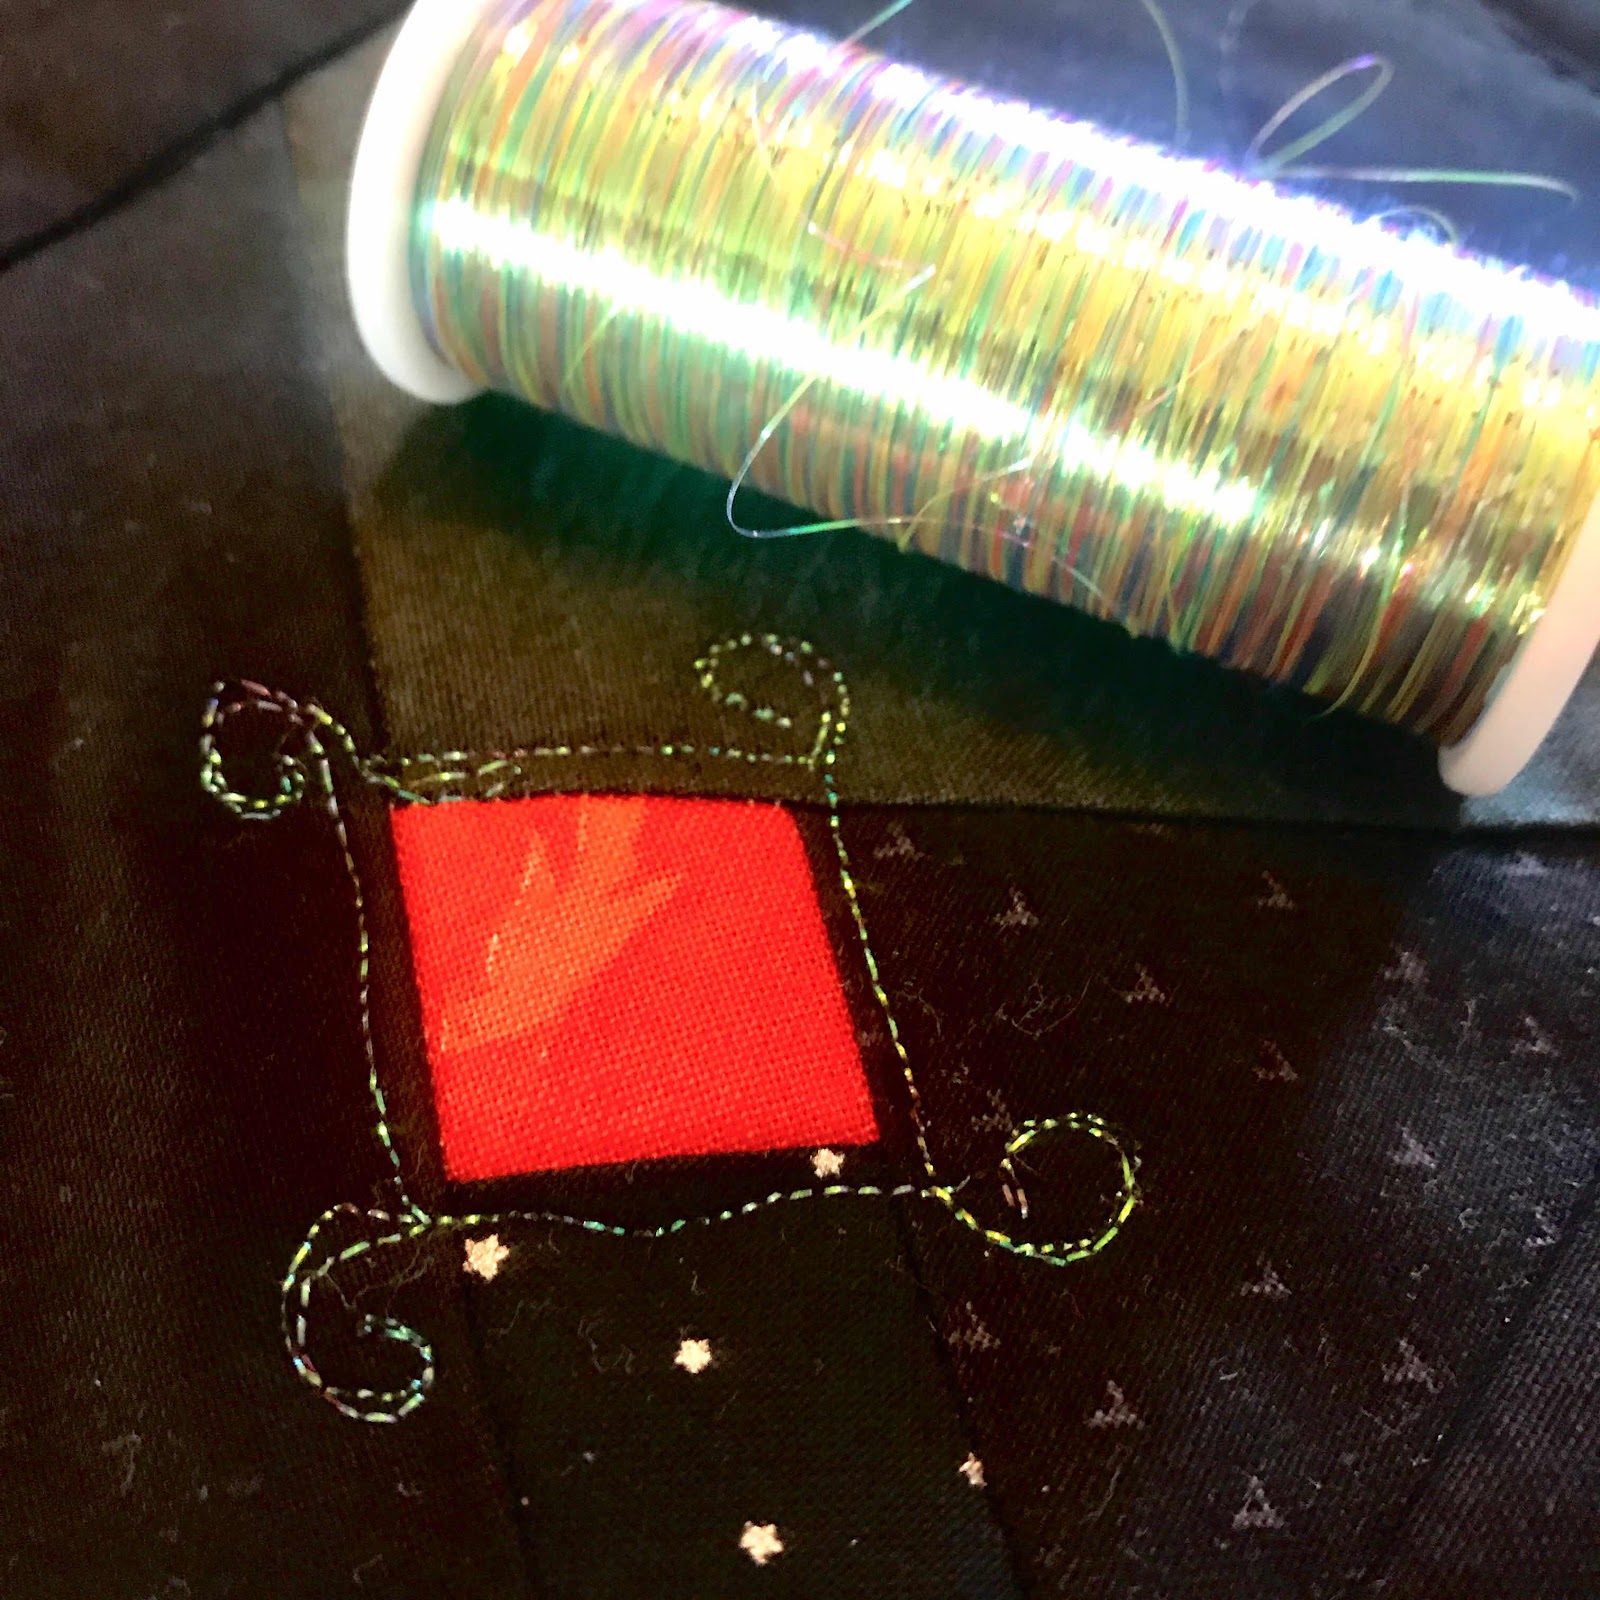
Once the sections were done - I set to work on the details. I love sparkle and wanted this quilt to have subtle sparkle and lots of meaning! I used metallic thread to quilt in some sayings:
One of the last BIG details I worked on was the Glow Thread - a cross shape is outlining some of the stars that can only be seen when the lights are OFF! It echoes the message of lyrics and the limitless love of God that inspired the quilt in the first place. This was SO COOL to work with! I love how it adds extra dimension and another element to the quilt.
This was the first quilt that my mom and myself ever Quilted As You Go'd. We backed each of the 5 panels and additional side panels and I quilted them before attaching a backing. It was not difficult and made it much easier to work through machine quilting. We still love that we can quilt our own quilts!
It was an extremely easy process and made the work very quick! It was easy to do a panel, still have detail, but not be dragging an immense quilt through a machine!
I used a free motion star, loop, heart pattern that I just kind of worked out for the background to echo the star them. I just did stitch in the ditch when attaching the backing and went over the main pieces where panels were sewn together so you weren't able to see.
I went with a Rainbow Binding to offset some of the darkness of the background.
A post shared by Amber & Karen (@sewwithsparkles) on
Here she is in all her glory!
You can even read the word limitless on the bottom! I love how the rainbow galaxy part turned out. This may be my first quilt ever to be in a local quilt show. (non competitive!)
It has been a work of love and almost a witness to my faith in a way! I'm so excited to get this quilt used and wrap up in - the sparkle, the rainbow, the bright, the bold - the MESSAGE all tied together and I could not have dreamed up a better tactile version of this art!
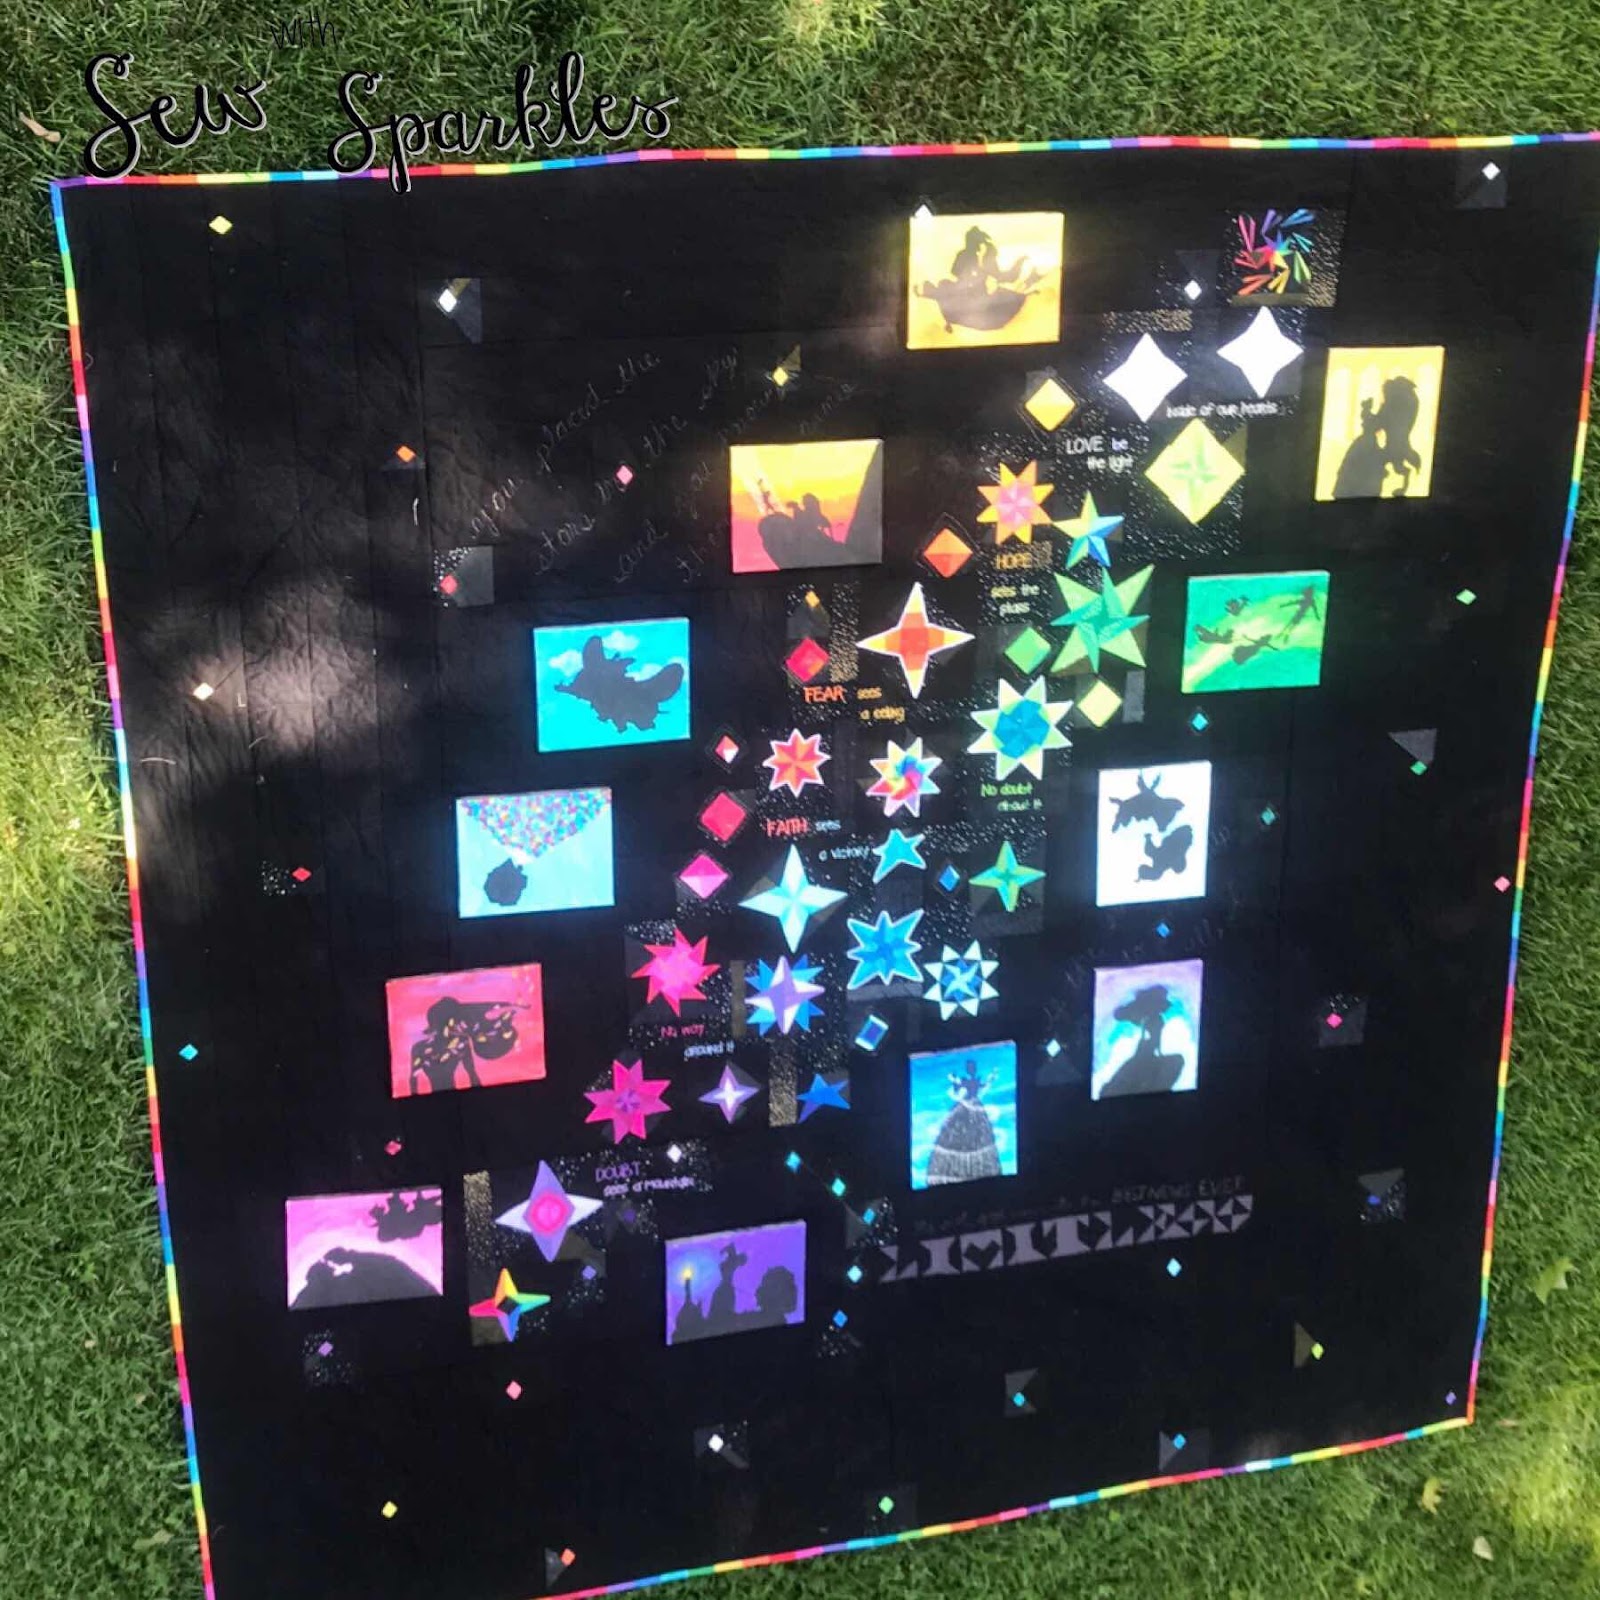
Here's a version with my Disney pictures next to it - I just thought they looked cool - no real reference!
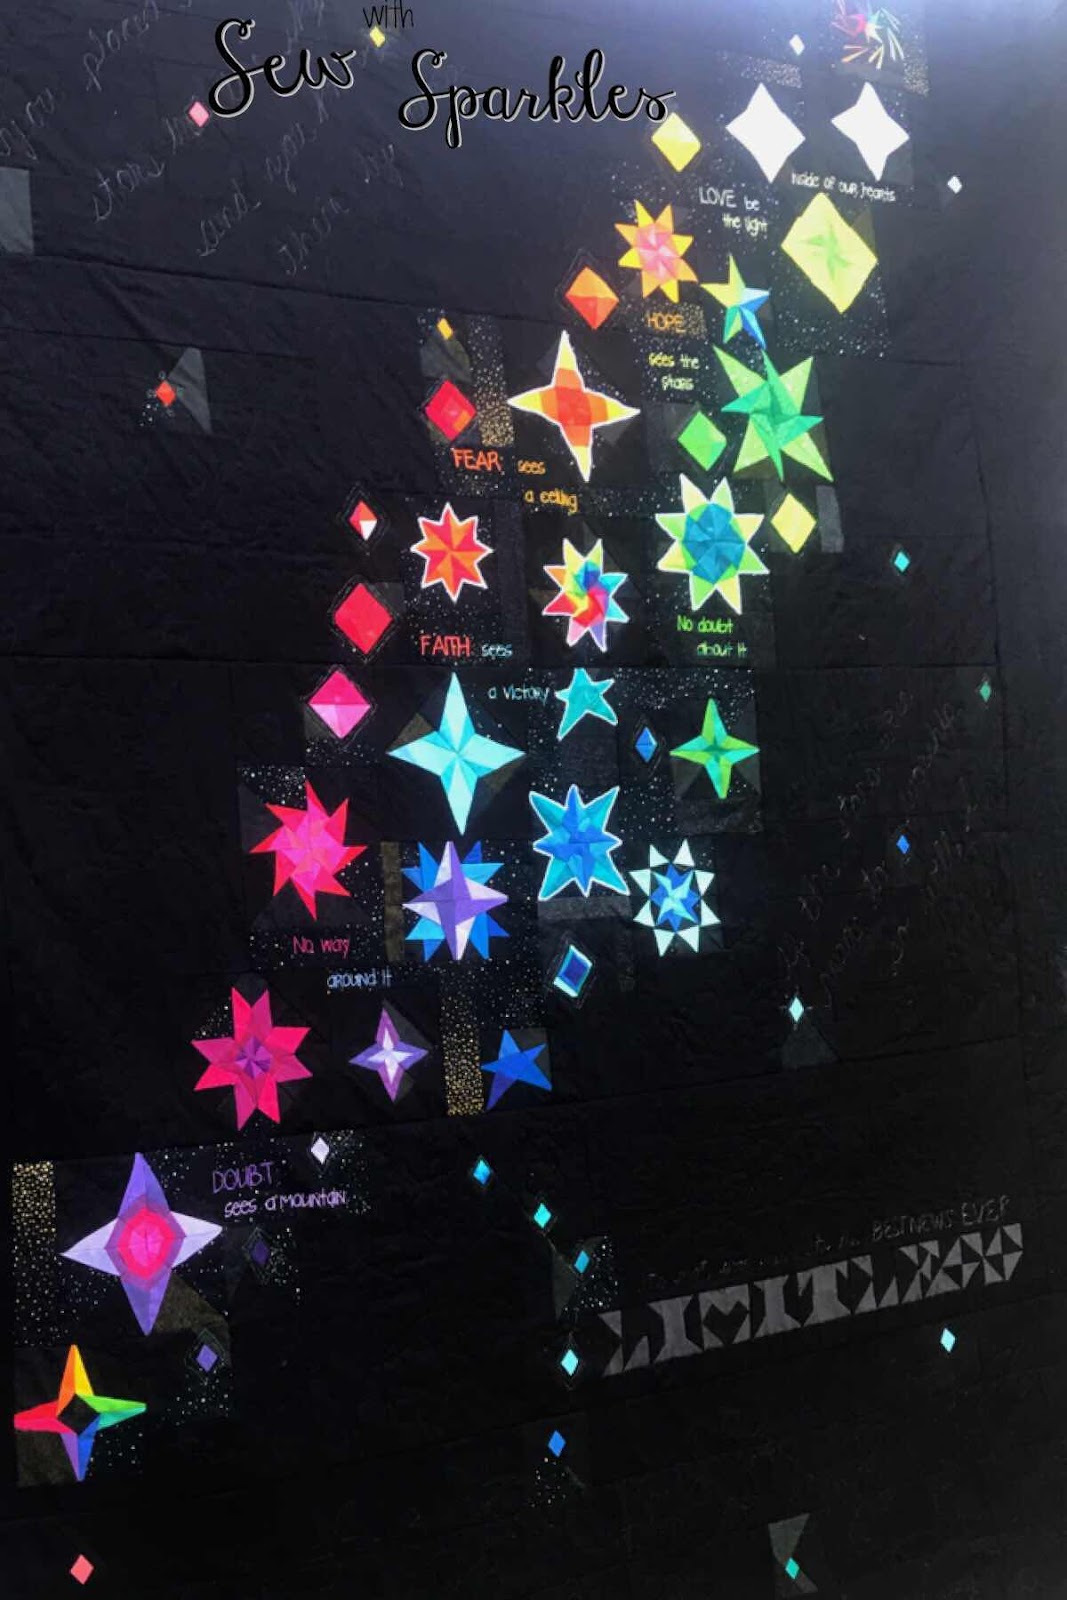
Up close version of the stars:
This almost gives me chills the way the rainbow and outlying sky glimmer with color! To watch, tweak, and develop really a work of art transform over months is SO COOL! I could just stare and stare...sounds selfish...I'm excited for others to potentially see it as well though and spreading the message! The closer you look - the more you see - the shine, the secret wording, the quotes, the detail it all comes together!
Well if you've seen or been around our blog you know I'm the risk taker. The jump in. The let's think later one. Heck i'm still under a year of sewing for the FIRST. TIME. EVER! That is not a joke - started July 2018.
You can read here all about how this quilt came to be, and yep improv piecing was new to us as well and here we are rocking it :)
Why not Quilt As You Go (QAYG) as well? It's not like we don't have enough going on in the quilt already? hehe We decided to go this route because I wanted lots of detail (read sparkle thread, metallic thread, glow thread)
1. Lay out 2 pieces of fleece on a flat surface (I used the floor)
2. Cut 5" slits every 1 1/2" or so on all 4 ends
3. Knot each slit and that's all there is to it!!! Easy peezy - no-sew !!!
Pillow Instructions:
1. Lay out 2 pieces of fleece on a flat surface - fleece should be 8" bigger than pillow form
2. Cut 4" slits every 1 1/2" or so on all 4 ends
3. Knot each slit and that's all there is to it!!! Easy peezy - no-sew !!!
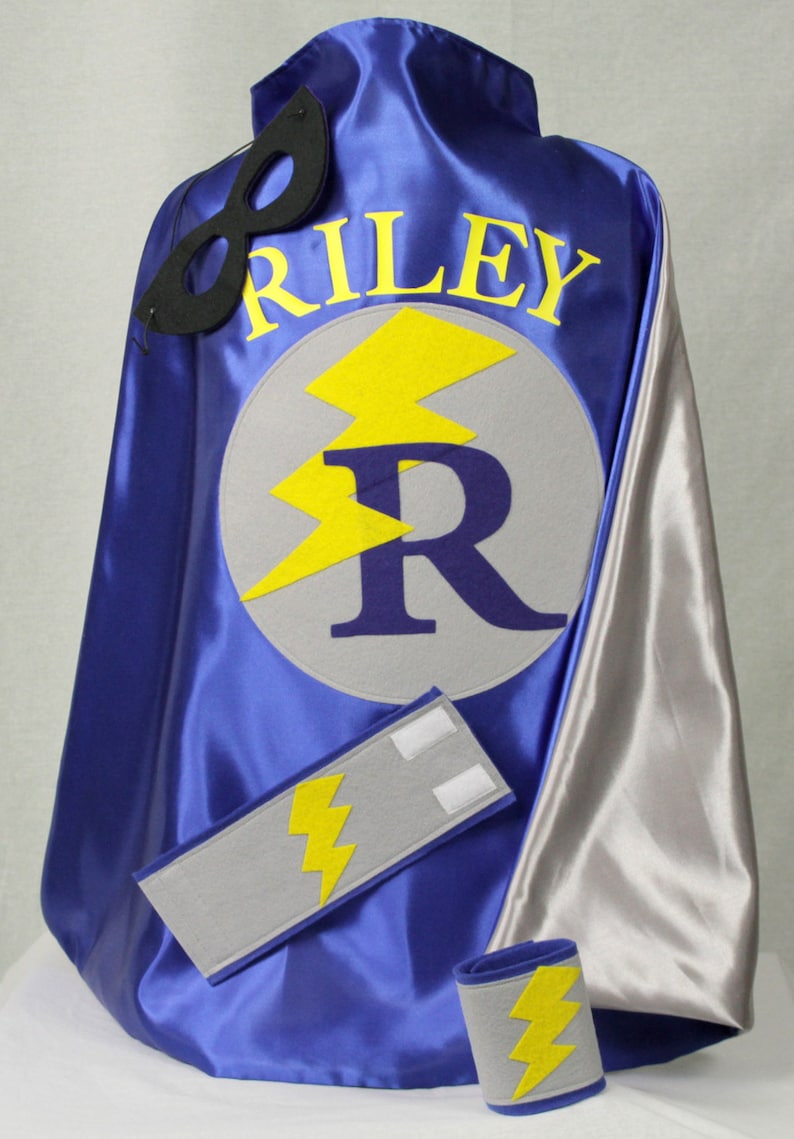
We personalized the pillow using images from our no-sew costume pattern. The grand-kids are having a blast with their new no-sew superhero costumes!!! We have a Kaboom and Blazing Speed SuperHero!!! We also had a Lightning Bolt Superhero who didn't quite make the photo shoot!!! Grandma just loves these little guys and making things for them and seeing their little smiling faces and poses!!!
Let's talk about sewing for kids! We all have little ones in our lives in one way or another! We love sewing for our kids and grandkids for so many reasons.
Such a great momento! They can keep items for years to come and have special meaning.
Customize - you can add names, use fun colors, gear it to a specific person
The CREATIVITY - can we all agree that sewing for kids is FUN! the characters, the imagination and play items....getting butterflies over what you know the use will be!
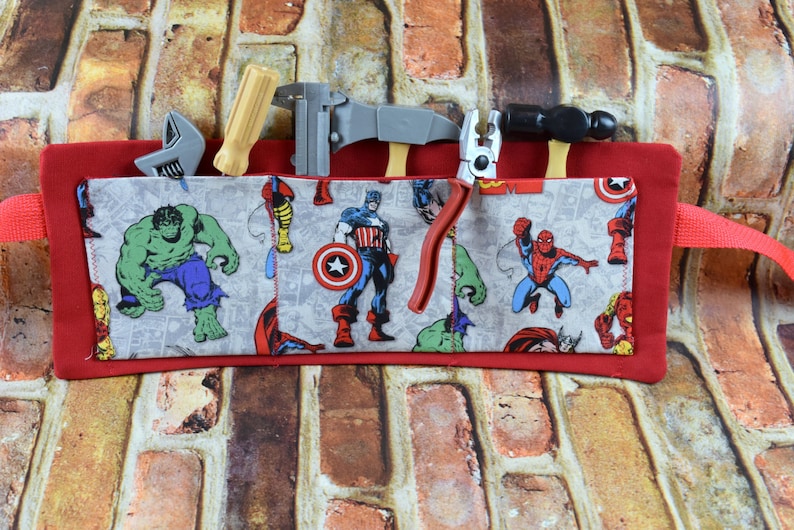
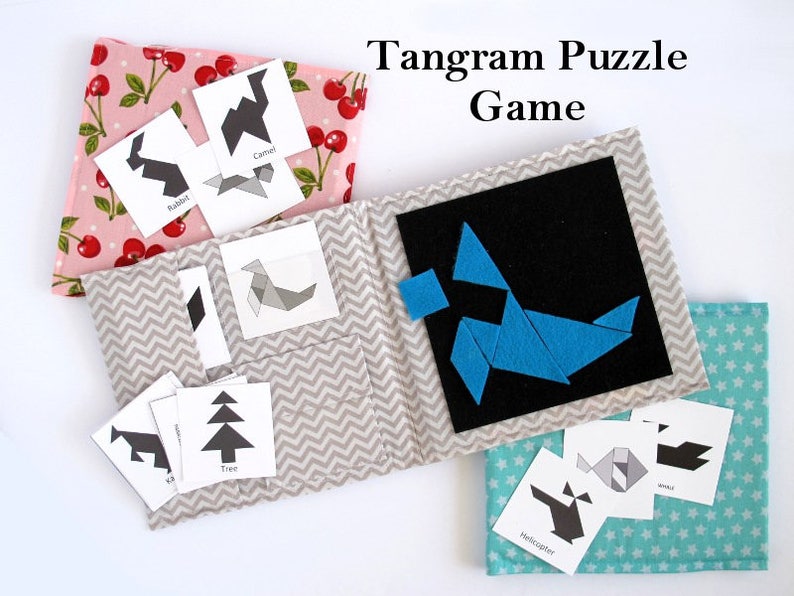
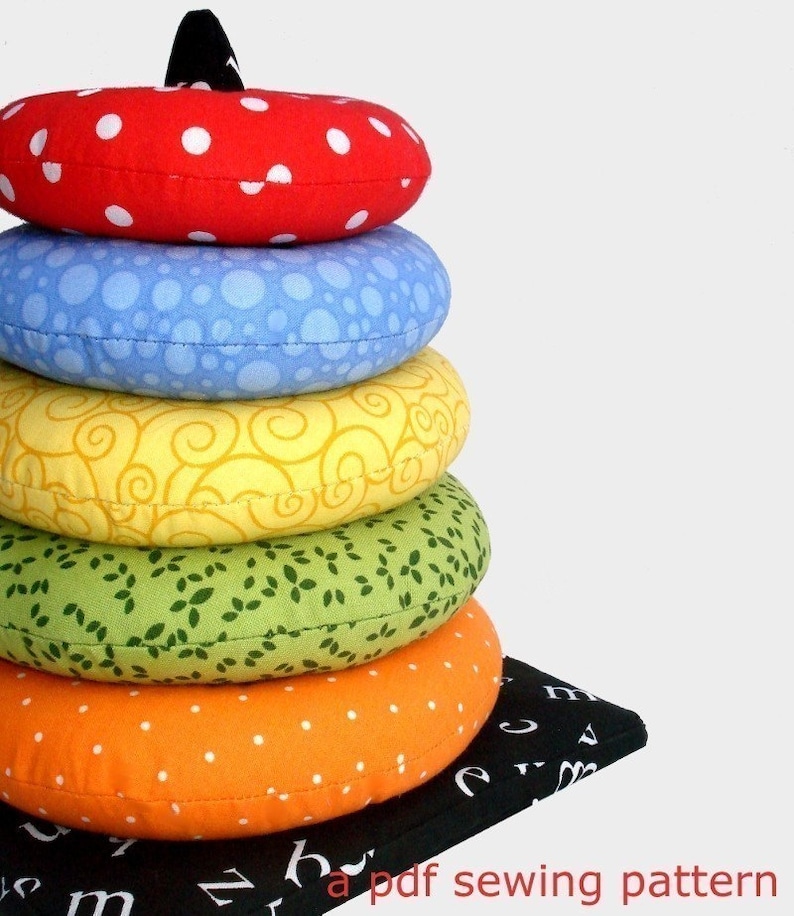
Let's take a peek at some of our favorite items to sew for kids:
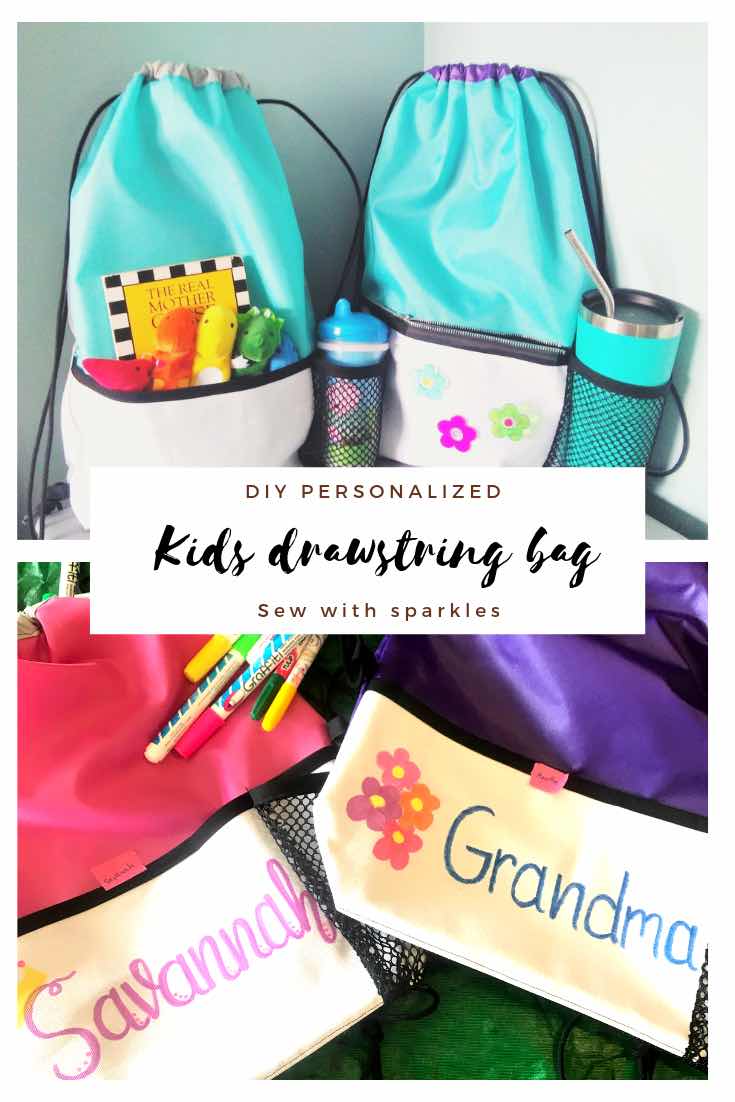
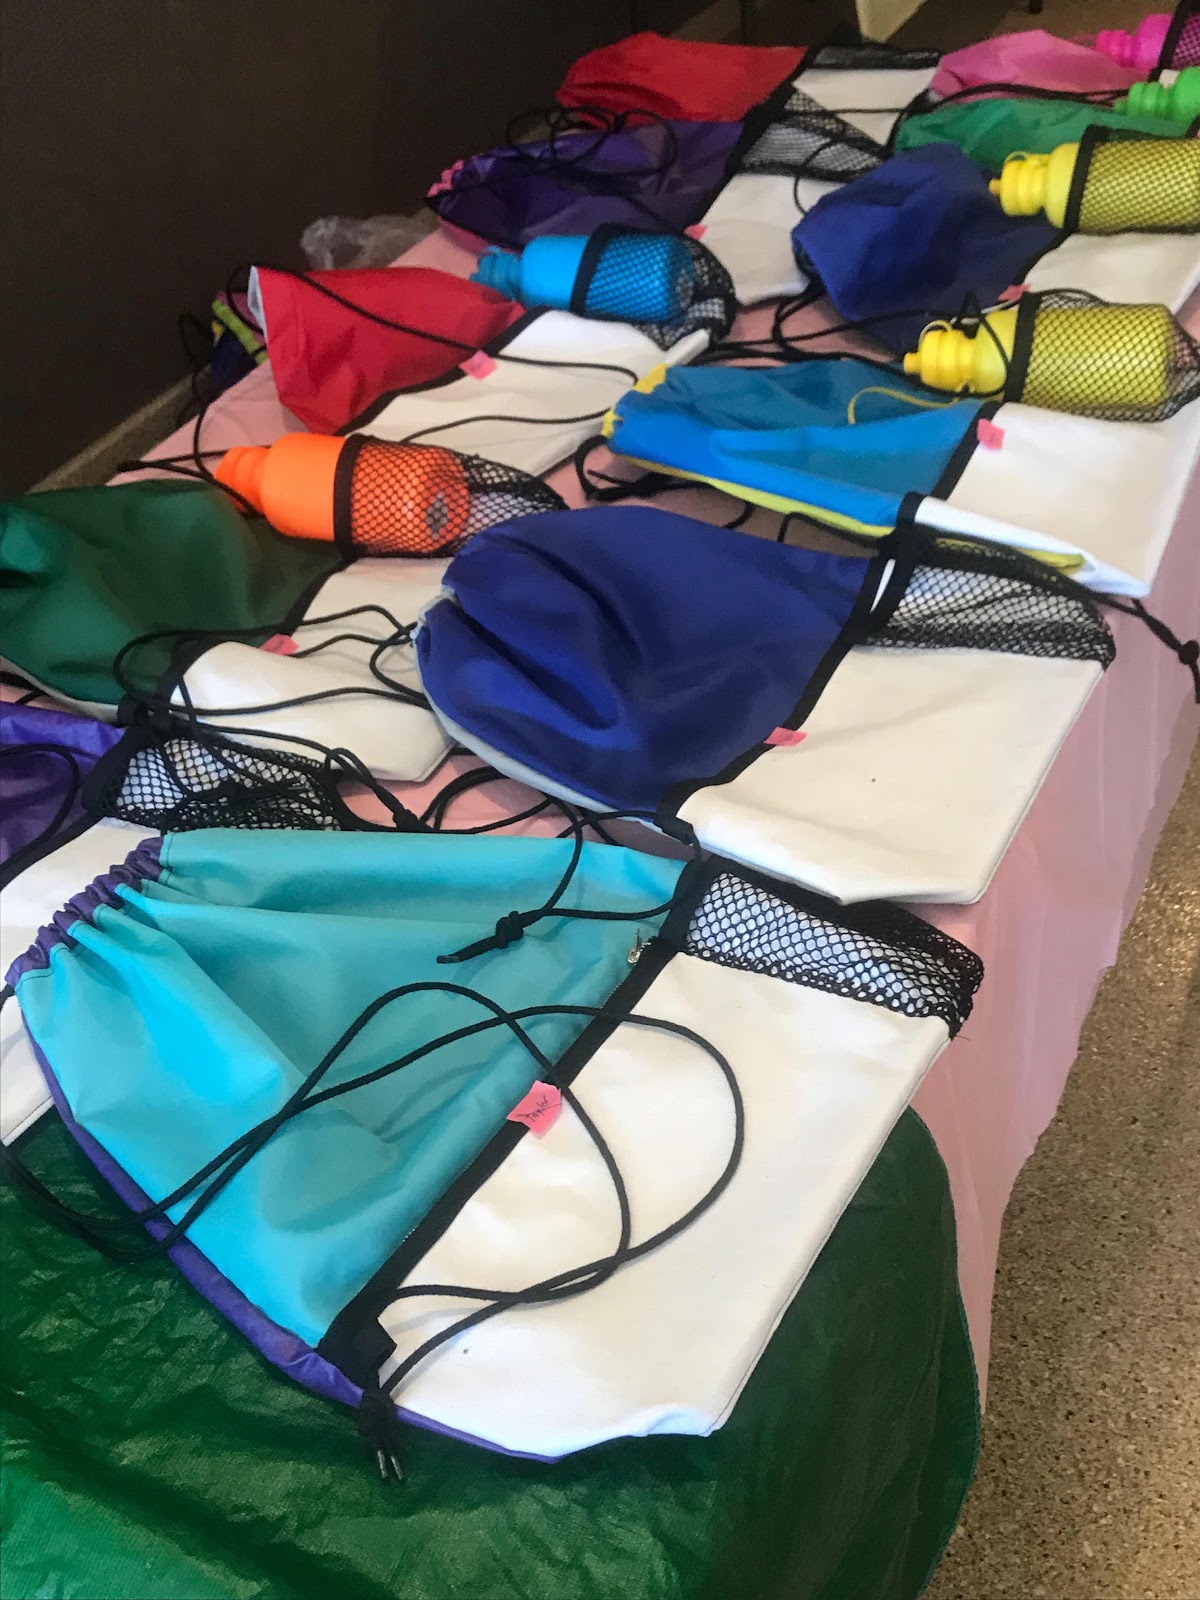
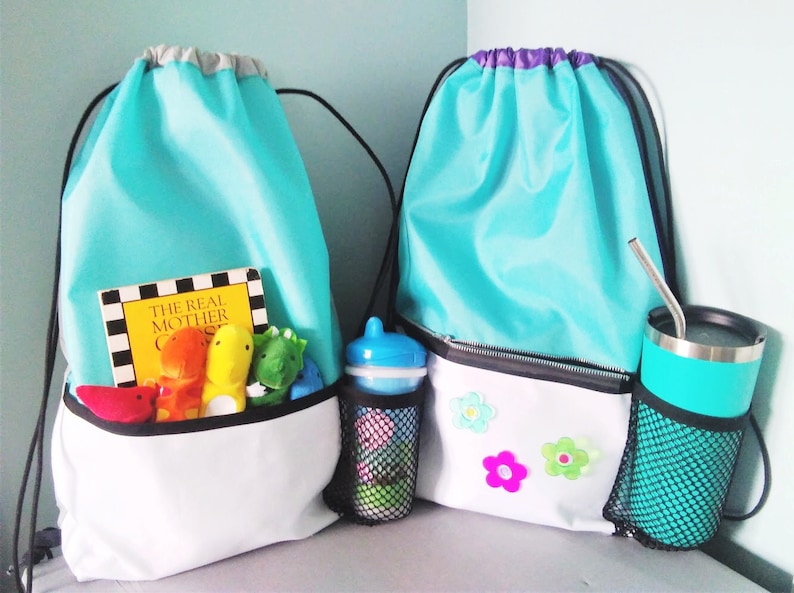
So remember when we made these drawstring bags.... we're coming back with ways to personalize them!
With the canvas on the front you can use fabric markers, sharpies, or even puff paint to make your bag your own. I cannot describe how much the kids had decorating these. We go on an annual trip each year with extended family so each grandchild decorated one to take along.
We even had a special family sewing day to whip these together. They come together quickly and are very easy to make! We had an 11 year old make an entire bag and even myself and my aunt who would be considered beginners mastered this pattern!
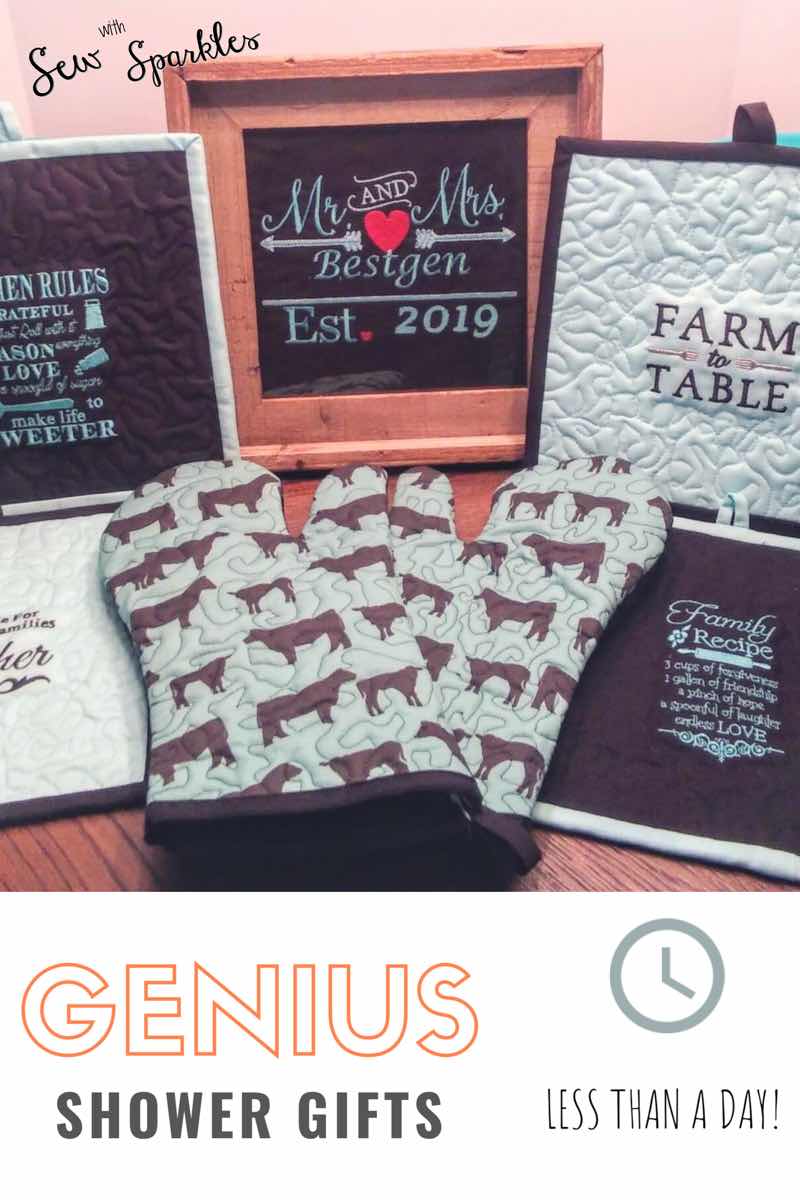
I like to pre-make gifts for when I get that last minute invite or just feel the need to give something nice to someone special!!!
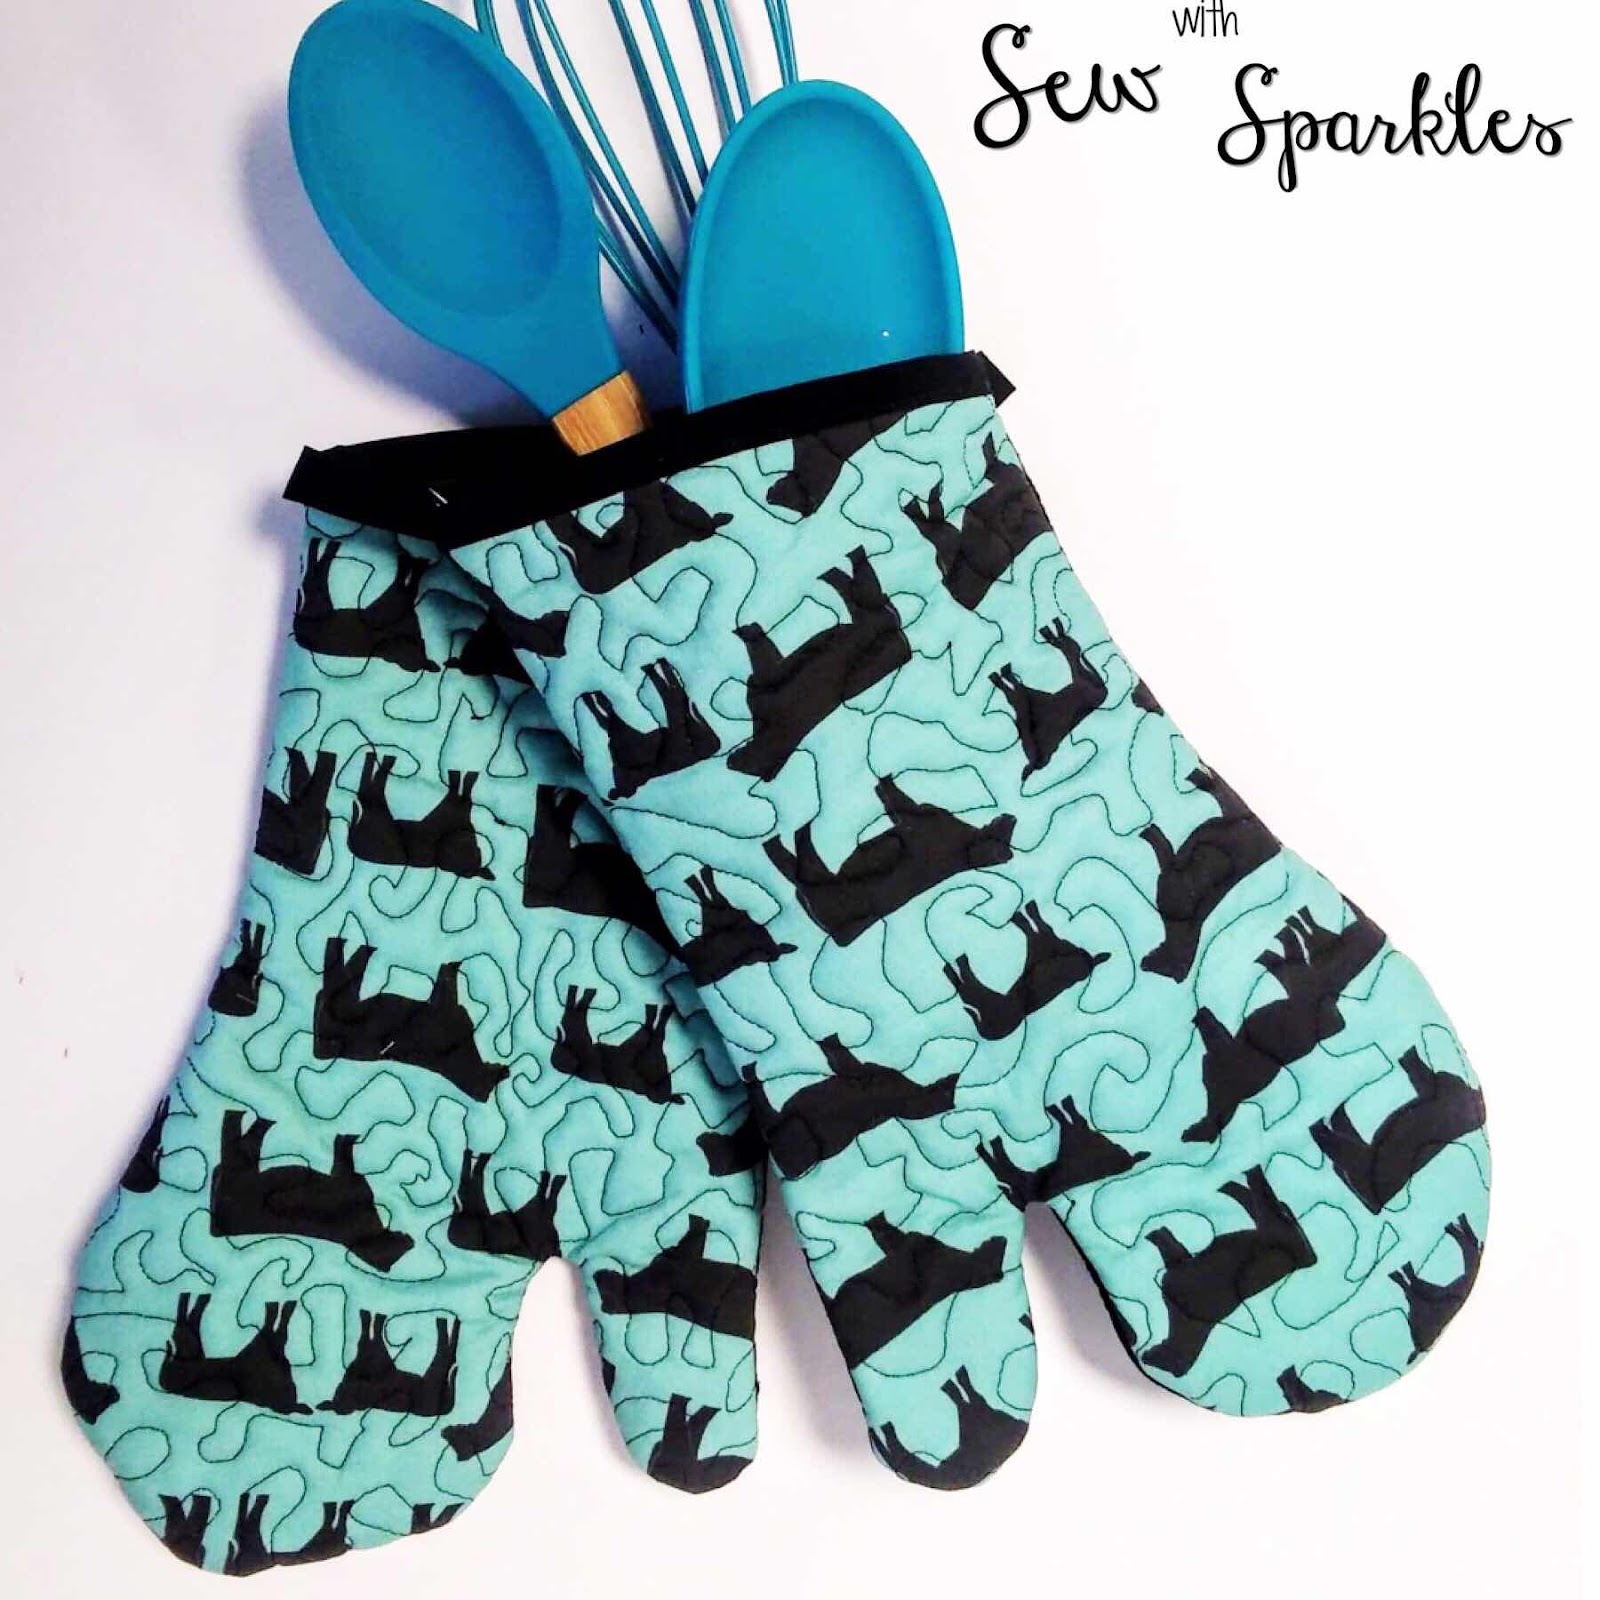
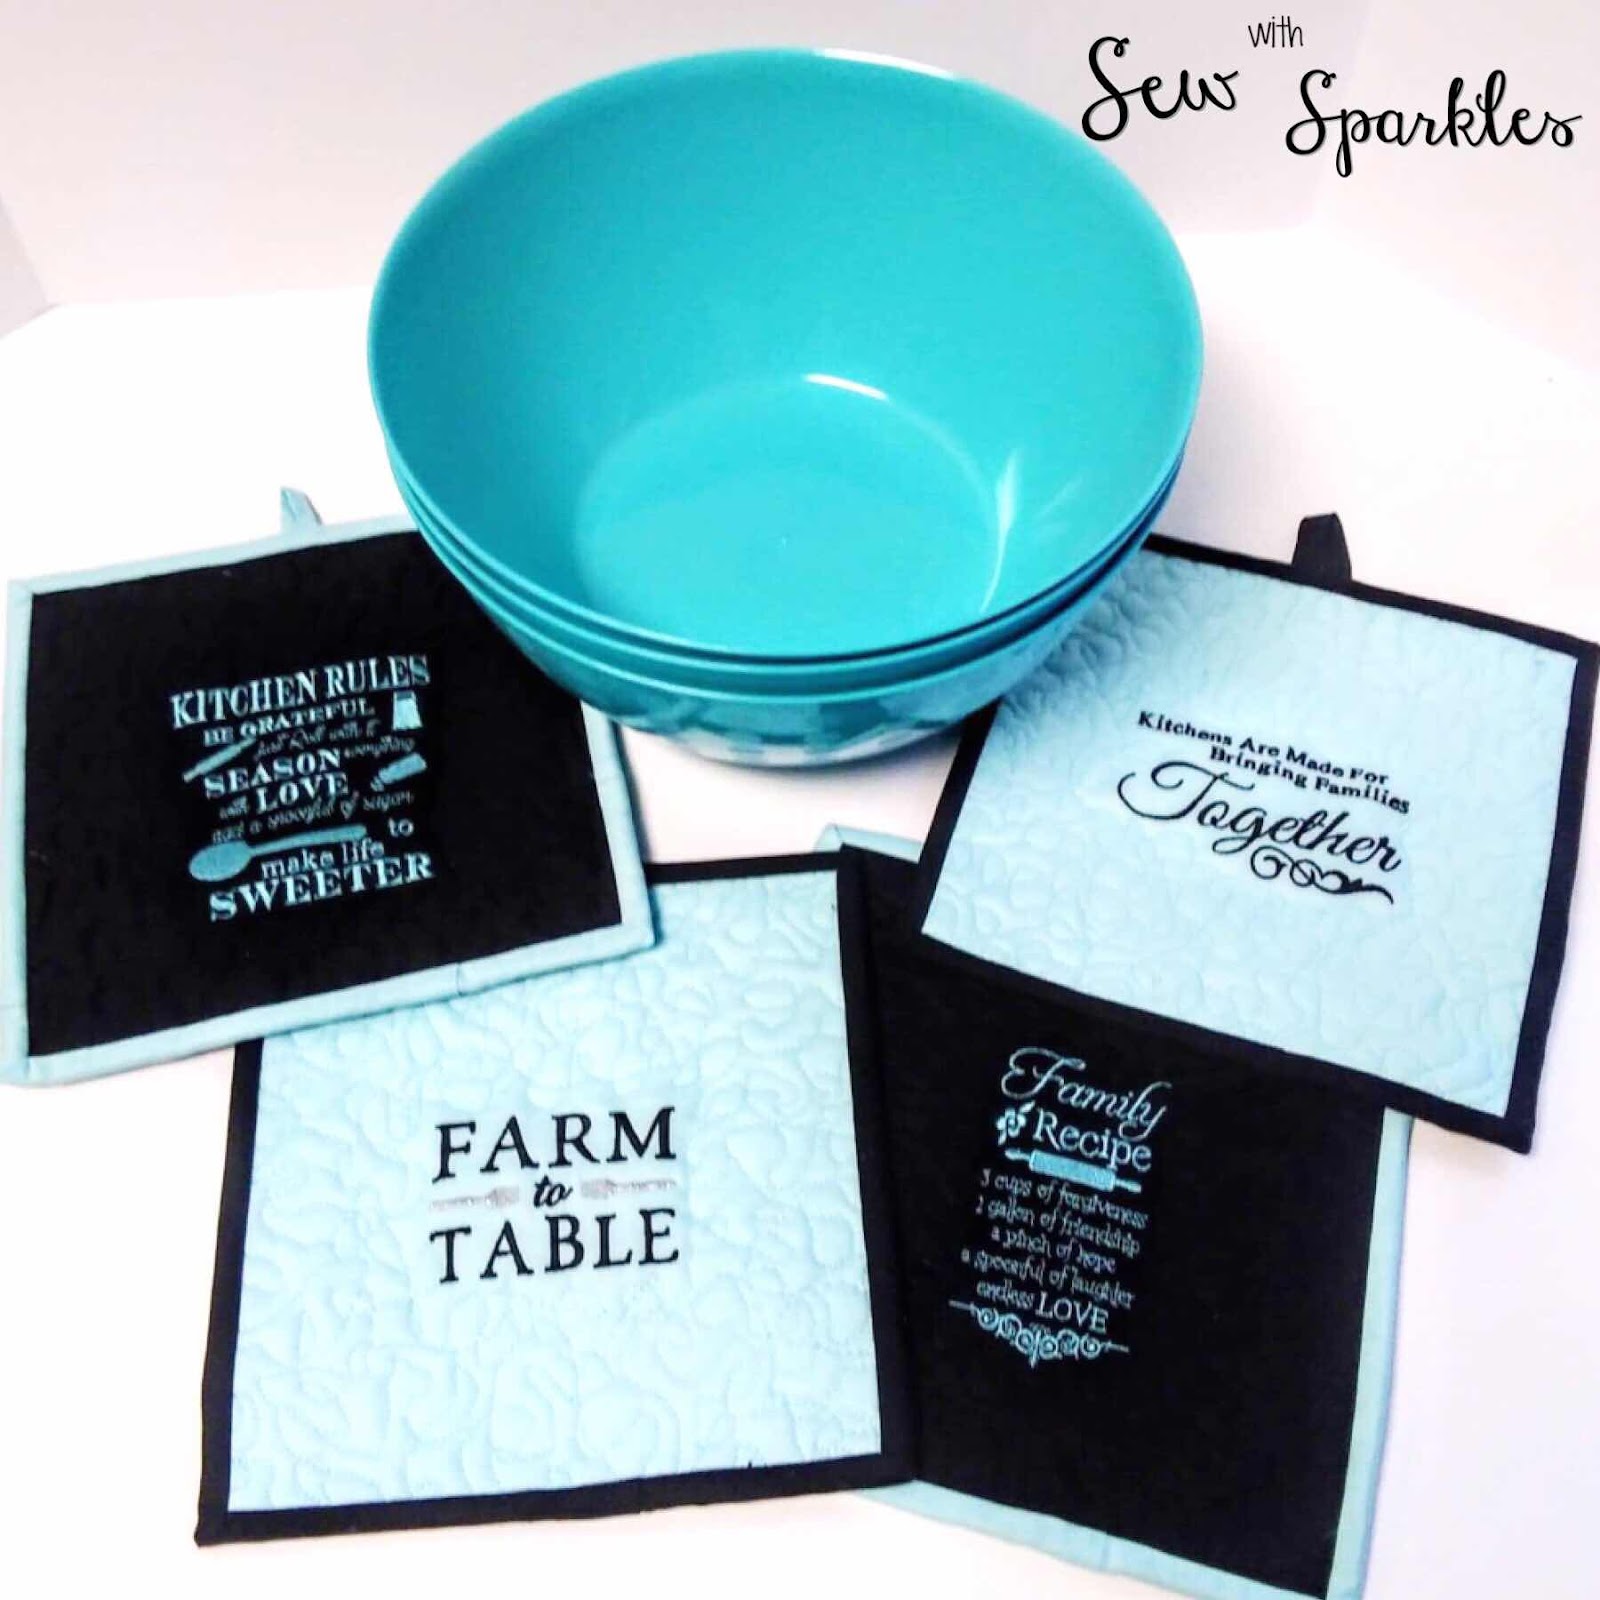
My go-to items are oven mitts, potholders, place-mats, mixer and toaster covers!!! Being the quilter that I am, I always have a stash of material, batting and insul-brite readily available.
In this case, I had plenty of notice and knew the colors and theme the bride planned on using and was able to sew these up in no time!!! And did I mention that they were cheap because I had fabric and batting on hand, but I think they since they are personalized, they make great gifts and don't look cheap!!!
These come together so quickly! Adding a few kitchen supplies
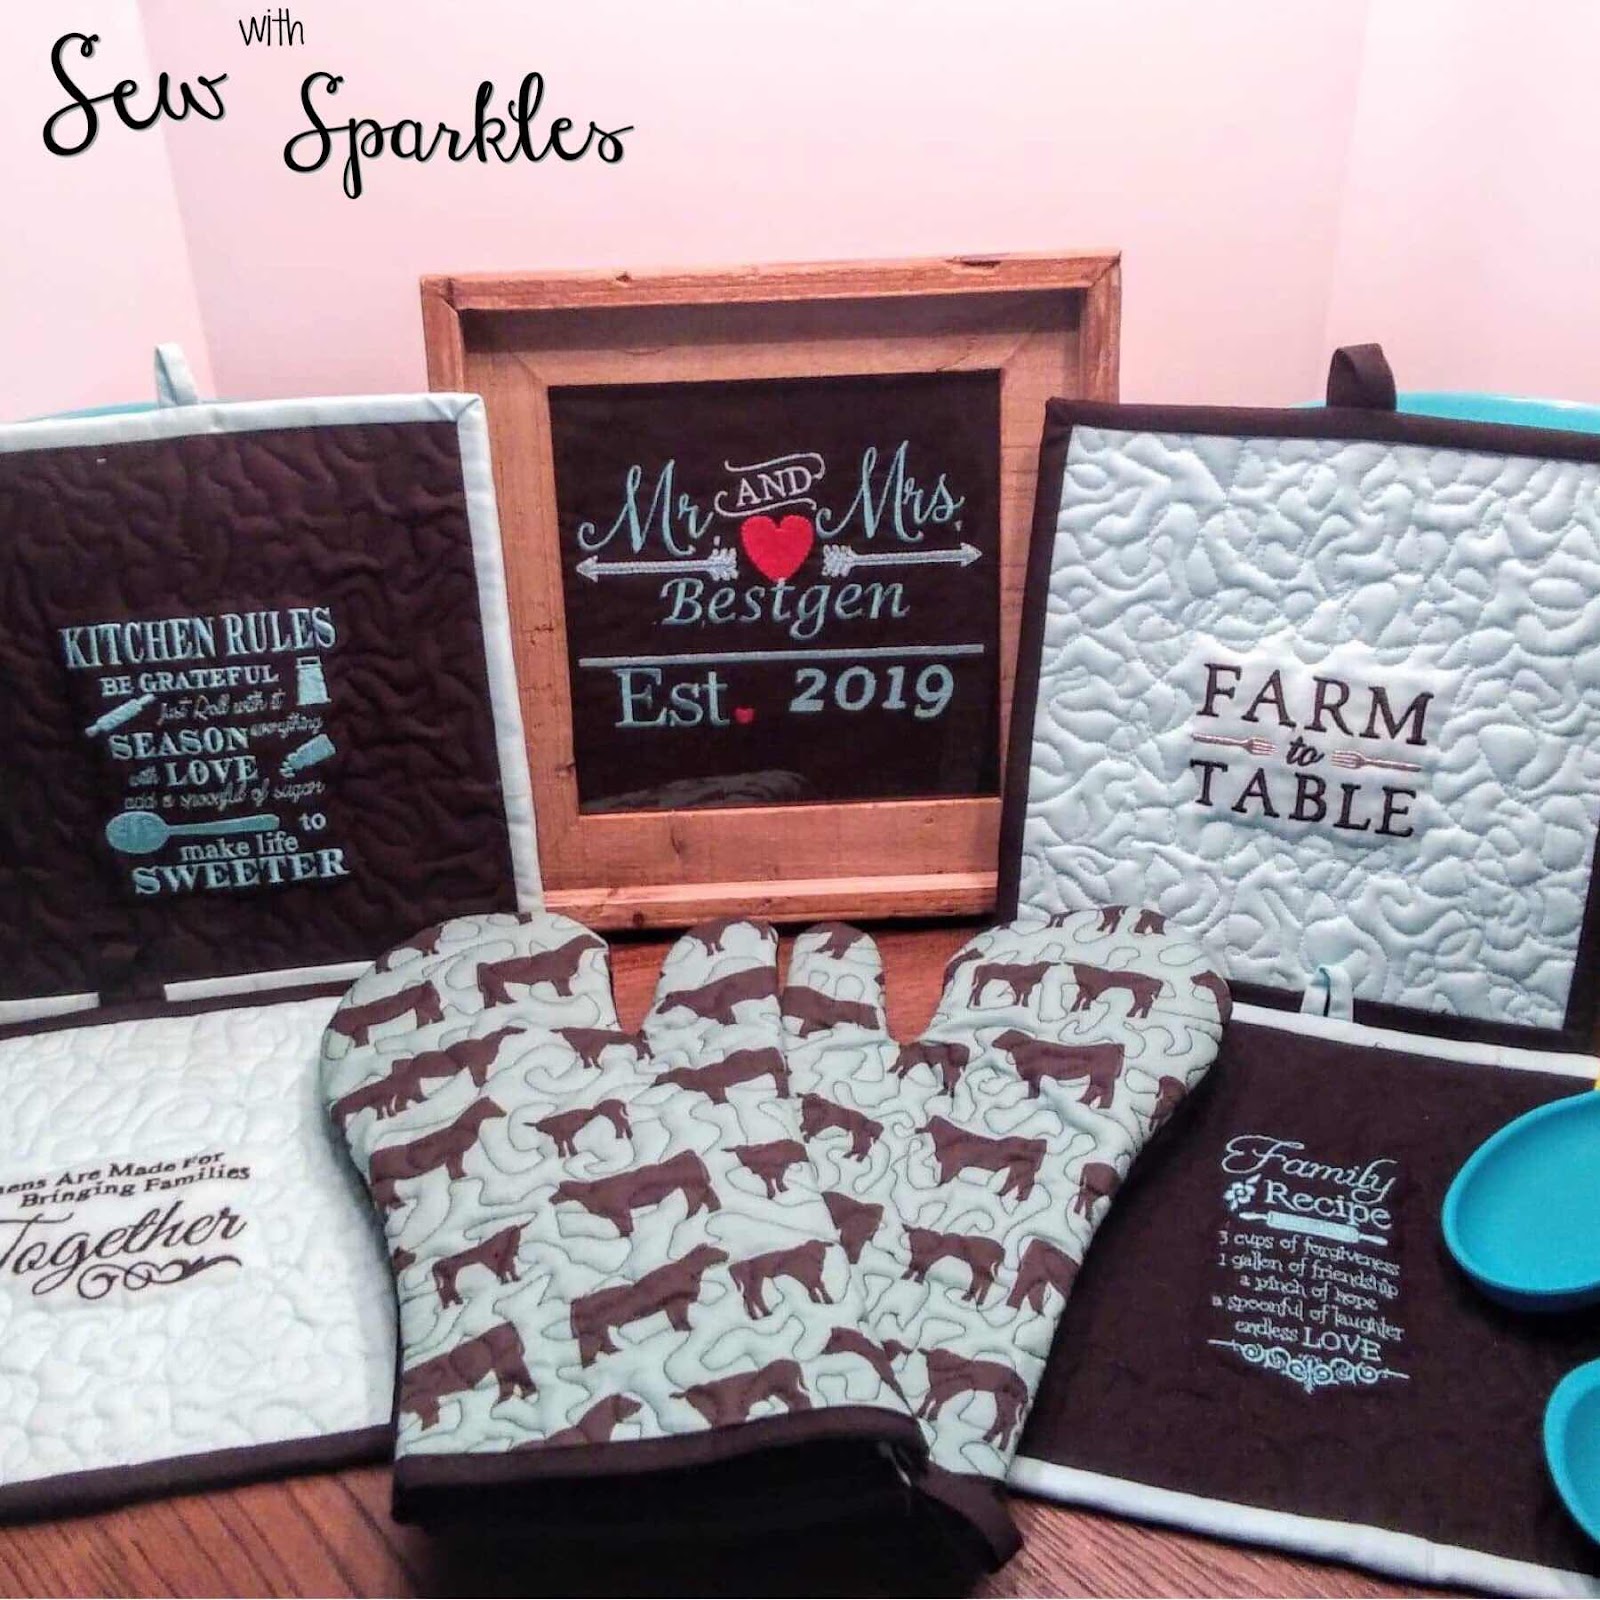
Oven mitts are so easy to make and look great stuffed with a few cooking utensils!!!
Who doesn't need pot holders and I love personalizing them. Once you've purchased the embroidery patterns, they can be used over and over again!!! I try to purchase generic patters that can be used for all occasions and for anyone!!!
I love how fast these come together but how personalized of a gift they are. The thought of this handmade hand sewn gift goes way beyond!
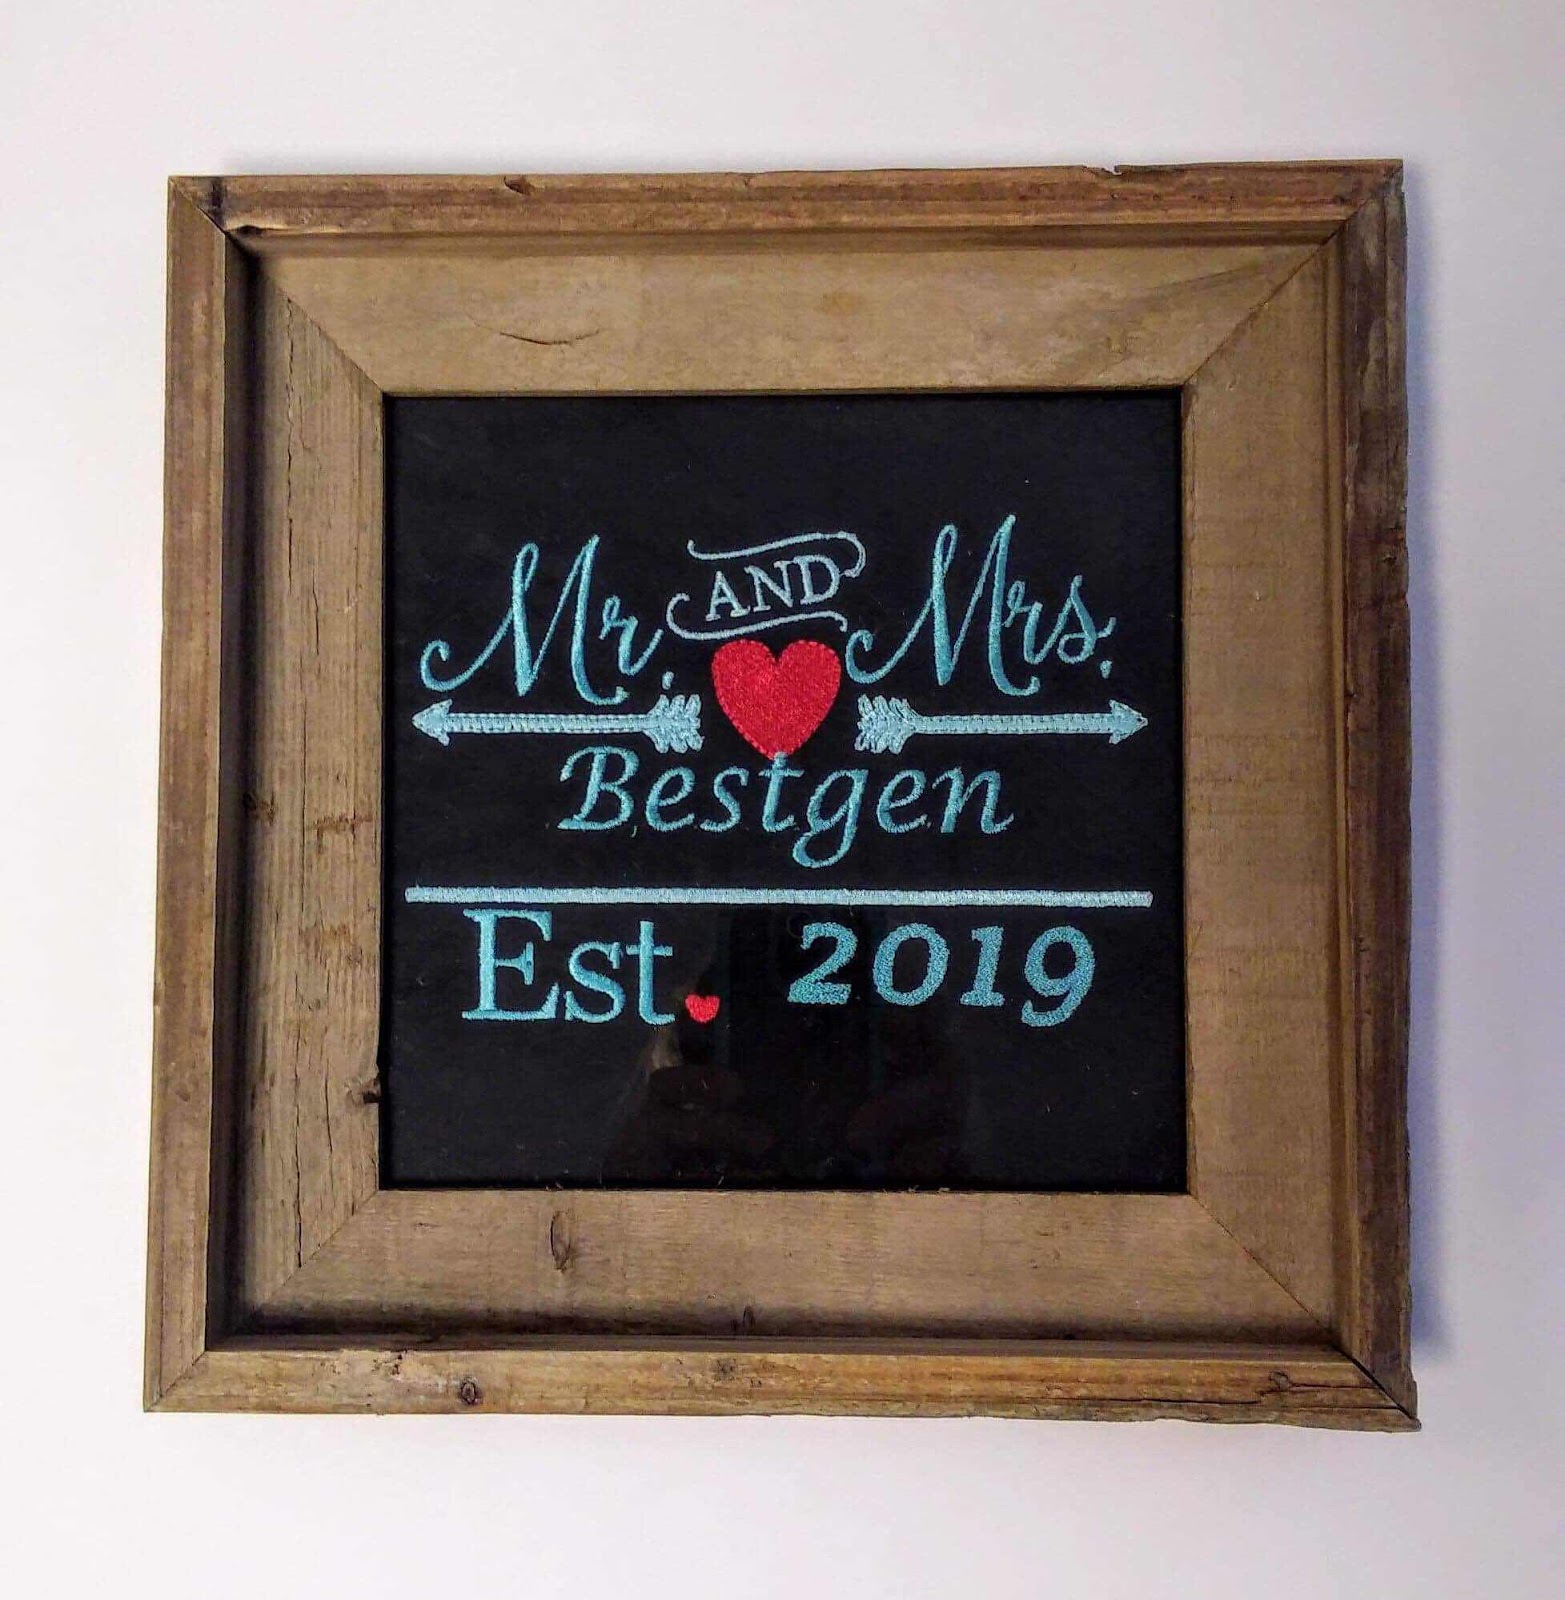
I love the rustic frame which will be perfect with the future couple's decor.
This particular embroidery pattern, I just love for wedding gifts. You get to add your own name and date making it very handy and I use it for all my wedding gifts!!!
I'd love to hear what your go-to gifts are and see pictures!!!









 , sharpies, or even puff paint to make your bag your own. I cannot describe how much the kids had decorating these. We go on an annual trip each year with extended family so each grandchild decorated one to take along.