Showing posts with label easy sewing project. Show all posts

Sewing Hack: Easy Superhero Costume for the Fast Flying Powerful Kid!

This post might seem a little backwards as it's actually a no sew pattern! (Shocking!) All the avid sewists look away  - shield your eyes!
Sometimes you need an easy project that sparks joy.  
THIS. IS. IT!

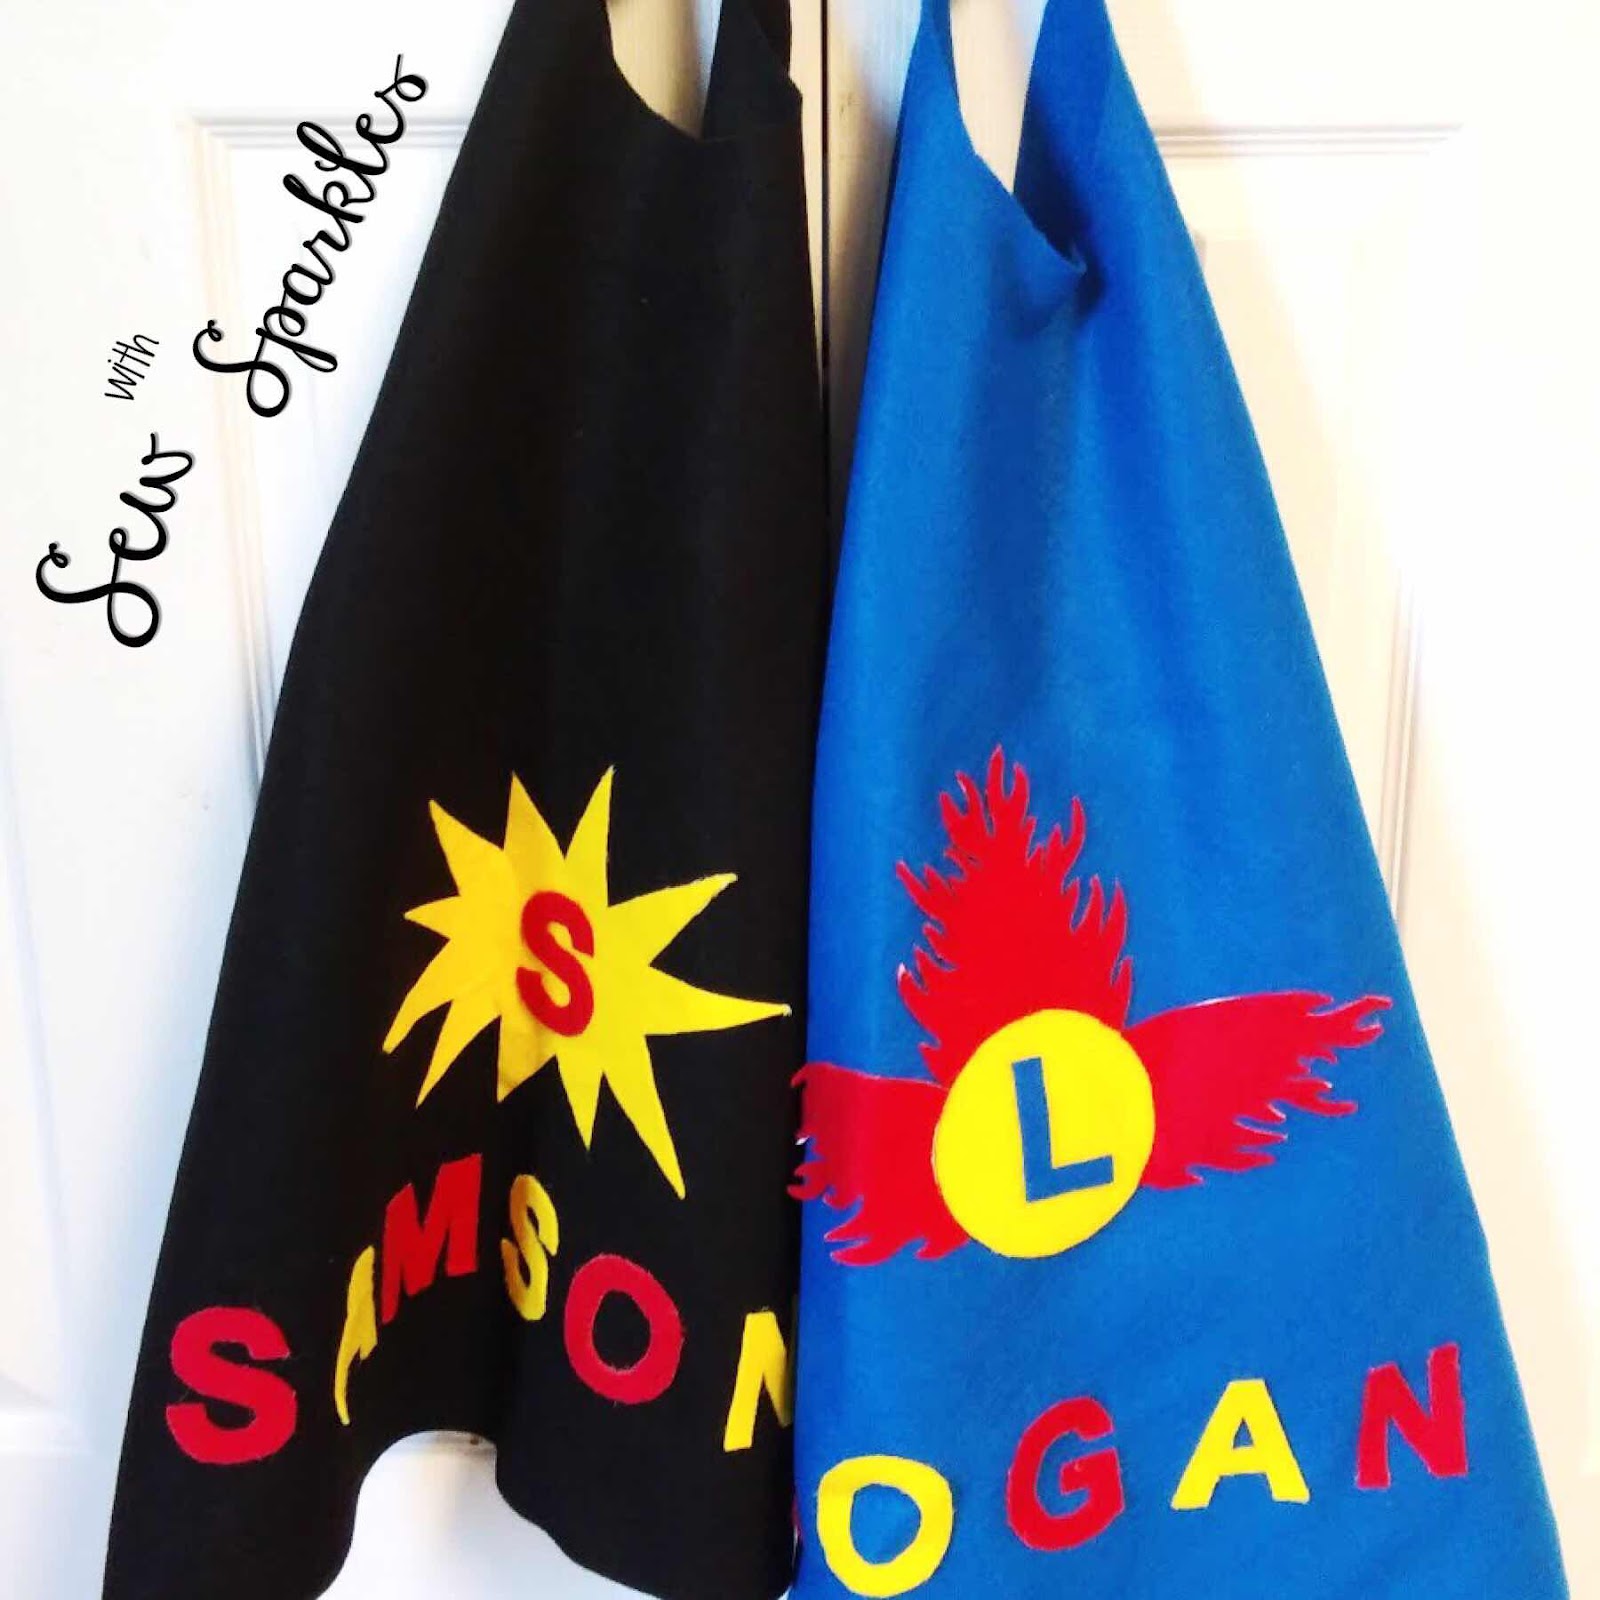
My boys have loved their special superhero outfits and really do not want to take them off! We have to have all the pieces all the time!

Have you seen cuter superheroes than this?!?!

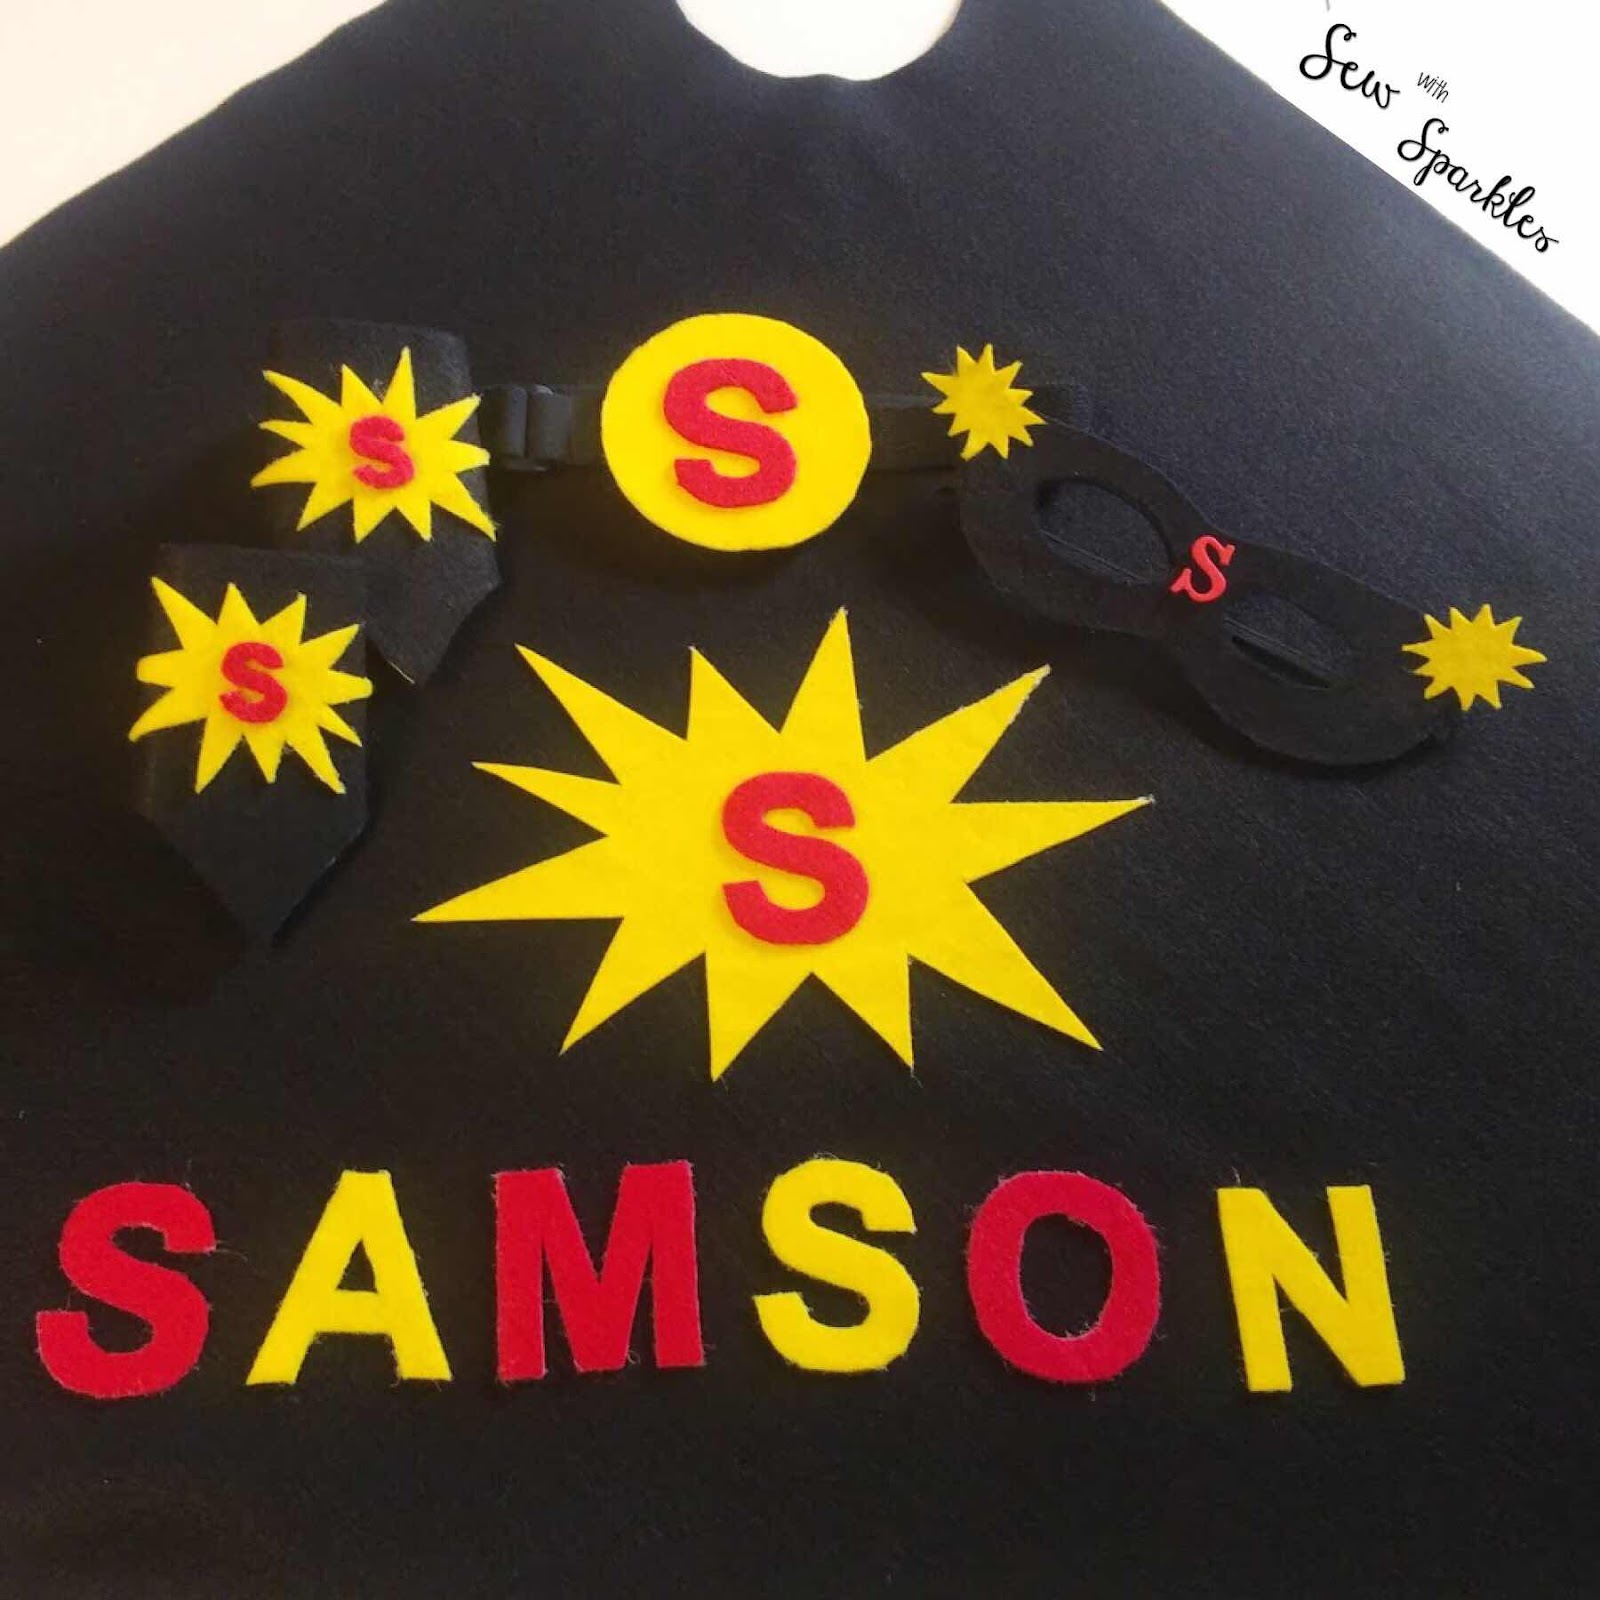
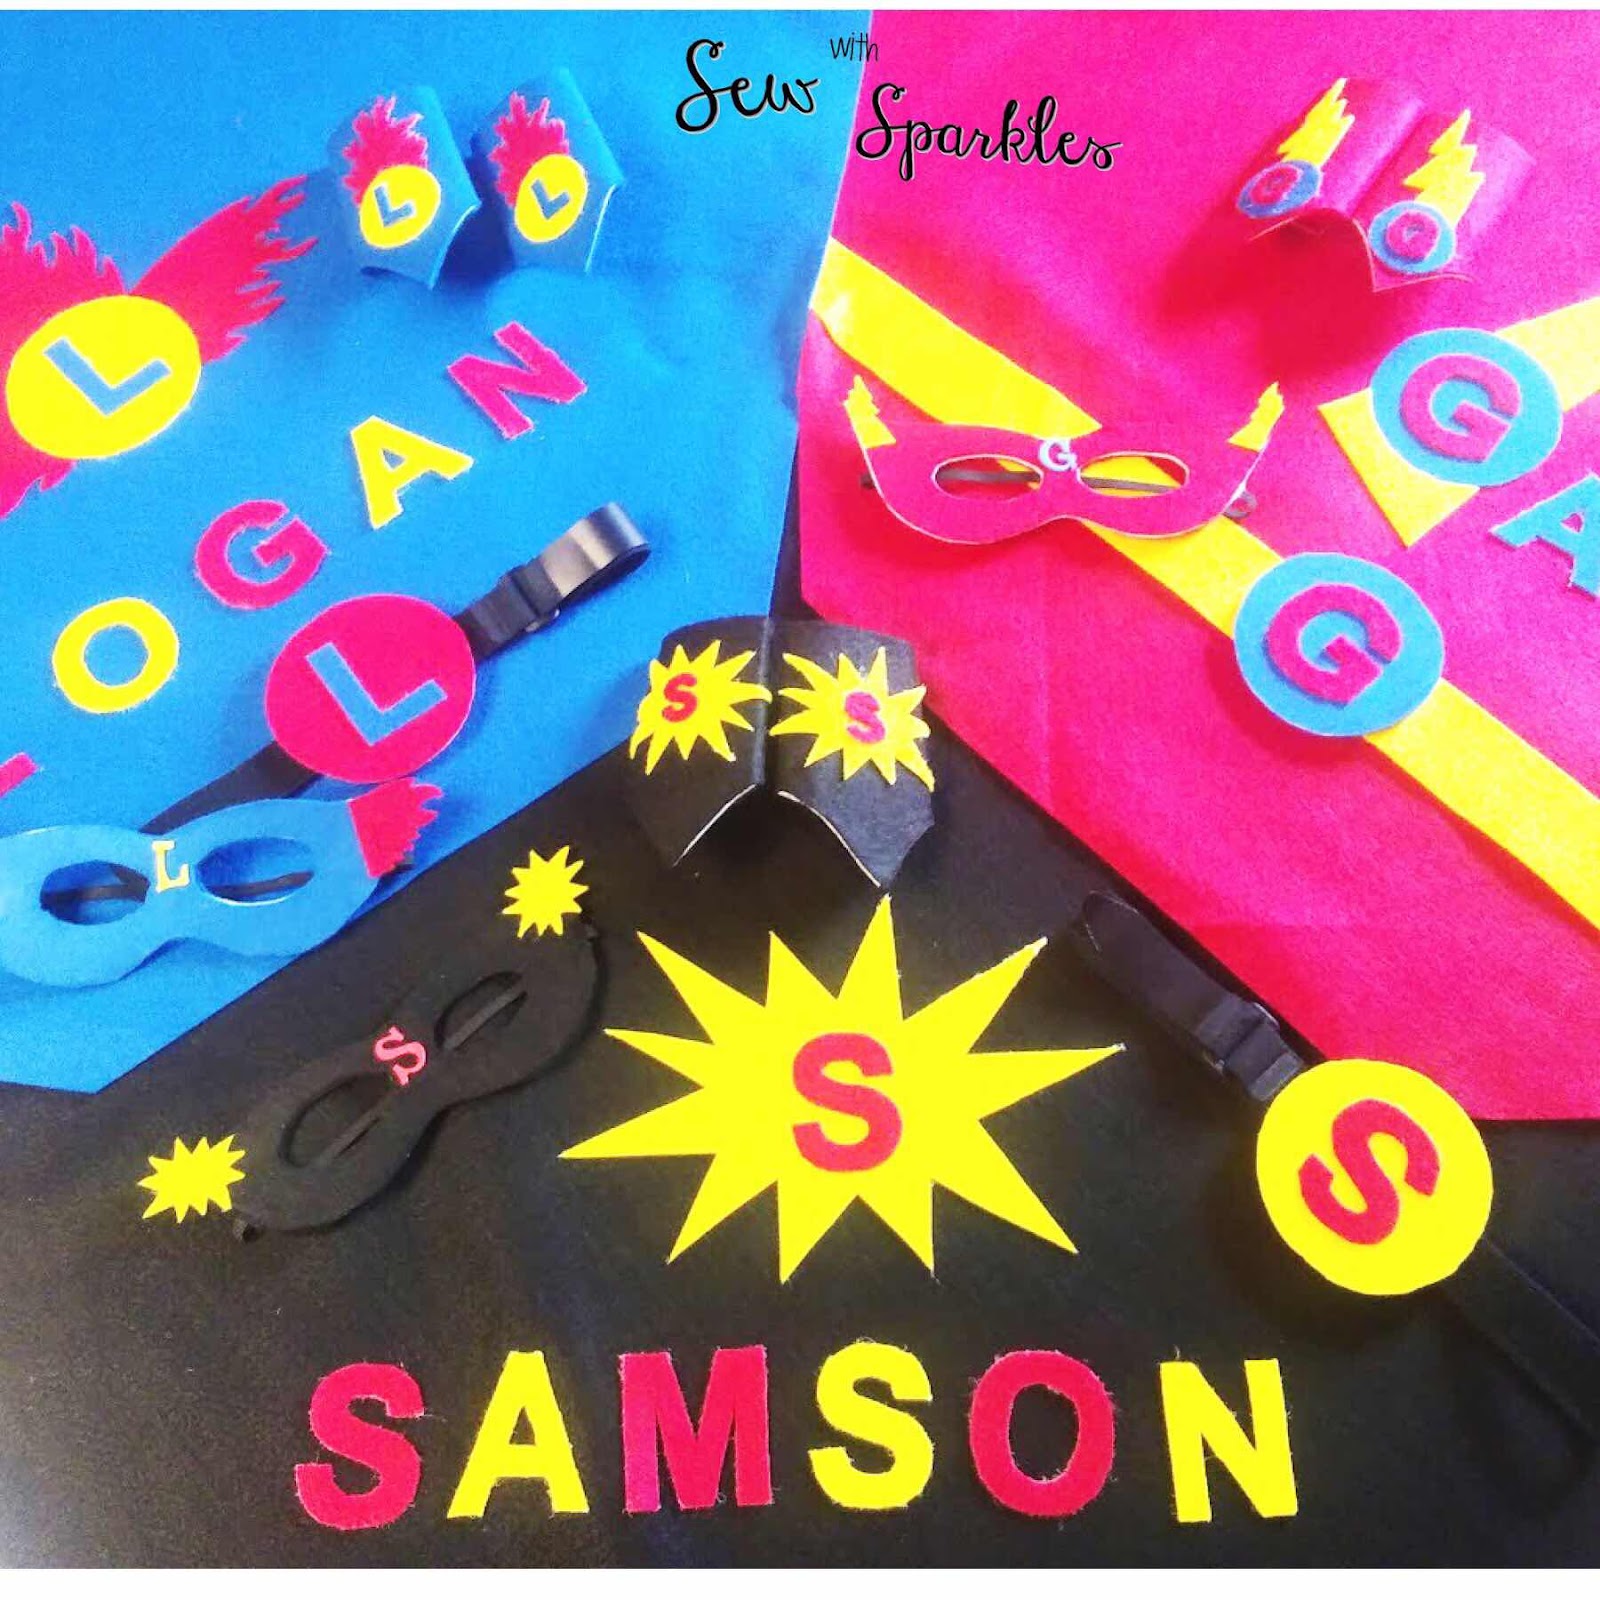
I love this pattern/template because of all the extras! It comes with 
  • cuffs/arm bands
  • belt
  • mask
  • cape!

All easy to cut and sew together!


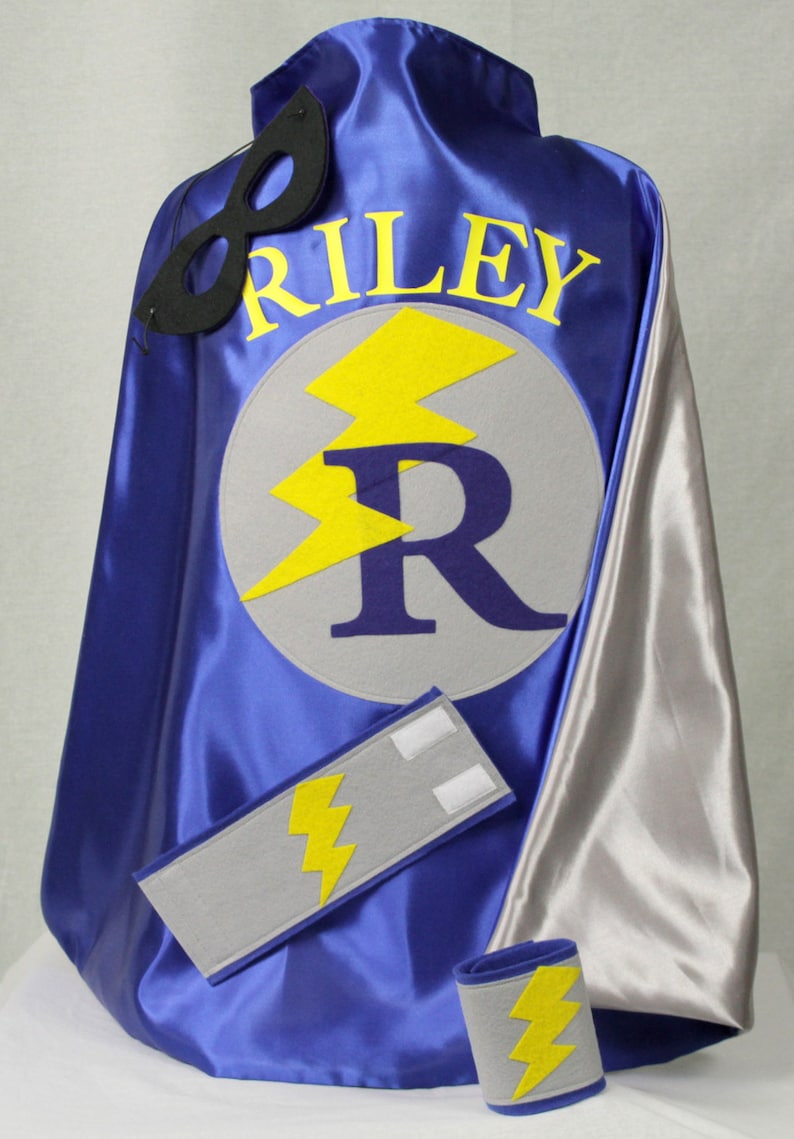
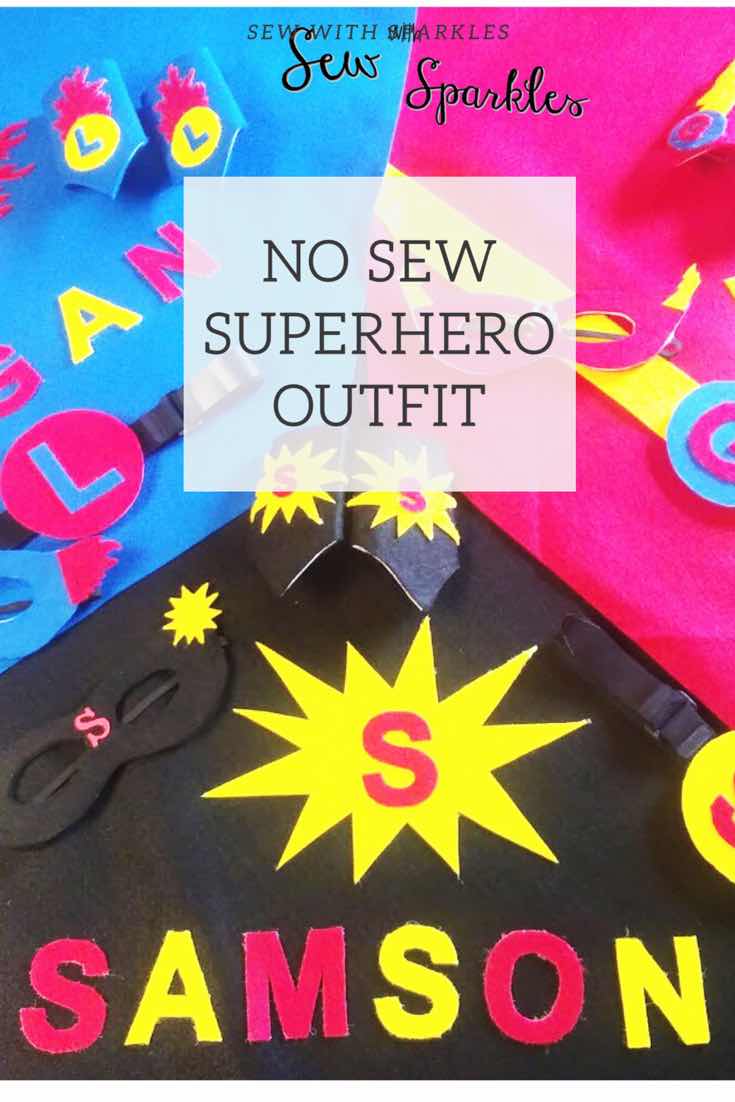
This NO SEW superhero outfit is a gamechanger!  Easy to assemble and is great for imaginative play, Halloween, and more!  All you have to do is cut it out and a little glue and ironing!!!

My boys love that they each have their own special cape with their name and emblem/superhero power.


This superhero cape and pattern is perfect for the beginner as it takes very few supplies and can be done very quickly!


Pellon 72 is the trick to keeping the material stable for the belt and mask!  Another great tip is to use  "these belts" that can grow with the child or you can simply cut a piece of felt.


Lightning bolts / kaboom  blast  / blazing flames - you can choose colors and emblem it couldn't be easier!


0

Superhero No-Sew Kid's Slumber Party Blanket & Pillow Tutorial


Supplies:
2 pieces of fleece 60" x 74" for blanket
14" Pillow Form Insert
2 pieces of fleece 22" x 22" for pillow
Small Felt pieces for personalizing pillow
Spray glue or fabric glue to secure felt images
Blanket Instructions:
1.  Lay out 2 pieces of fleece on a flat surface (I used the floor)
2.  Cut 5" slits every 1 1/2" or so on all 4 ends 

3.  Knot each slit and that's all there is to it!!! Easy peezy - no-sew !!!


Pillow Instructions:
1.  Lay out 2 pieces of fleece on a flat surface - fleece should be 8" bigger than pillow form
2.  Cut 4" slits every 1 1/2" or so on all 4 ends 


3.  Knot each slit and that's all there is to it!!! Easy peezy - no-sew !!!

We personalized the pillow using images from our no-sew costume pattern.  The grand-kids are having a blast with their new no-sew superhero costumes!!!  We have a Kaboom and Blazing Speed SuperHero!!!  We also had a Lightning Bolt Superhero who didn't quite make the photo shoot!!!  Grandma just loves these little guys and making things for them and seeing their little smiling faces and poses!!!


0

WHAT - A Weighted Binky with Minky - Sew Soft and Cuddly and Sparkly

My love of soft and cuddly and sparkly combined with the comfort of a weighted blanket!!!  It doesn't get any better than that!!!


All my grand-kids are boys so it was a little different and fun working on this precious little girl blanket and pillow for a friend!!!

Did you know you can sew a weighted blanket for about half the cost of buying one?  I'm all about saving money and enjoy the sewing/quilting process.  This weighted blanket is 36" x 48" and weighs 5 pounds (for a 4 year old girl who weighs 46 pounds and 43 inches tall) and only cost me $43.66 and that includes the pillow!!! I go to rummage sales for pillows and just wash them and re-purpose them or use my left over batting.    I had leftover fabric from the blanket so making a pillow was a no-brainer/cost for me :)

See our DIY Weighted Blanket post on how to make a weighted blanket and Working with Minky post for further details/instructions.

Here's the easy technique to use: 

I was in a time crunch otherwise I would have personalized the blanket or pillow adding an extra special touch!!!  Instead, I just used some left over material as a bow to make a nice presentation when gifting!!!


3

10 Cool Items To Sew For Your Kids Right Now

Let's talk about sewing for kids! We all have little ones in our lives in one way or another!  We love sewing for our kids and grandkids for so many reasons. 


  1.  Such a great momento!  They can keep items for years to come and have special meaning. 
  2. Customize - you can add  names, use fun colors, gear it to a specific person
  3. The CREATIVITY - can we all agree that sewing for kids is FUN! the characters, the imagination and play items....getting butterflies over what you know the use will be!  

Let's take a peek at some of our favorite items to sew for kids: 


LEGO Travel Carrier Case
*secret fact* it goes over a binder (yes you read that right!)  We love these for travel! 


image 0
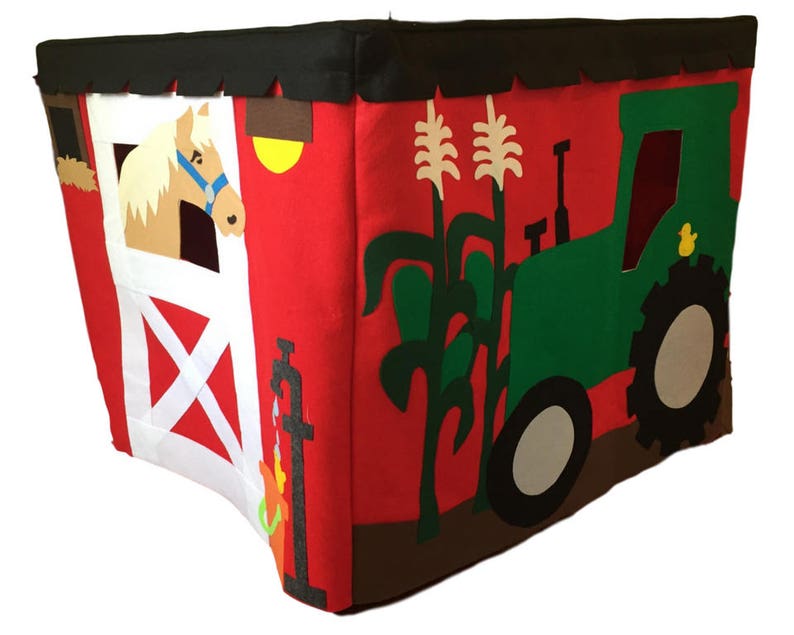
*secret fact* it goes over a card table! How Easy!

image 0

*fact* So easy to customize color to match favorite icon.  I love this one because how fun would it be to make it reversible! 


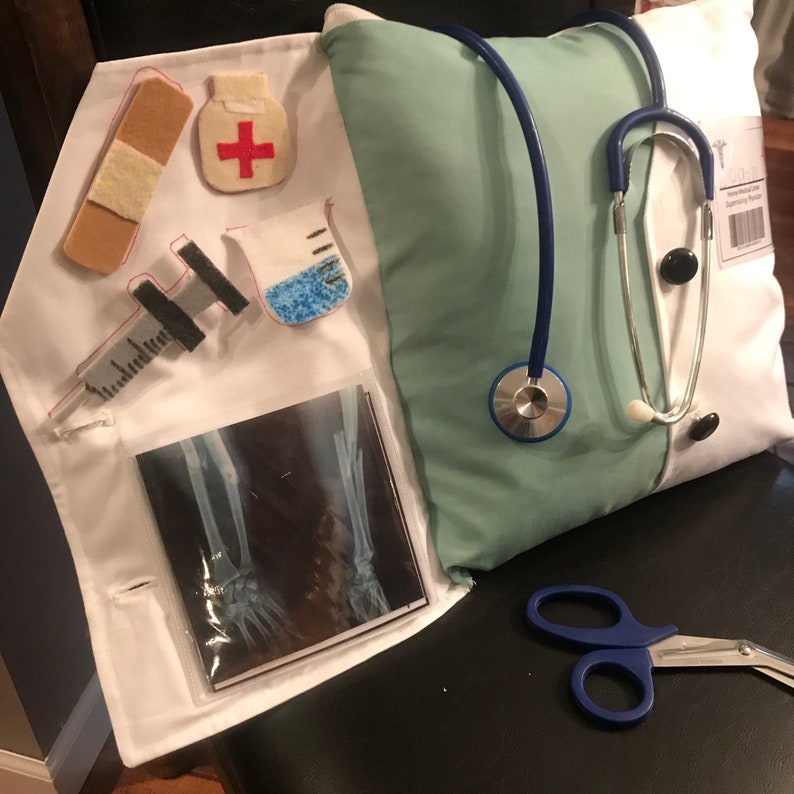
Cushy Careers Doctor Pillow
*secret fact* The pattern comes with a fun patient chart that kids love!

pattern


image 0

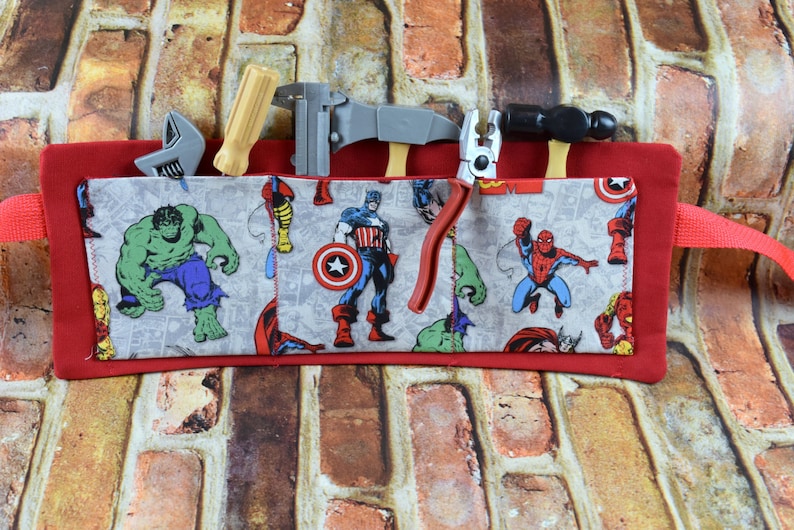
Kid's Tool Belt 
Love the fun characters!  

image 0

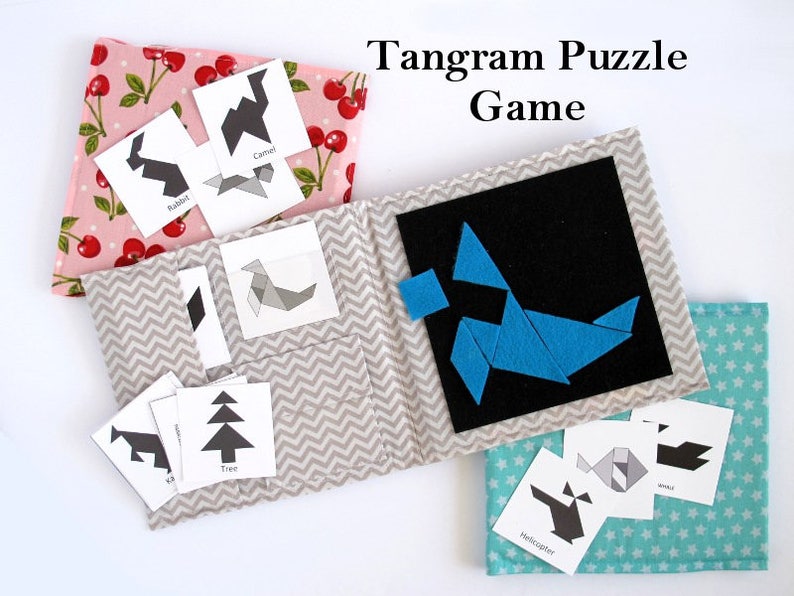
Tangram Puzzle Game
Love the mobility of this one as well - much easier to transport than pieces themselves!


Perfect Swim Bag
*secret fact* Mesh bottoms on the bags make them great for summer!

pattern

image 0

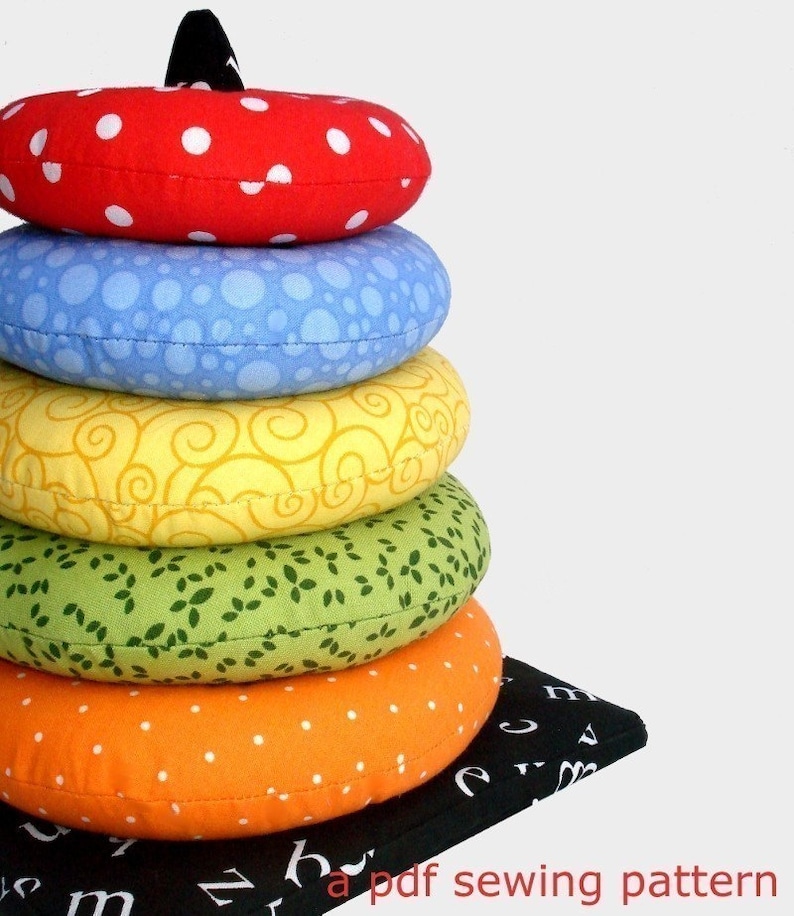
Ring Stackers
How fun for a baby shower gift - so easy to personalize!


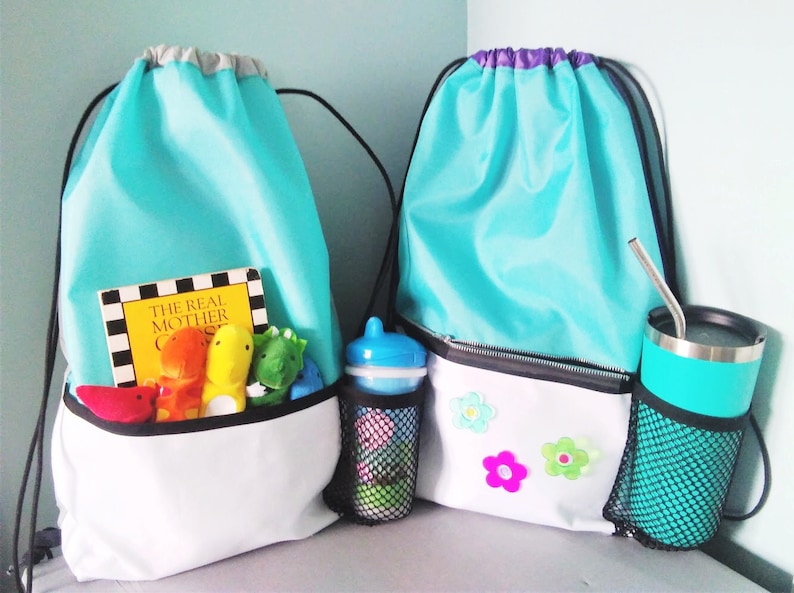
Drawstring Bags
*secret fact* cupholder for easy on the go activities!

pattern


image 0

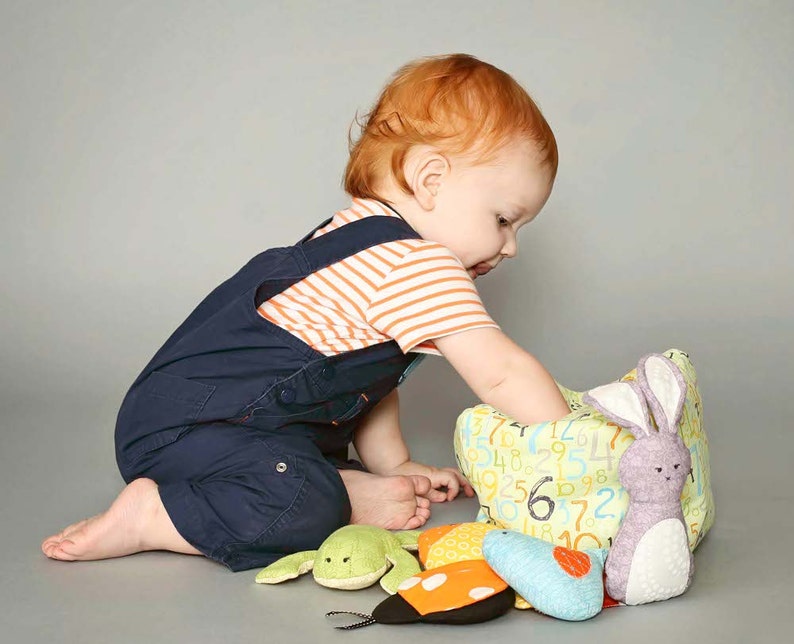
Discovery Box 
Love the creativity again and would make a great momento


3

A Scrappy Wedding Quilt just isn't complete without a set of Scrappy Mr. & Mrs. Pillow Shams!


For me, it's all about the embellishments/personalization!!!
8

DIY Canvas Bag Decoration - Endless Options to Make it Your Own

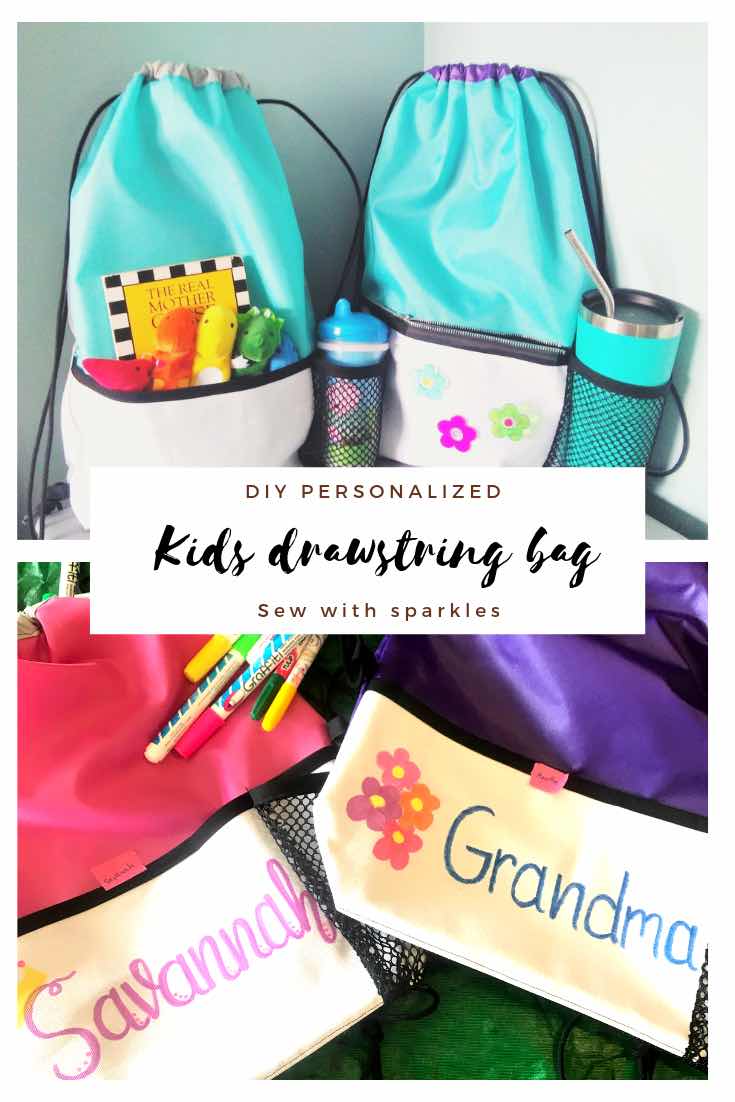
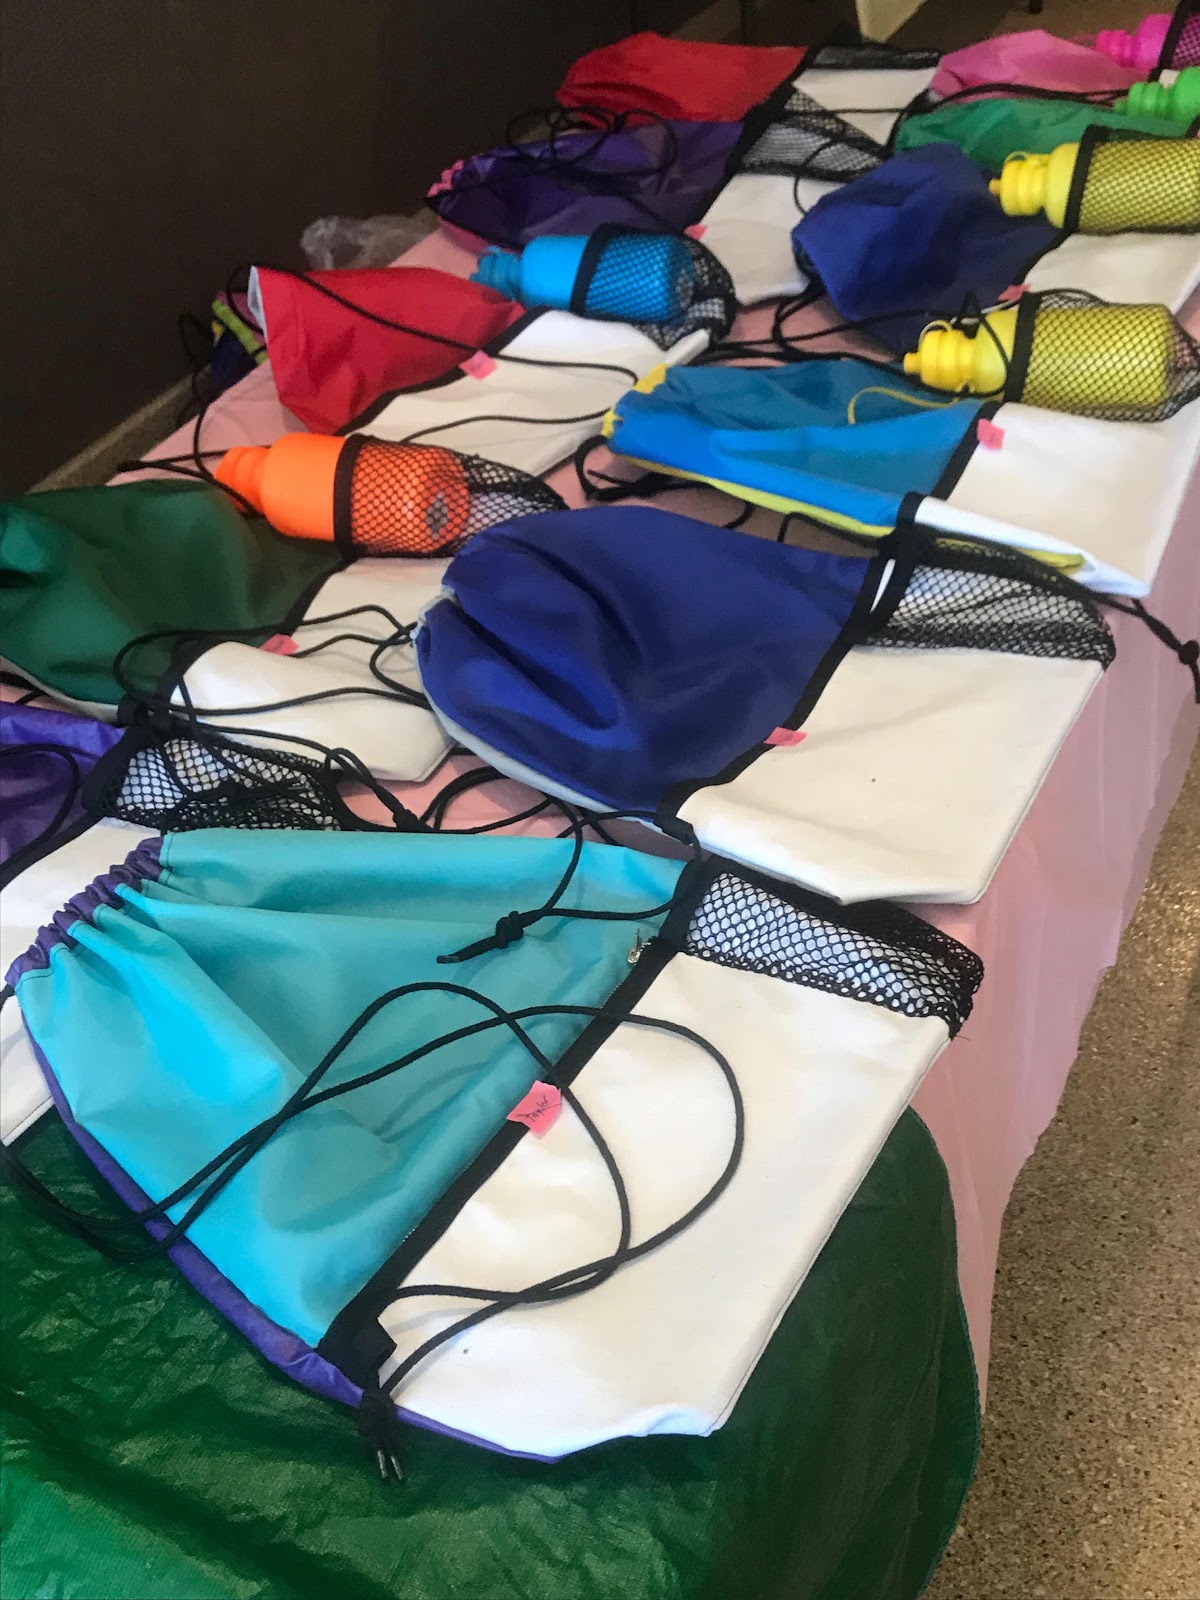
So remember when we made these drawstring bags....  we're coming back with ways to personalize them!  
With the canvas on the front you can use fabric markers, sharpies, or even puff paint to make your bag your own.  I cannot describe how much the kids had decorating these.  We go on an annual trip each year with extended family so each grandchild decorated one to take along.
We even had a special family sewing day to whip these together.  They come together quickly and are very easy to make! We had an 11 year old make an entire bag and even myself and my aunt who would be considered beginners mastered this pattern!


Take a peek at some of the decorating in action.
6

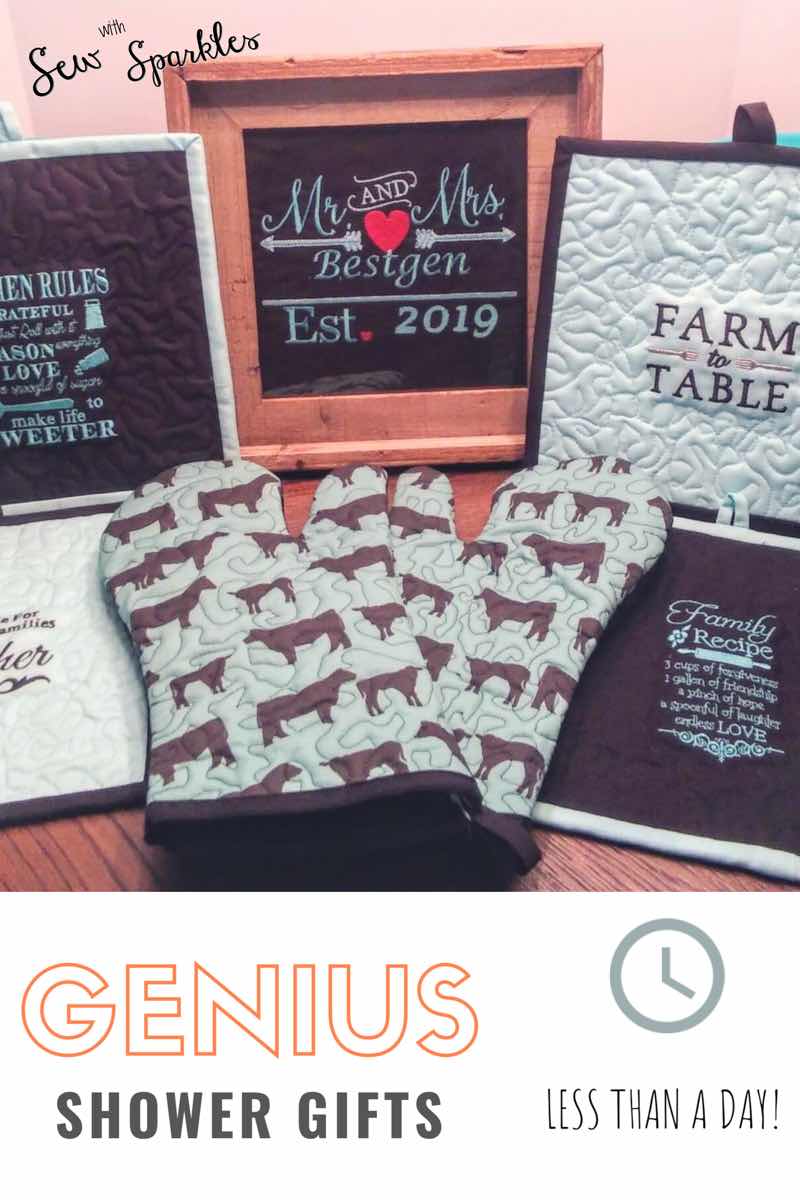
Wedding Shower/House Warming Gifts on a Budget that you Can Sew in a Day

I like to pre-make gifts for when I get that last minute invite or just feel the need to give something nice to someone special!!!


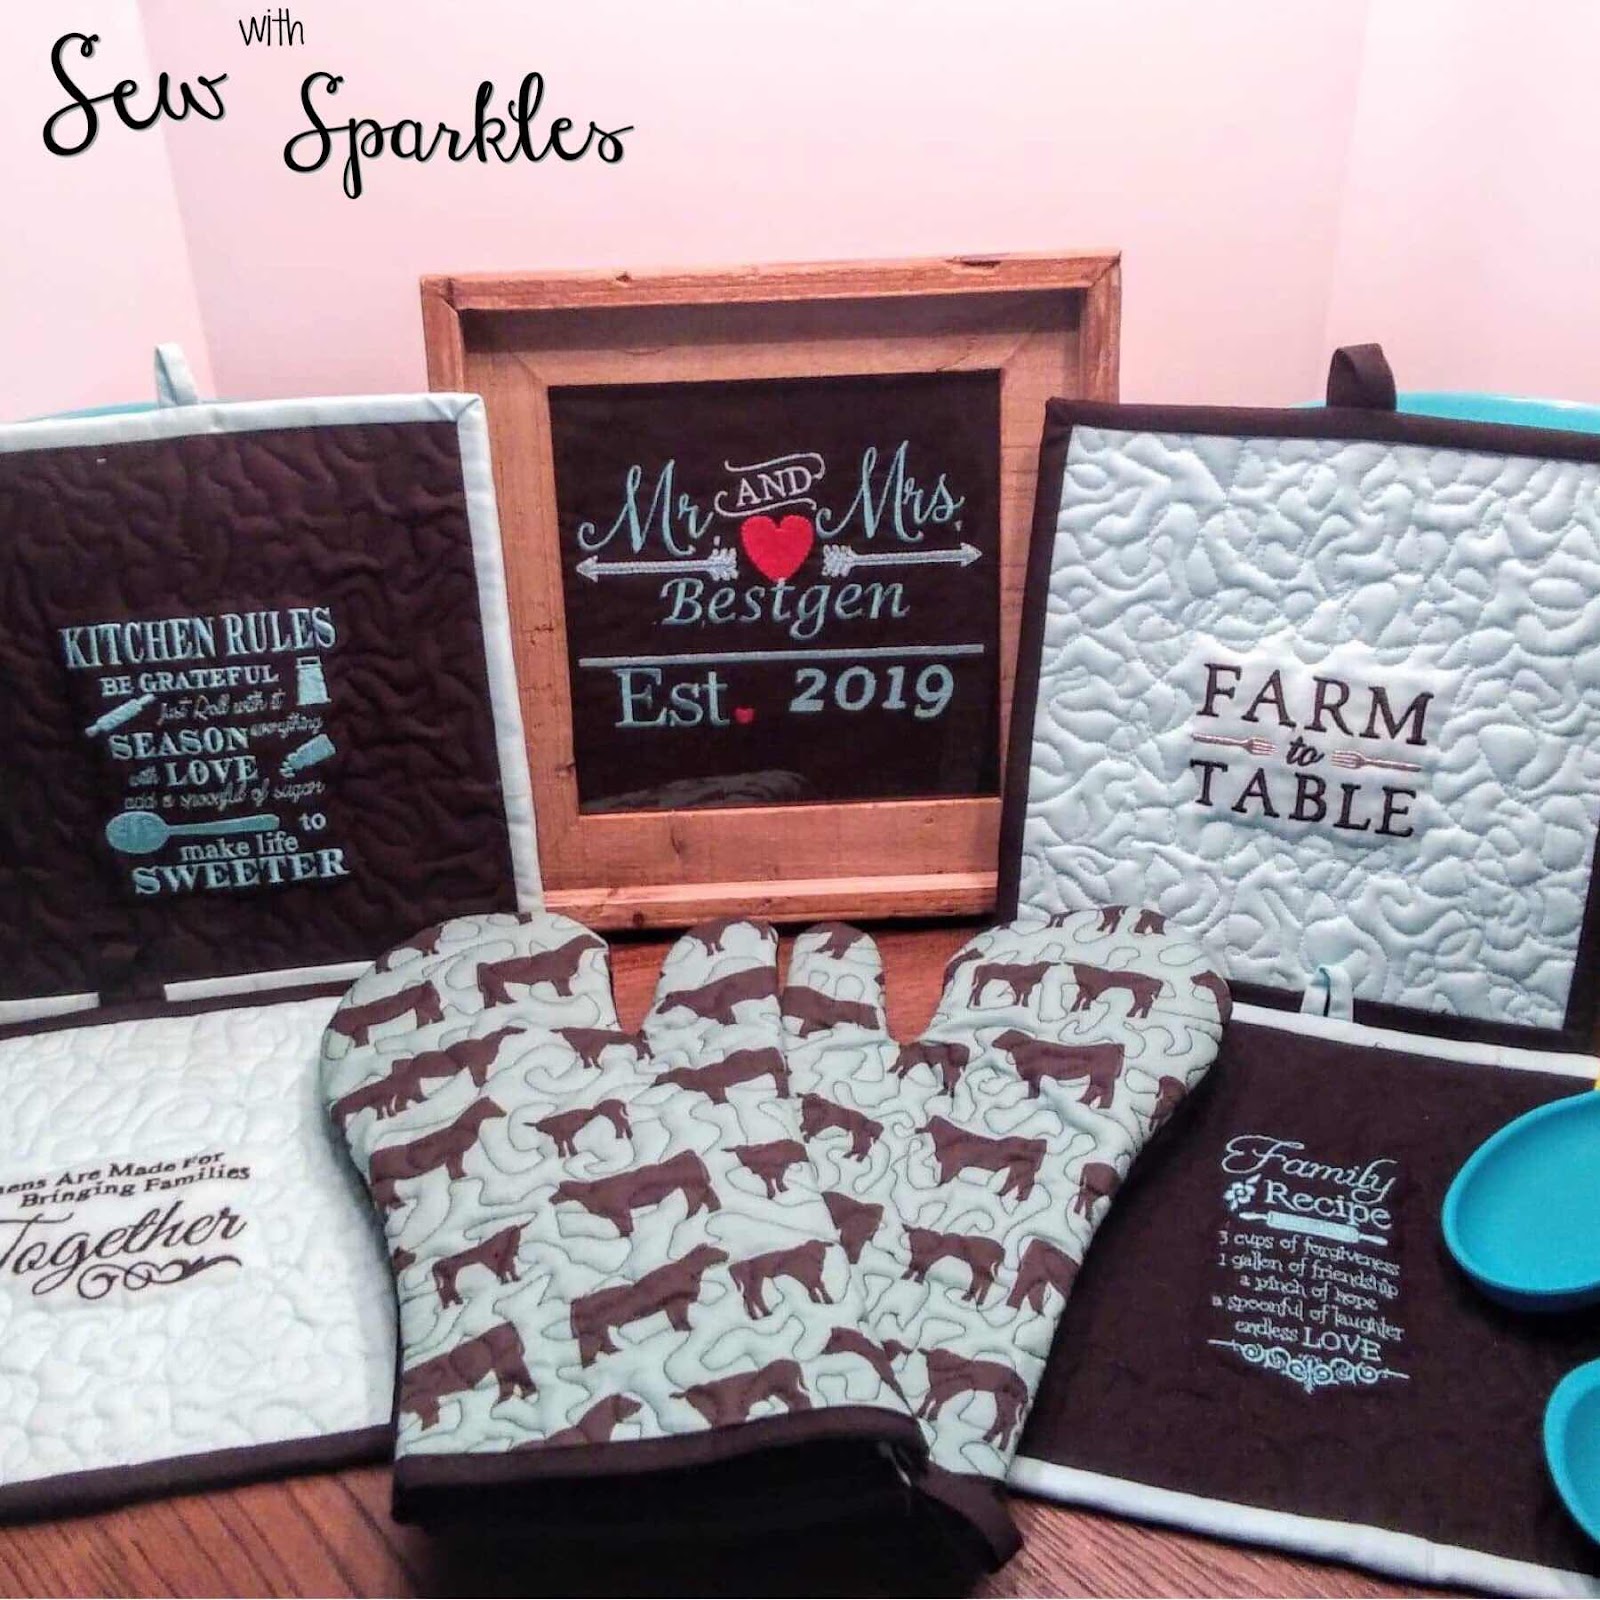
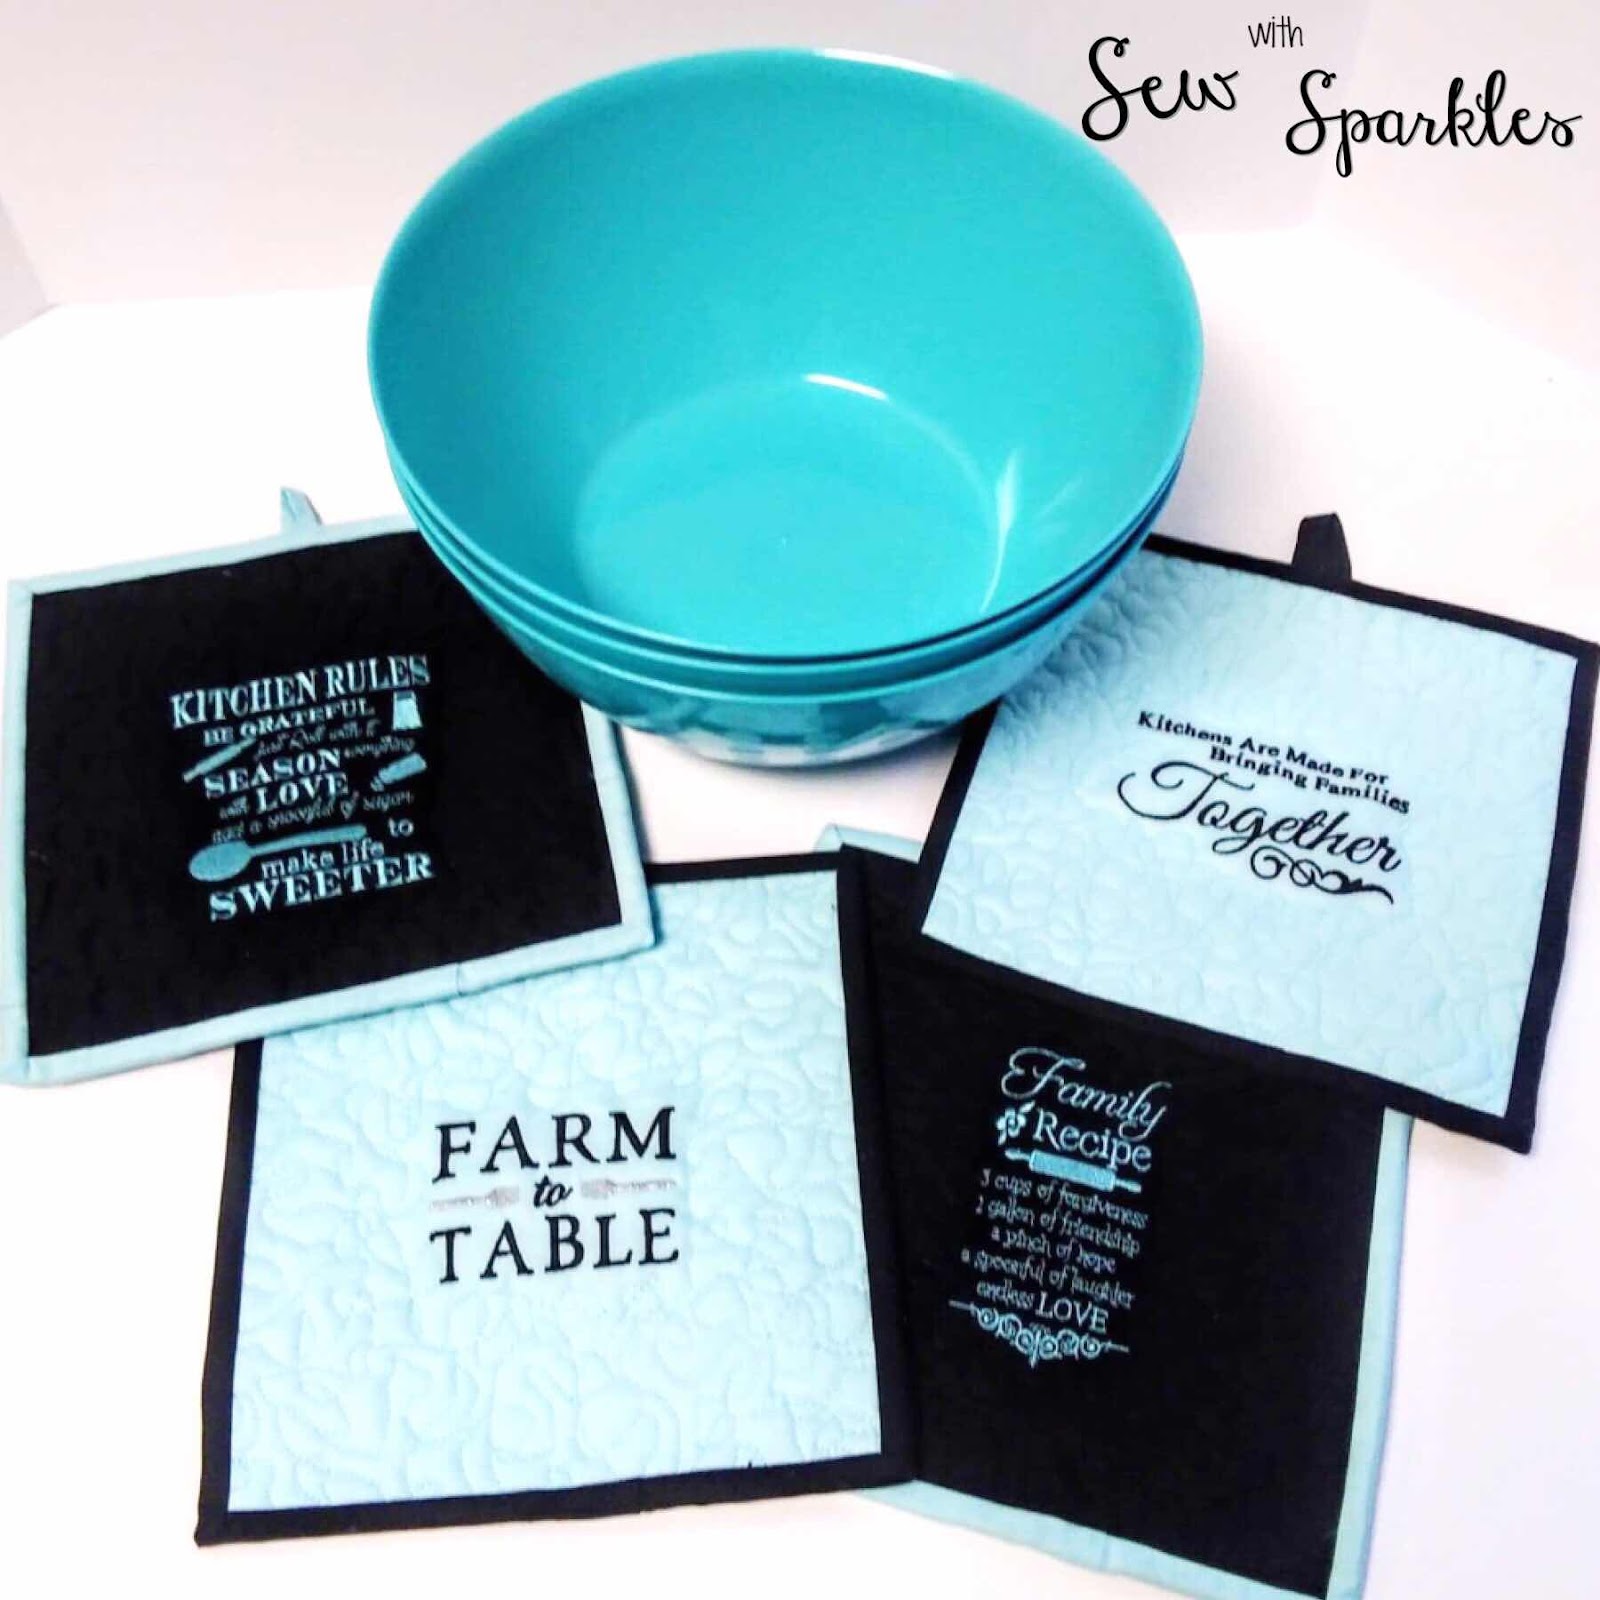
My go-to items are oven mitts, potholders, place-mats, mixer and toaster covers!!!  Being the quilter that I am, I always have a stash of material, batting and insul-brite readily available.

What is insul-brite? (Amber asking)


In this case, I had plenty of notice and knew the colors and theme the bride planned on using and was able to sew these up in no time!!! And did I mention that they were cheap because I had fabric and batting on hand, but I think they since they are personalized, they make great gifts and don't look cheap!!!

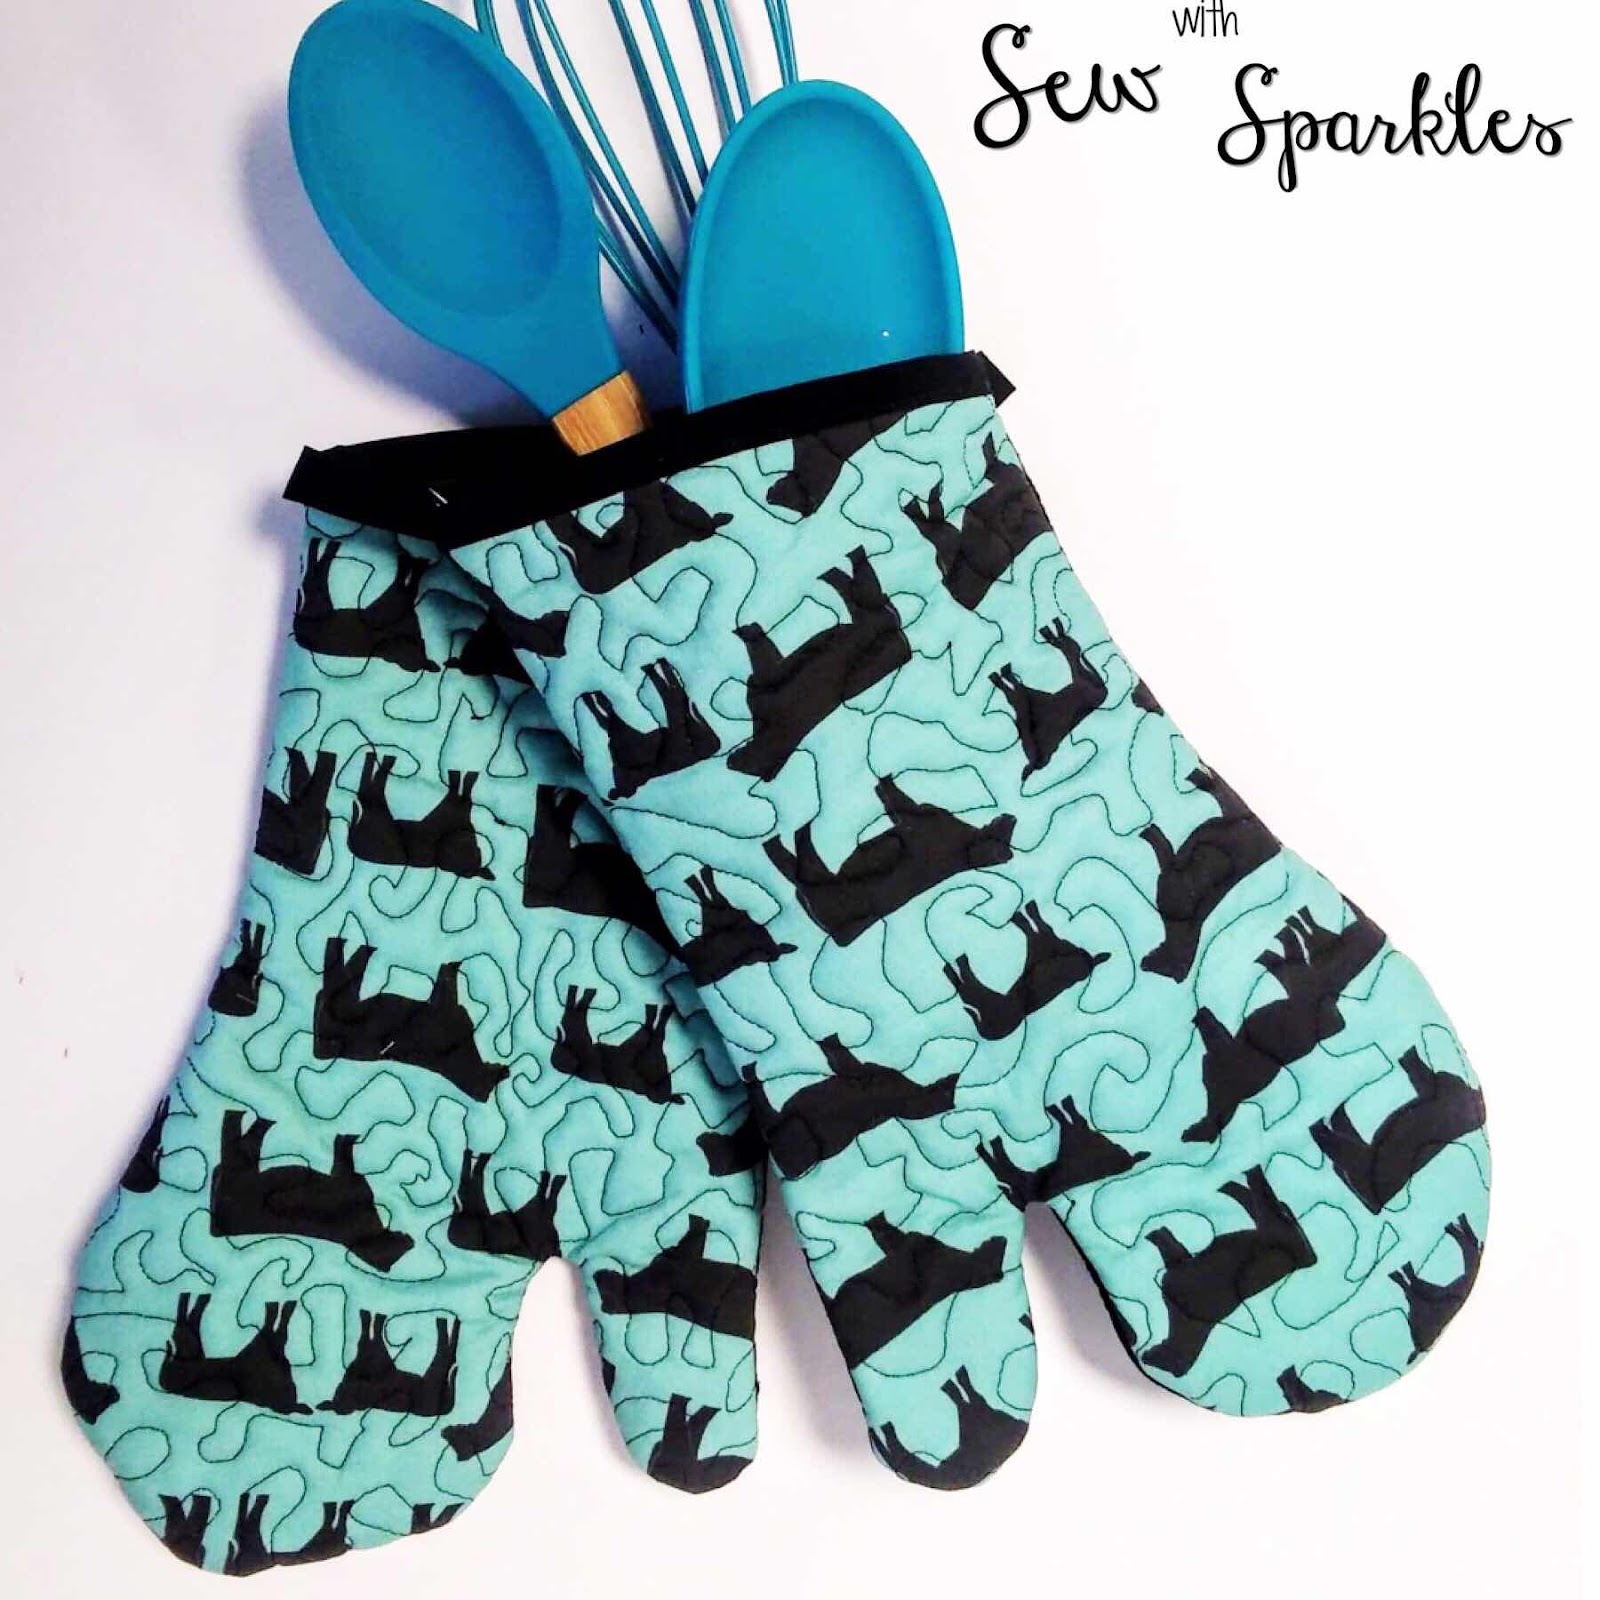
These come together so quickly!  Adding a few kitchen supplies 


Oven mitts are so easy to make and look great stuffed with a few cooking utensils!!!
What is seriously easier than an easy sewing pattern!

Who doesn't need pot holders and I love personalizing them.  Once you've purchased the embroidery patterns, they can be used over and over again!!!  I try to purchase generic patters that can be used for all occasions and for anyone!!!

I love how fast these come together but how personalized of a gift they are. The thought of this handmade hand sewn gift goes way beyond!

I love the rustic frame which will be perfect with the future couple's decor.
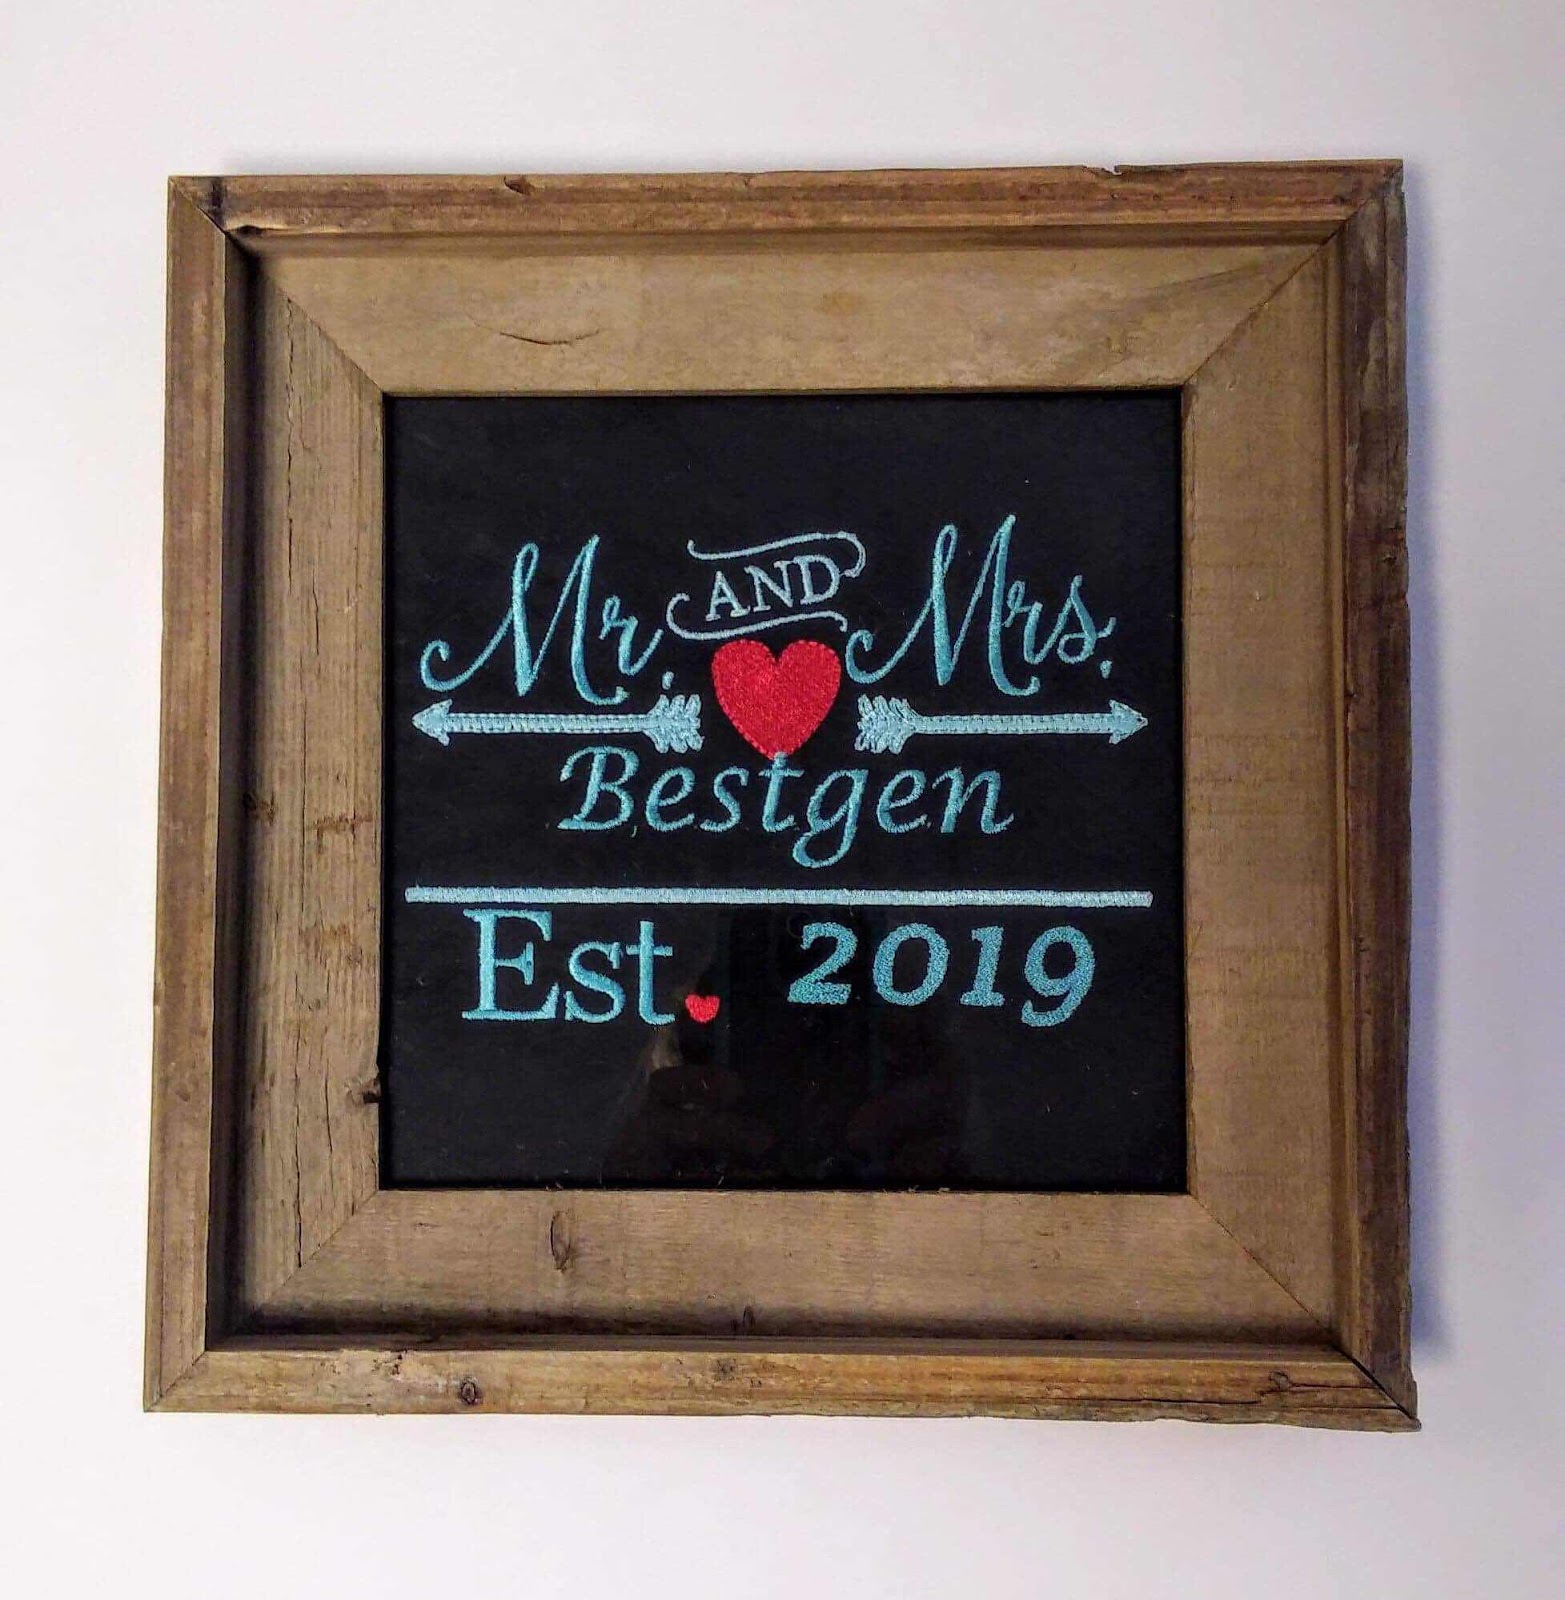
This particular embroidery pattern, I just love for wedding gifts.  You get to add your own name and date making it very handy and I use it for all my wedding gifts!!!
I'd love to hear what your go-to gifts are and see pictures!!!

5
Back to Top